


- Web templates
- E-commerce Templates
- CMS & Blog Templates
- Facebook Templates
- Website Builders
FAQs
General Tutorials
Featured templates
MonsterONE Subscrioption


The following tutorial is going to show you how to manage the categories menu in your PrestaShop 1.6.x template.
PrestaShop 1.6.X. How to manage categories menu
Creating a new category
Log into your PrestaShop admin panel.
Navigate to the Catalog->Categories menu.
Here we can see the list of existing categories. To create a new category, click the Add New button.

NOTE: All the categories are actually sub-categories of the Home default/built-in category. To edit the “Home” category (or any currently selected category), click on the “Edit” button in the button bar when the table displays the root categories.
When the page with the category settings appears, enter the data required:
Name – give your category a name. You can also put category titles for different languages in this field if you’re using a multilanguage store.
Displayed – choose to enable or disable your category.
Parent Category – if you wish to create a subcategory for a category other than the home page, choose the category under which it will appear.
Description – add the content you need to the new category. You can use the visual editor to format your text, insert images, and turn on the source HTML code of the description.
Image – click the Add file button to upload an image from your computer.
Thumbnails – you can add three thumbnail images that will be shown in the menu dropdown on your front end.
NOTE: To activate this option, you need to enable the Categories block module in Modules->Modules. The thumbnails are showing in the sub-categories list dropdown.
Meta title – the title that will appear on the search engines when a request is made by a customer.
Meta description – your category description that will appear in search engine results.
Meta Keywords – keywords to make your store recognizable by search engines. You can enter several of them, separated by commas, as well as expressions which must be indicated in quotation marks.
Friendly URL – enables you to rewrite the addresses of your categories as you wish. For instance, instead of having an address such as http://www.site.com/category.php?id_category=3, you will get http://www.example.com/123-name-of-the-category.
Group access – the option to restrict access to the category and its products for certain customer groups.
Click the Save button to save your new category.

Adding a new category link to the top menu
Navigate to Modules -> Modules and look for Top horizontal menu.
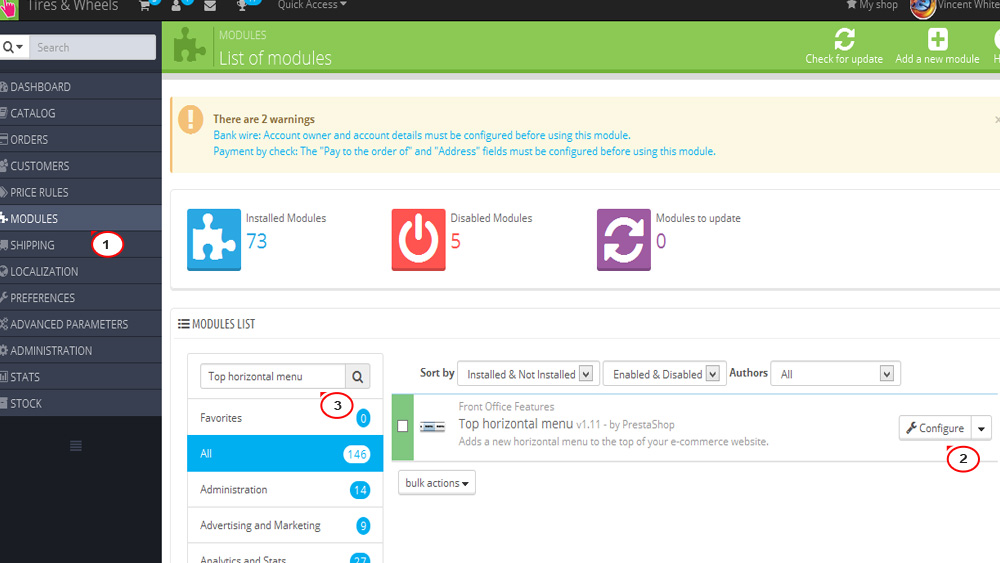
Click the Configure button to access the module configuration page.
The left column displays current menu elements and the right one displays available menu elements. You will see the list of all your categories, CMS pages, manufacturers and suppliers as well as the option to add the link to the product page. You may also add custom links to the menu list using the Add a new link section.
To add a new element to the frontend menu, you should select the required element on the right and click the Add button.
Click Save to confirm adding a new menu item for the top menu.

Check your webstore front end. We added a new category and linked it to the top menu successfully.
Feel free to check the detailed video tutorial below:
