


- Web templates
- E-commerce Templates
- CMS & Blog Templates
- Facebook Templates
- Website Builders
FAQs
General Tutorials
Featured templates
MonsterONE Subscrioption


Sometimes after setting up the slider and banners, you may see that some images are still missing comparing to the live demo. In this tutorial we will show you how to make these images appear with the help of our new Media parallax module, and how to manage this module.
PrestaShop 1.6.x. How to manage “Media parallax” module
Media parallax is a special module which allows to add a background image or video to some modules (Theme Configurator, TM HTML Content module, Homepage Blog, etc.) on your site with a parallax (moving) effect which is an inseparable part of modern websites.
Follow these steps:
Log into your admin panel and navigate to Modules -> Modules section.
Look for the “Media parallax module” and press the Configure button to access its settings:

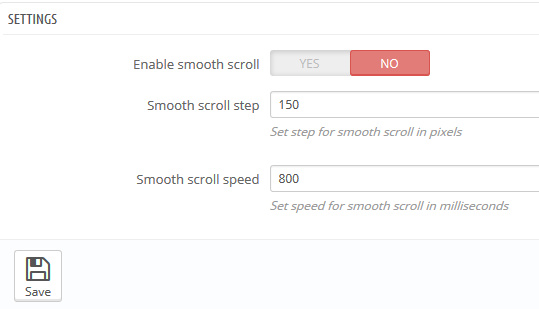
In the Settings section you can enable and set smooth scroll for Google Chrome browser:
In order to add a new block, perform the following:
Press the Add Container button appearing in the next section of the module.
In the Selector field choose the name of HTML selector from a list of available selectors.
Parallax type option gives an opportunity to select either an image or a video will be the background of the chosen container.
Note: You are able to assign only one parallax to a single selector.
Upload the necessary media file from your computer with the help of Browse button.
Note: In case you want to upload the default images from the template, you can find them in “theme\manual_install\themeXXXX\modules\tmmediaparallax” folder of your template package. The names of the files coincide with the selector name.
If you are replacing the existing images, make sure your new image has the same dimensions as the original one to preserve responsiveness.
Click Save in order to save the created block:

You can edit, save or delete the blocks only one by one.
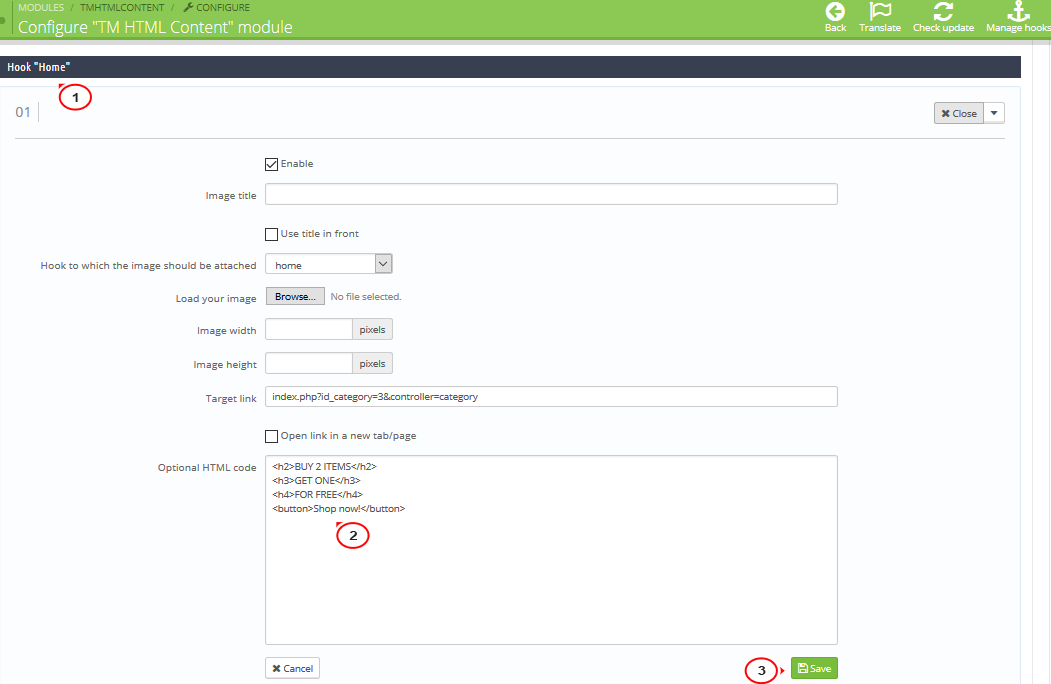
To change the text on the parallax banner, you should check the selector for the image, usually it corresponds with the module used for it. For example, if the selector is #tmhtmlcontent_home, you need to:
Navigate to Modules -> Modules -> TM HTML Content -> Configure.
Select Hook “Home” -> Edit and change the text between the html tags
.
Save the changes:
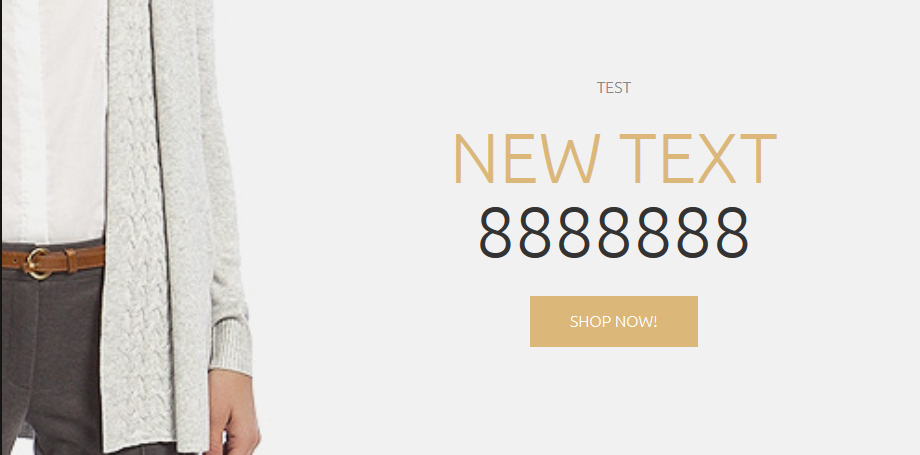
Check your updates on the site frontend:
We hope the tutorial was useful for you. Feel free to check the detailed video tutorial below:
