


- Web templates
- E-commerce Templates
- CMS & Blog Templates
- Facebook Templates
- Website Builders
FAQs
General Tutorials
Featured templates
MonsterONE Subscrioption


In this tutorial you will learn how to activate and manage newsletter in PreStashop 1.6.
PrestaShop 1.6.x. How to manage Newsletter module
PrestaShop allows you to send your store visitors and customers mass mailings for some marketing purposes. This can be done with the help of the “Newsletter” and the “Newsletter block” modules which can export a CSV file of the e-mail addresses customers registered in your system.
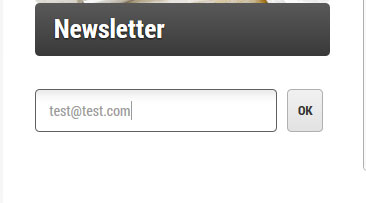
Your customers can provide you with their e-mail address either by entering it in the Newsletter block located on the homepage:
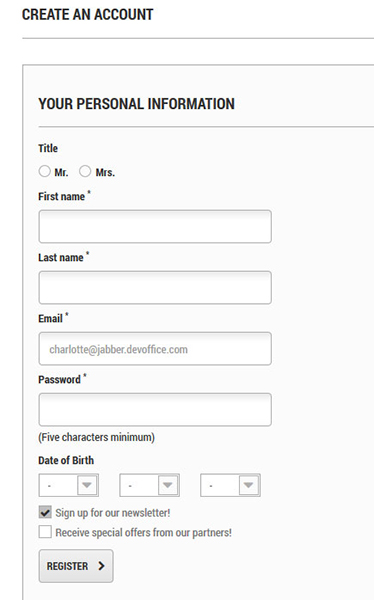
Or by checking “Yes” box to subscribe to the newsletter when they register:
Note: By default, PrestaShop doesn’t send mailings for the subscribers of your newsletter. To be able to do it, you would have to install additional module or use external mail sources.
To activate the newsletter block, follow this instruction:
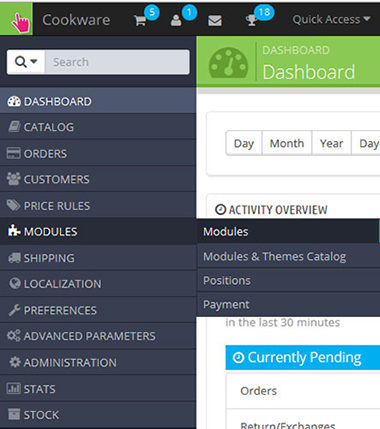
Log into your PrestaShop admin panel.
Navigate to Modules-> Modules section:
In the modules list look for “Newsletter block” module:
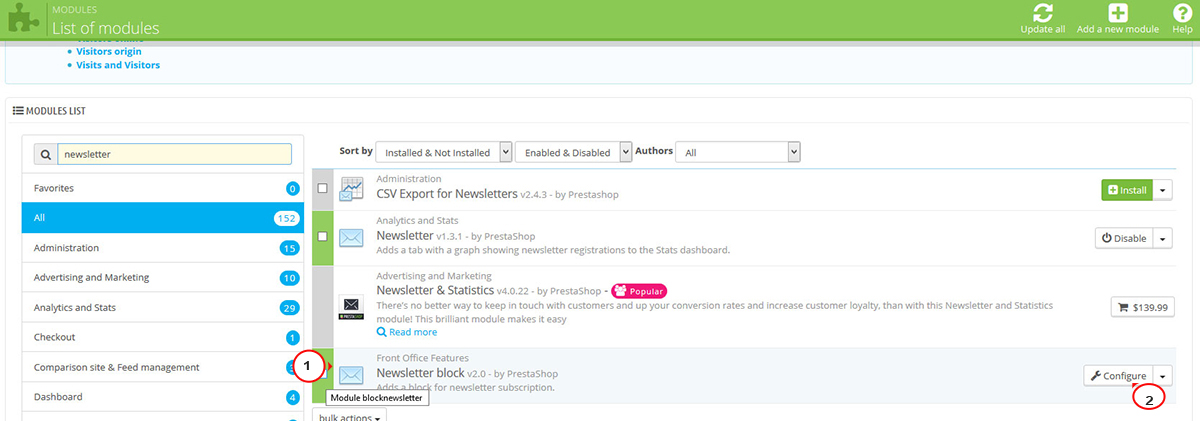
Make sure it is installed. If not, click on “Install” button to install it.
Activate the module by selecting the “Enable” option from the drop-down list on the right if the module is disabled.
Note: In case the module is active but not showing on your site front end, you have to assign it to a certain position in Modules-> Positions section or directly in the module settings by clicking on the Manage Hooks button in the top right. This tutorial will help you to manage modules and modules positions in PreStashop 1.6 .
Click on “Configure” button to edit the module.
Here you can see several sections where you can adjust settings for your Newsletter:
Settings:
Here you can do the following:
Send a verification email to your customers after subscription by pressing the “Yes” button;
Send a confirmation email after subscription (the “Yes” button);
Enter a Welcome voucher code;
Save the settings using the Save button:
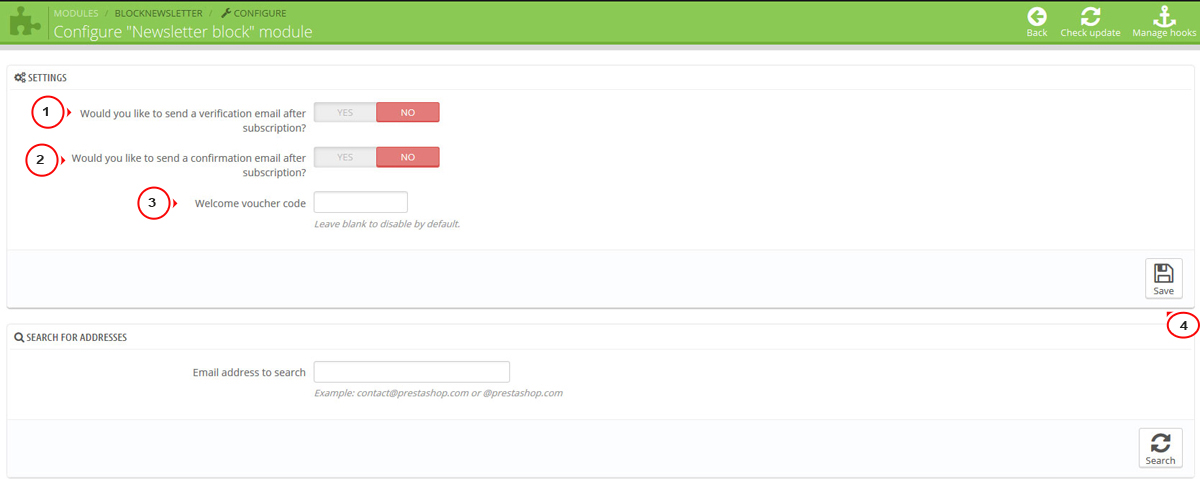
Search for addresses: here you can look for a customer account by his email.
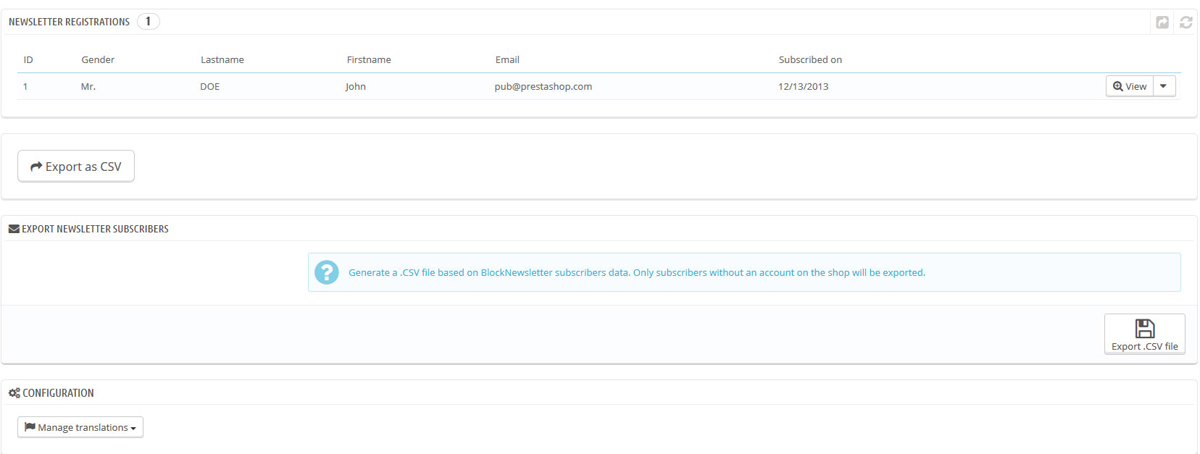
Newsletter registrations represents a list of the users who are subscribed for your newsletter. You can edit their personal details or un-subscribe them using the menu on the right.
Export a CSV – this section enables you to export all the e-mail addresses recorded from the Newsletter block on your homepage. After clicking the “Export .CSV file” button, a notification appears, asking you to click on a link to download the file containing the addresses.
Export Newsletter Subscribers – this button allows you to collect the email addresses of the subscribers who don’t have an account on the shop:
Another module that allows you to export a CSV file with filtered details about your customers is the Newsletter.
Get back to Modules->Modules section.
Search for the Newsletter module:
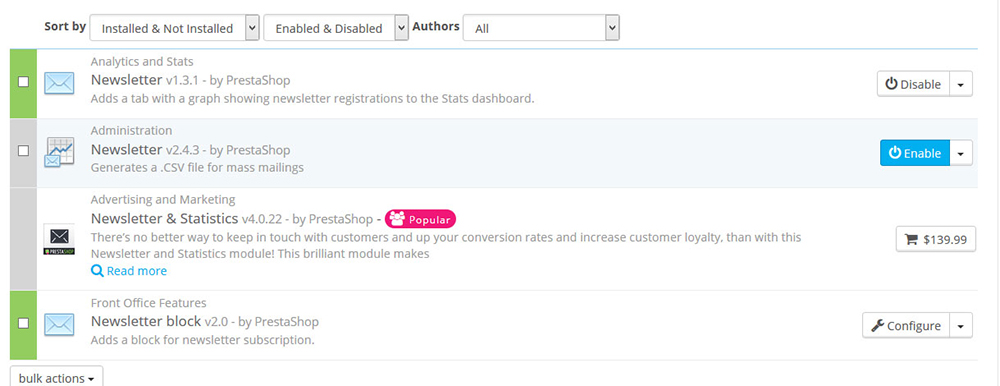
Click on “Install” button if it is not installed.
Enable it in case it is needed.
Press the “Configure” button to manage settings.
In this module you can filter the information and take more details about the accounts before exporting it.
You can then filter the clients by country of origin by selecting “Customer Country” from the drop-down menu and then selecting the country you want. Filtering by country is particularly useful for sending newsletters in the right language and for adapting your offers.
Use the “Newsletter subscribers” selector to select one of the following three items:
All Subscribers – enables you to select all the e-mail addresses of your customers who open an account on your shop, i.e. those who do want to receive information from your part, as well as those who do not.
Subscribers – enables you to select only those customers who do want to receive a newsletter from you.
Non-subscribers – enables you to select only those customers who are not subscribed for a newsletter from you.
Next is the “Opted-in subscribers” selector where you can filter the contacts based on their desire to register for messages from advertising partners. Similarly, three choices are available:
All customers – enables you to select all the e-mail addresses of your customers who open an account on your shop, i.e. both those who do and do not wish to receive information from your part.
Subscribers – enables you to select only those customers who do want to receive a newsletter from your partners.
Non-subscribers – enables you to select only those customers who do not want to receive a newsletter from your partners:
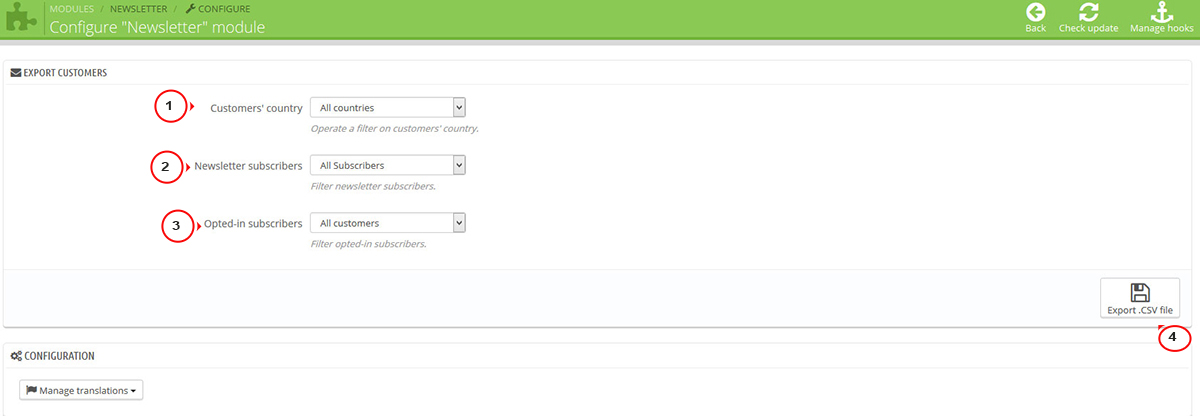
Once you have filtered the e-mail addresses to export, click “Export .CSV File” button to retrieve all addresses. A notification appears, asking you to click and download the file. This file contains six types of information: the customer ID, last name, first name, e-mail address, IP address, and date of registration. After downloading you can open your file with any program that can view the .csv format. You can use this information to send your marketing campaigns.
We hope the tutorial was useful for you.
Feel free to check the detailed video tutorial below:
