


- Web templates
- E-commerce Templates
- CMS & Blog Templates
- Facebook Templates
- Website Builders
FAQs
General Tutorials
Featured templates
MonsterONE Subscrioption


This tutorial shows how to manage taxes and tax rules in PrestaShop 1.6.x.
PrestaShop 1.6.x. How to manage taxes and tax rules
From the backend of your PrestaShop store you can add new tax rates and rules and you can edit and manage the existing ones. There should be some preconfigured tax rates according to the default country that you chose for your store during the installation process. However, you may need to add new tax rates for different countries and also to configure and change the tax rules.

To add and manage taxes/tax rates, log into the backend of your PrestaShop and go to Localisation -> Taxes.
In the Taxes page you’ll see a table with all the preconfigured taxes which should be set according to your store default country. In our example the default country is the United States, so the tax rates are for the different states:
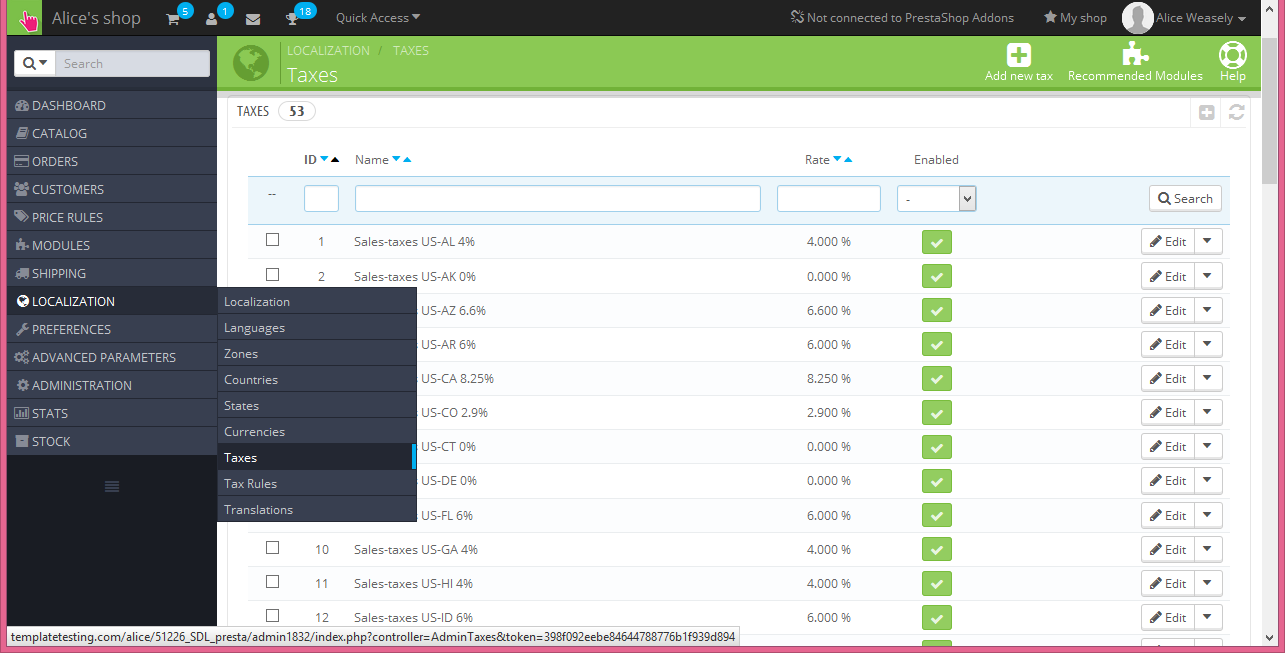
To edit the options (e.g. name, rate) of a tax just click on the edit icon (a small pencil) for that tax. You can also disable/enable or delete the tax by clicking on the corresponding icons.
To add a new tax, click on the Add new tax button above the table. On the page that opens you have to configure the options for the new tax:
Name. Be very specific, as this will help you build tax rules faster.
It is recommended that you add reminders within the name, such as the country/group/zone the tax applies to, and its rate. This greatly helps you remember which tax is to be used in a tax rule.
Rate. The exact rate, in the XX.XX format.
Enable. You can disable and re-enable a tax at any time:
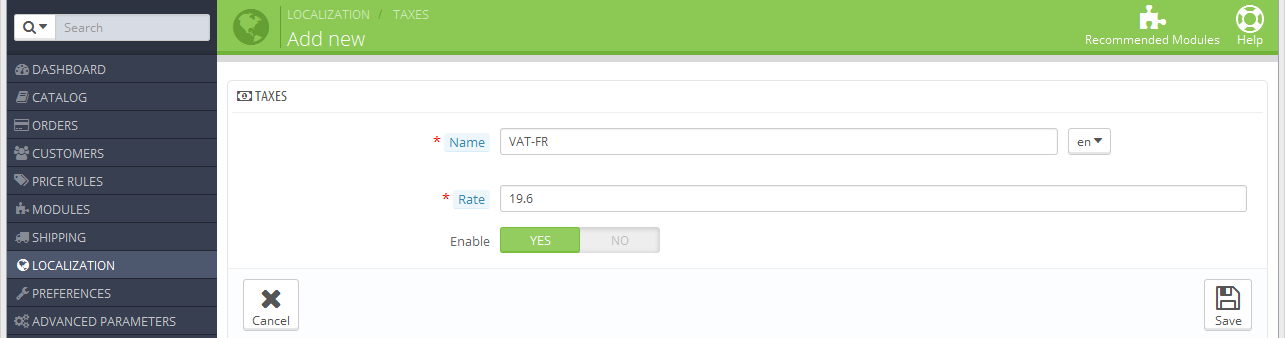
After filling in the fields, click on the Save button. Once you do it, you’ll be taken back to the Taxes sub-tab page and the new tax will be added to the table.
There is “Tax options” section at the bottom of the page. These options apply to the whole shop and all orders.
Enable tax. Whether or not taxes are included in each purchase.
Display tax in shopping cart. You might prefer the customer not to be aware of the taxes that are applied to the order. In that case, disable this option.
Based on. The customer can choose to have the product not delivered to the same address as the order invoice should be sent to. This can have a great impact on taxes. By default, PrestaShop bases its tax rates on the delivery address, but you can choose to have them based on the billing address.
Use ecotax. The ecotax refers to “taxes intended to promote ecologically sustainable activities via economic incentives”. It is a tax that shop owners pay in order to “feel the social burden of their actions”. Learn more about ecotax on this Wikipedia page: http://en.wikipedia.org/wiki/Ecotax.
Once you have enabled the use of ecotax, all your products will feature an “Eco-tax (tax incl.)” field in their “Prices” tab in the back-end. You should fill that field with the exact value of the tax, which depends on the tax laws in your country (it is based on the product price):
Save the changes after applying the changes to Tax Options.
Although the names of the preconfigured tax rules may look the same or similar to those of the taxes, a tax rule is something different. You can use a tax rule to apply different taxes according to the country (or state). You can use a single tax rule to apply different taxes to a product for customers from twenty different countries, for example. What’s taken into account is the delivery (or invoice) address that the customer has provided.
To add a new tax rule, please follow steps listed below:
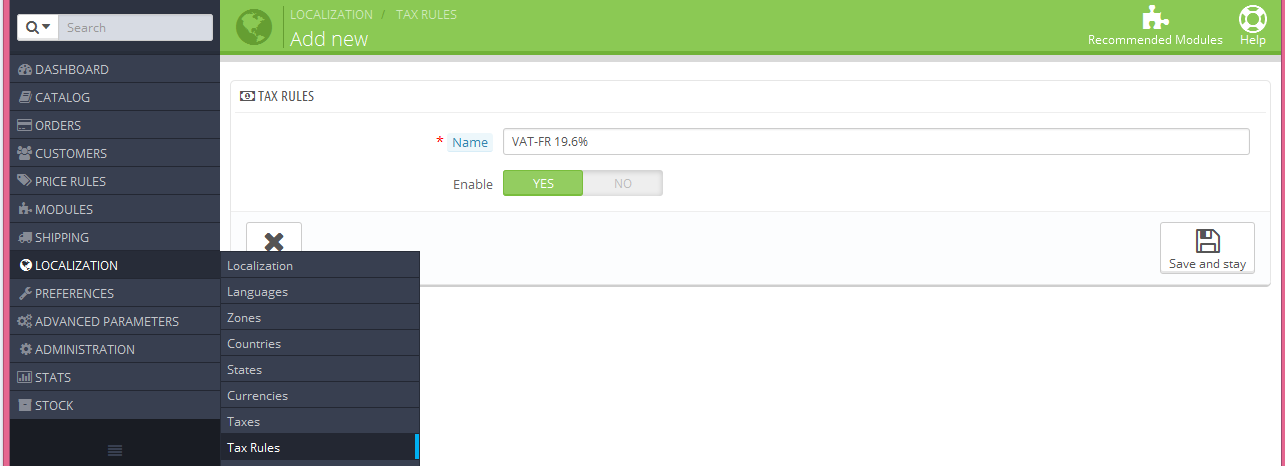
Click on the Add new button in Localisation -> Tax Rules .
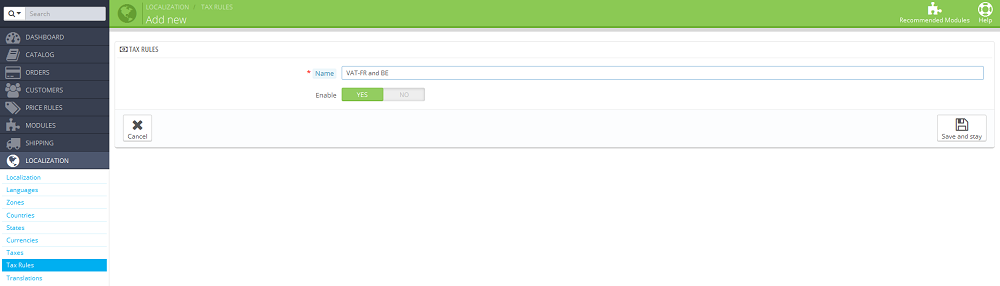
In the form that appears, name the rule. Use a telling name: use the tax rule country code, its name, its rate, to find it easily the next time. If PrestaShop already has tax rules for the target country, use their names to have some consistency.
e.g. VAT-FR and BE.
Select whether the rule should be enabled from the get-go or not. You can enable it later if needed.
Click the “Save and stay” button. The page reloads with a table header at the bottom:
Specify the country and behaviors by filling in the fields:
Country. The target country for the rule you are creating.
State. Some countries have federal states registered in PrestaShop (see the “States” page, under the “Localization” menu). In that case, you can make the tax even more specific, or choose to have it applied to the whole country. You can select more than one state by pressing the Ctrl key when clicking on state names.
Zip Code range. Whether the country has registered states or not, you can specify the tax application using the customer’s zip code. This field enables you to define zip codes in which the tax should be applied: either enter a single zip code, or define a range using the dash. For instance, use “75000-75012” to create a range for all zip codes between these two.
Behavior. Some customers might have an address that matches more than one of your tax rules. In that case, you can choose how this tax rule should behave:
This Tax Only. Will apply only this tax, not any of the other matching taxes.
Combine. Combine taxes. For instance: 100€ + (10% + 5% => 15%) => 115€.
One After Another. Apply taxes one after another. For instance: 100€ + 10% => 110€ + 5% => 115.5€.
Tax. The tax to be used for this tax rule. That tax must already be registered in PrestaShop. If not: choose “Not tax”, disable the tax rule, save it, create a tax in the “Taxes” page, then come back to edit the tax rule.
Description. You may add a short text as a reminder of why this tax rule exists for this country.
Click on “Save and stay”. The country is added to the table below, and you can start adding another country using the new-empty fields:
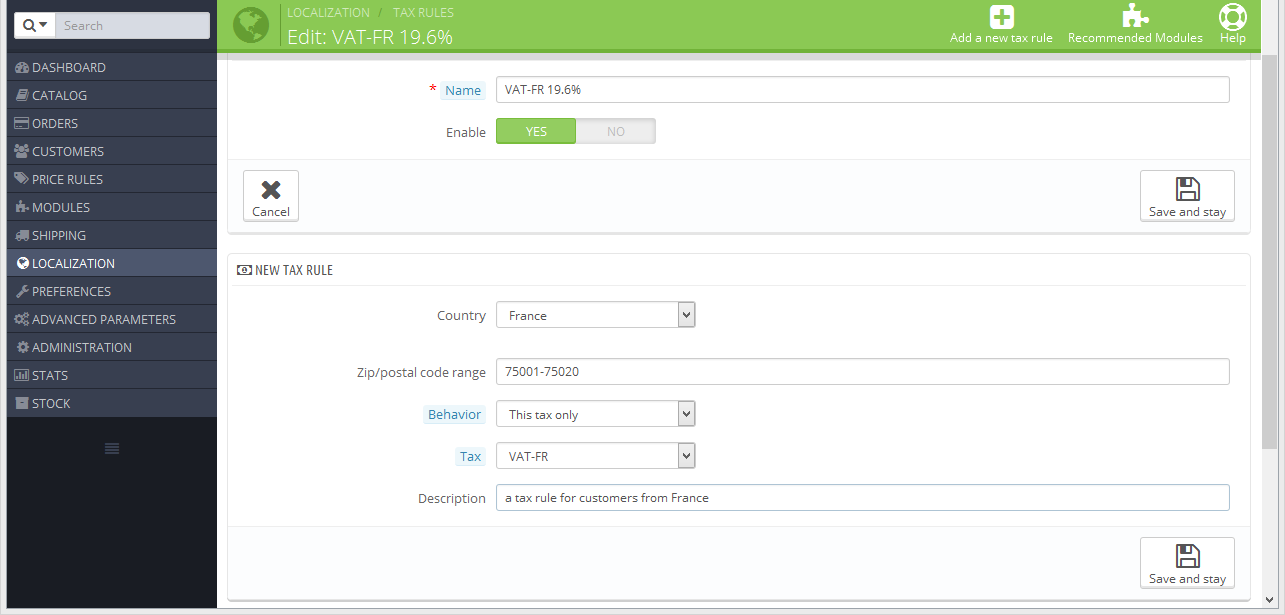
Note that the default rate applied to your products will be based on your store default country.
Now we can apply the tax rule to any of the products in our store. When a customer with a delivery address in France orders a product with this tax rule, the tax on the product will be 19.6 %.
Feel free to check the detailed video tutorial below:
