


- Web templates
- E-commerce Templates
- CMS & Blog Templates
- Facebook Templates
- Website Builders
FAQs
General Tutorials
Featured templates
MonsterONE Subscrioption


This tutorial shows how to manage TM HTML Content module in PrestaShop.
PrestaShop 1.6.x. How to manage “TM Htmlcontent” module
This module allows to display any content (image, HTML, links, etc.) in the following positions: displayNav, home, top, topColumn, left and right (displayLeftColumn/displayRightColumn), footer. It is used to expand design opportunities and add advertisement/information blocks to your store. It is a multilanguage module and can also work in the multistore website.
The module is located in Modules > Modules > TM HTML Content (if it is not installed, install it):
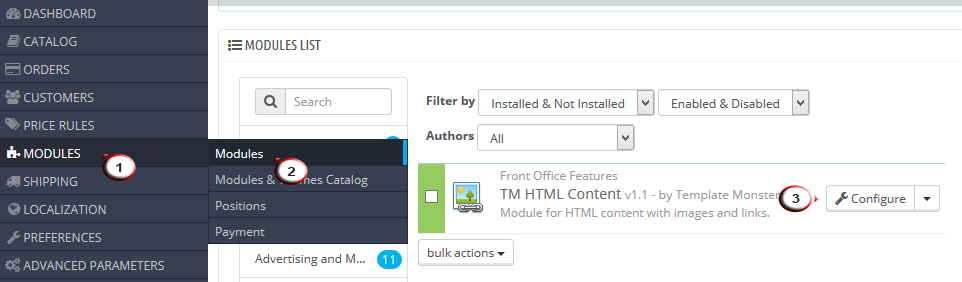
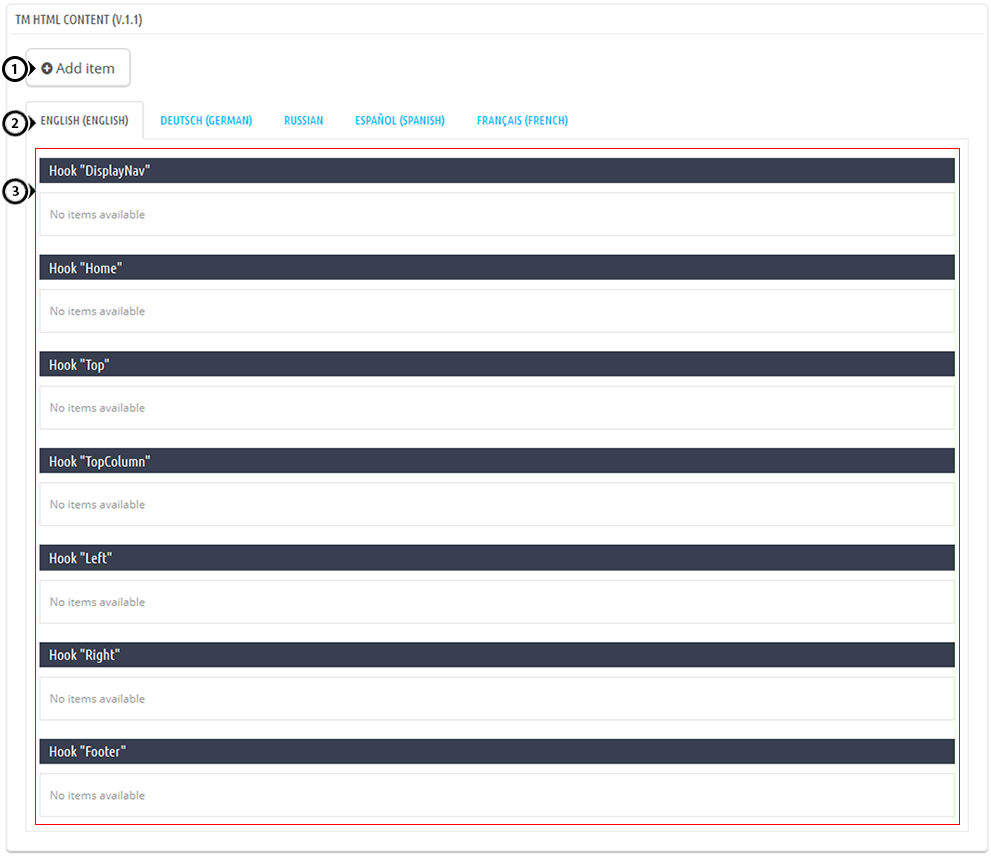
After clicking on the Configure button you will see the list of items:
Click Add new button.
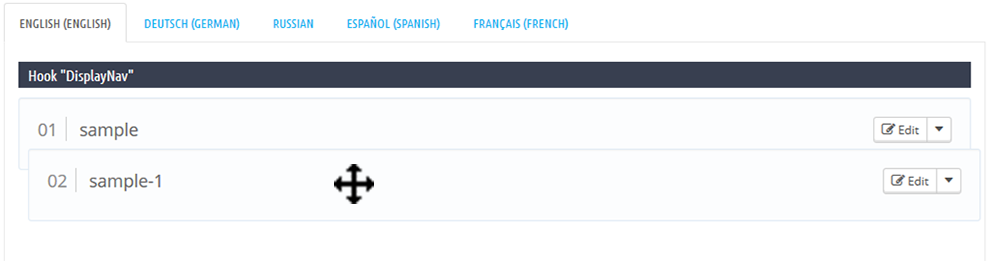
The list of available languages. You can view the available elements for all languages by switching the language tabs.
The list of elements added for specific position and language.
To add the content, click Add item button.
Fill in the required settings (none of the fields are mandatory):
Language – select the required language from the drop-down list.
Note that the added item will appear only on the selected language.
To make the content visible for other languages on the site, you will have to duplicate it for the rest of the languages, i.e. to add the item for all the languages you need.
Title – title of the element.
Use title in front – display the title of the element at the frontend (the title will show up in front of the element).
Hook – position where the element is added.
Image – upload the image from your computer.
Image width – image width shown at the frontend.
Image height – image height shown at the frontend.
URL – add the link (the whole block will be wrapped in the link).
Target blank – open link in new tab.
HTML – HTML code (except the link if you have added it in the URL field) or text.
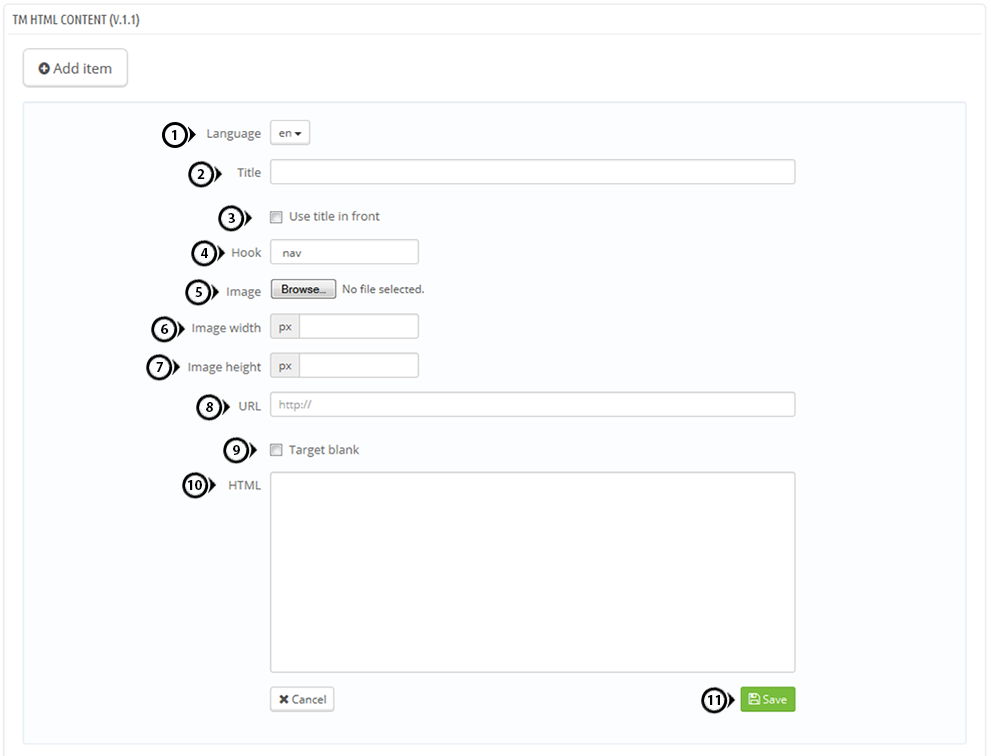
Click Save to save the element.
When you add the element, it shows up in the corresponding list: the language and the position where the elements were added.
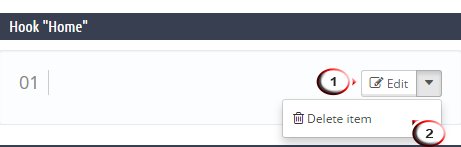
To edit the element, click on the Edit button.
There you can change the previously set item information.
To remove the element, click on the Delete button from the drop-down list:
To change the order of elements in the list, you should just drag the element to the position you need:
Feel free to check the detailed video tutorial below:
