- Web templates
- E-commerce Templates
- CMS & Blog Templates
- Facebook Templates
- Website Builders
PrestaShop 1.6.x. How to manage warehouses
January 29, 2015
Hello! This video tutorial shows how to manage warehouses in PrestaShop 1.6.x.
PrestaShop 1.6.x. How to manage warehouses
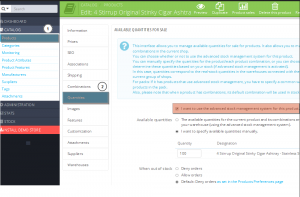
If “Advanced Stock Management” option is enabled for a specific product, a “Warehouses” tab appears in the product sheet. You can indicate which warehouse(s) the product and each of its combinations can be stored in. You can also indicate the location for the product and its combinations:
First, you should create at least one warehouse in order to associate it with a product and set the product location in it – the step is essential. It will have considerable impact on the order preparation in the multi-shipping context.
Now, let’s learn how to manage warehouses.
The tutorial assumes you are already logged in your PrestaShop admin panel.
-
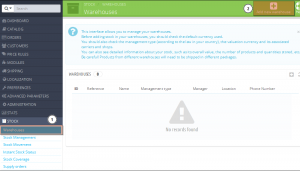
Go to Stock ->Warehouses tab.
-
On the appeared screen click “Add new warehouse” button at the top right corner:
-
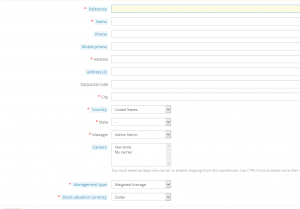
Now you should fill in all the fields with the appropriate information:
-
“Reference” and “Name” fields. Make sure to use something recognizable: you should be able to easily differentiate warehouses from a drop-down list.
-
“Address”, “Postcode/Zip Code”, “City” and “Country” fields. You should specify the physical address of the warehouse here. This information will be used on the purchase order to suppliers.
-
“Manager” field. You should put in one of your registered employees’ name. If you do not have any employees yet, you should create one.
-
“Carriers” field. The carriers who you authorize for orders shipping from this warehouse. Use the “Shift” key while clicking to select more than one carrier. Be careful with the carriers you choose to authorize, as this will have a huge impact on the order preparation in the multi-shipping scenario.
-
“Management type” field. A method of accounting valuation, based on your country’s regulations.
-
“Stock valuation currency” field. Choose the currency for this warehouse among registered currencies in your store.
-
Please mind that it is not possible to change a warehouse valuation method and currency once it has been set. If you need to change that information, you will have to recreate the warehouse from scratch. However, you can only delete the warehouse in case there are no products assigned to it.
Once you create a warehouse, you have to set stock for it. Let’s learn how to do that:
-
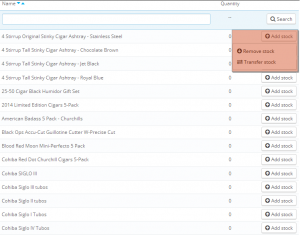
Go to Stock Management under Stock tab. On the appeared screen all available products from your catalog are listed. You may add/remove/transfer stock here:
-
Click “Add stock” button on the right hand side next to any product from the list.
-
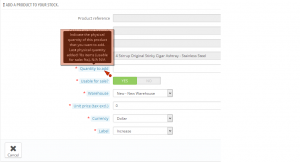
On the appeared screen fill in “Quantity to add”, “Usable for sale?”, “Warehouse”, “Unit price (tax excl.)”, “Currency” and “Label” fields. You may hover these fields option names in order to learn what each option means:
-
Once all fields are filled in, click “Add to stock” button at the lower right.
If you want to remove/transfer stock, you should use the aforementioned button in the Stock Management interface. You will need to fill in all the required fields there as well.
This is the end of the tutorial, you have learnt how to manage warehouses in your PrestaShop store.
Feel free to check the detailed video tutorial below:


