


- Web templates
- E-commerce Templates
- CMS & Blog Templates
- Facebook Templates
- Website Builders
FAQs
General Tutorials
Featured templates
MonsterONE Subscrioption


This tutorial shows how to set up and manage Multiple Stores in Prestashop 1.6.x.
PrestaShop 1.6.x. How to set up and manage Multiple Stores
Multiple Stores functionality allows you to power any number of stores or websites within a single Prestashop installation. It can be useful if you are going to sell products on different domains/sub-domains sharing the same admin panel and to track your sales and customers without having to log into the admin area of each website.
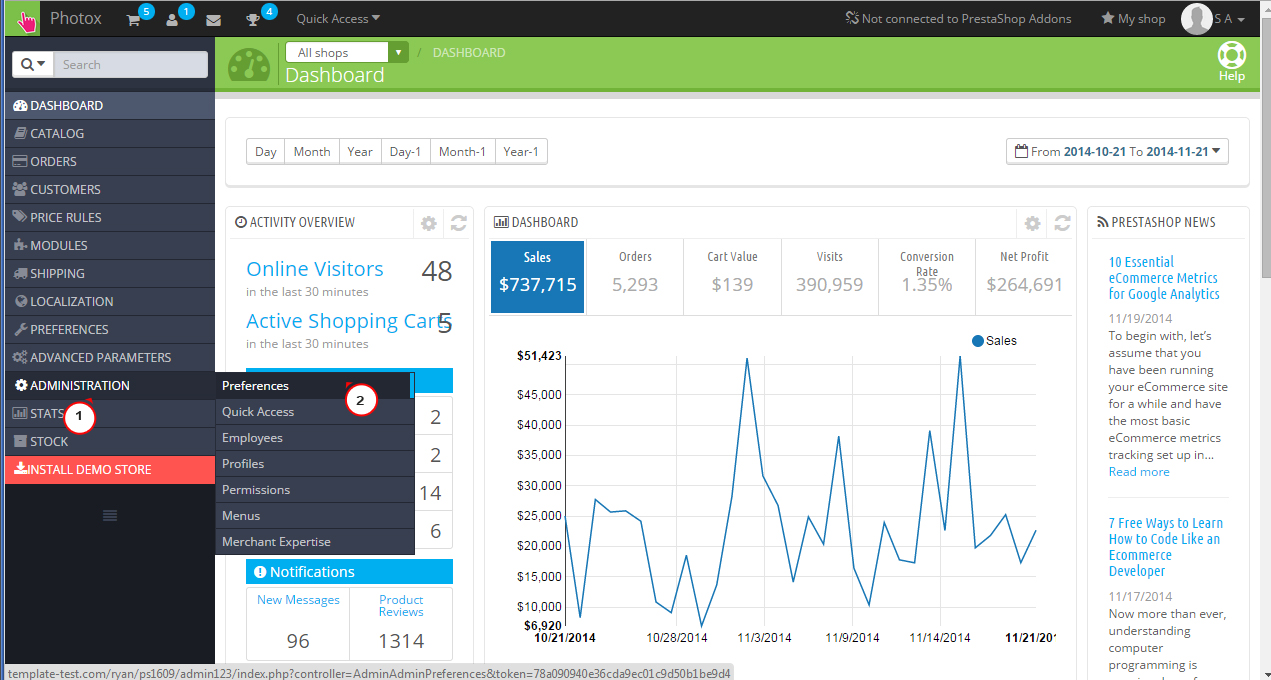
Log into your Prestashop admin panel. Go to Preferences -> General:
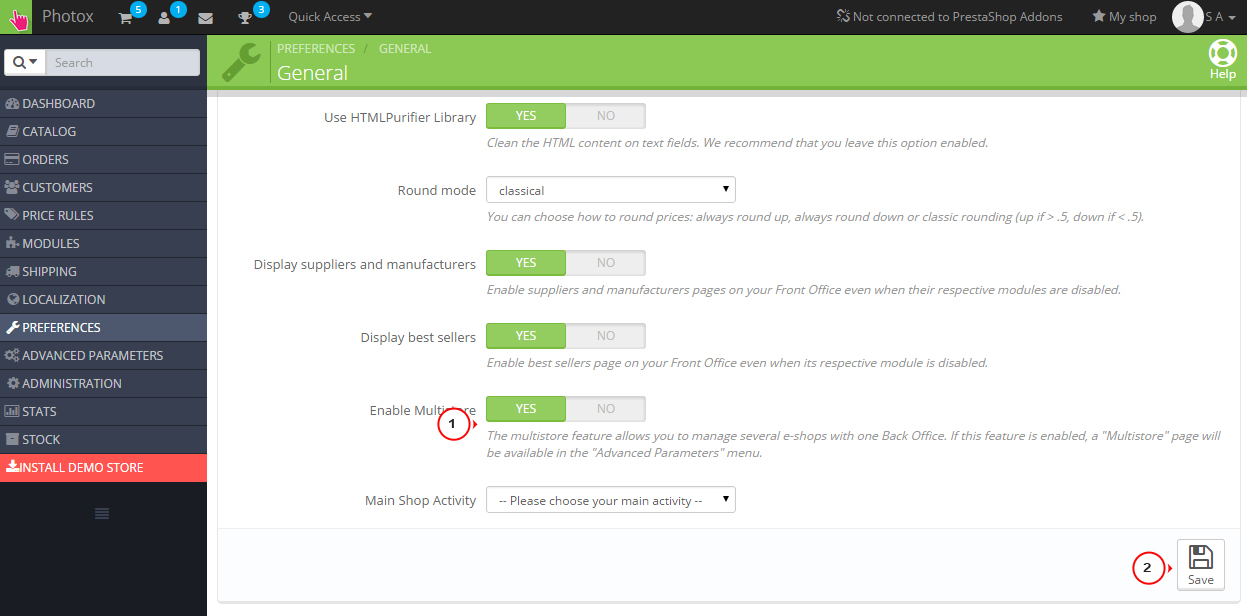
Set Enable multistore to YES:
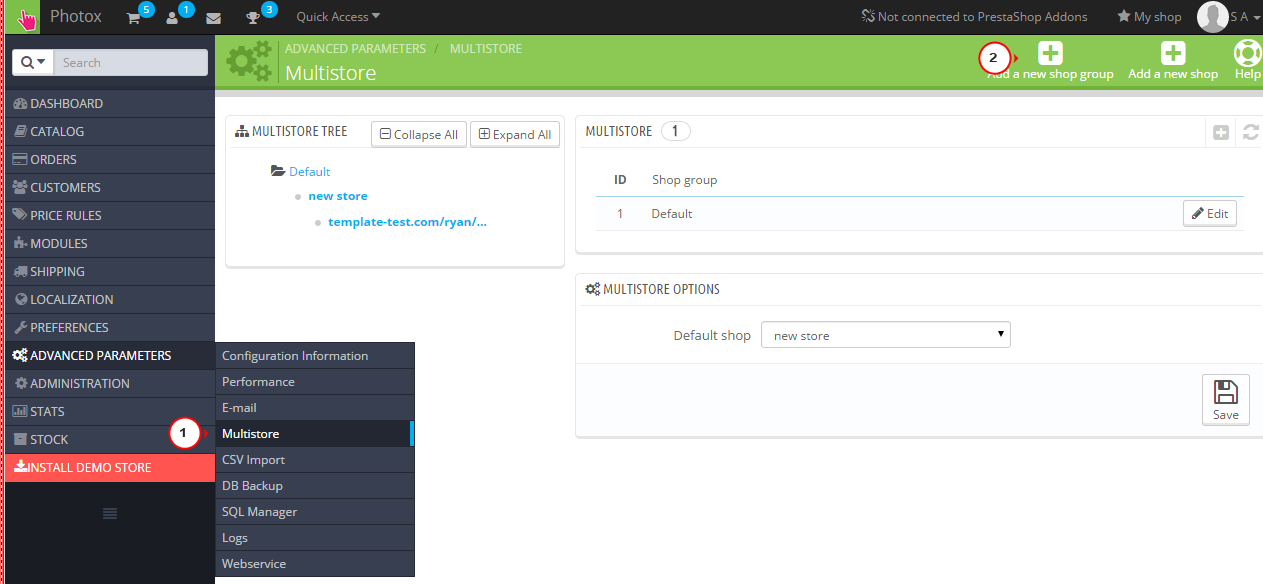
Open Advanced Parameters -> Multistore. Add new shop group:
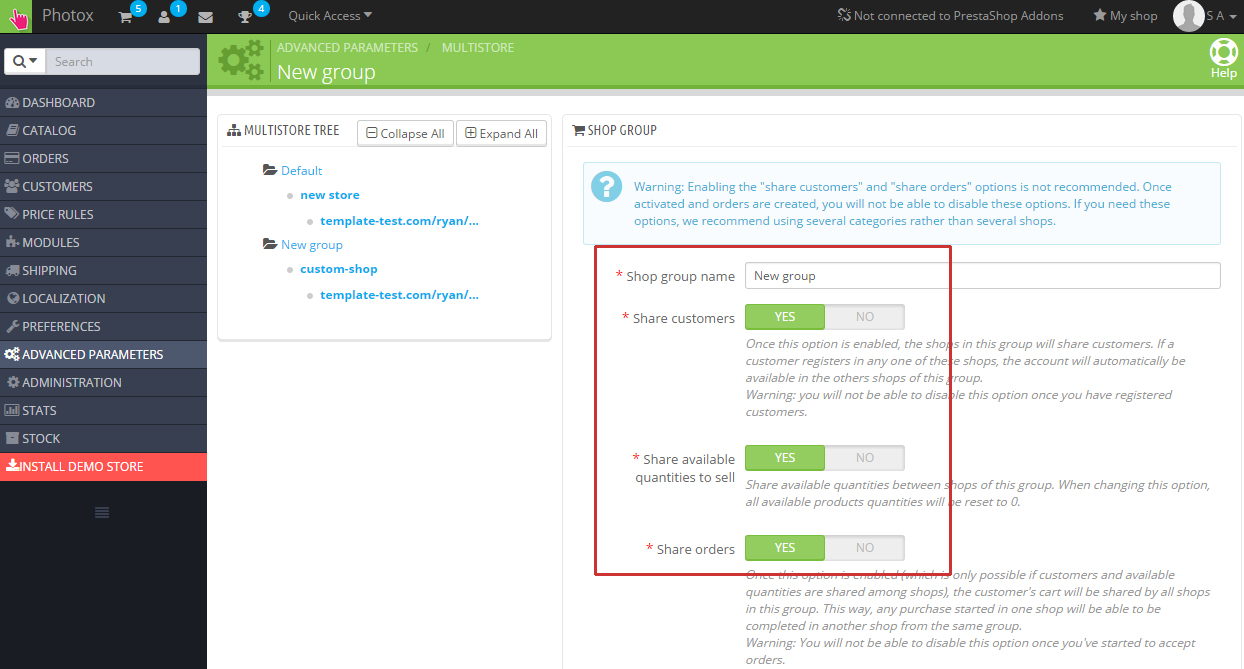
Specify the group name and select appropriate options. Be sure to check description of each field as some options cannot be changed later. Save changes:
Let’s add a new shop. Click on Add a new shop button in the top right corner:
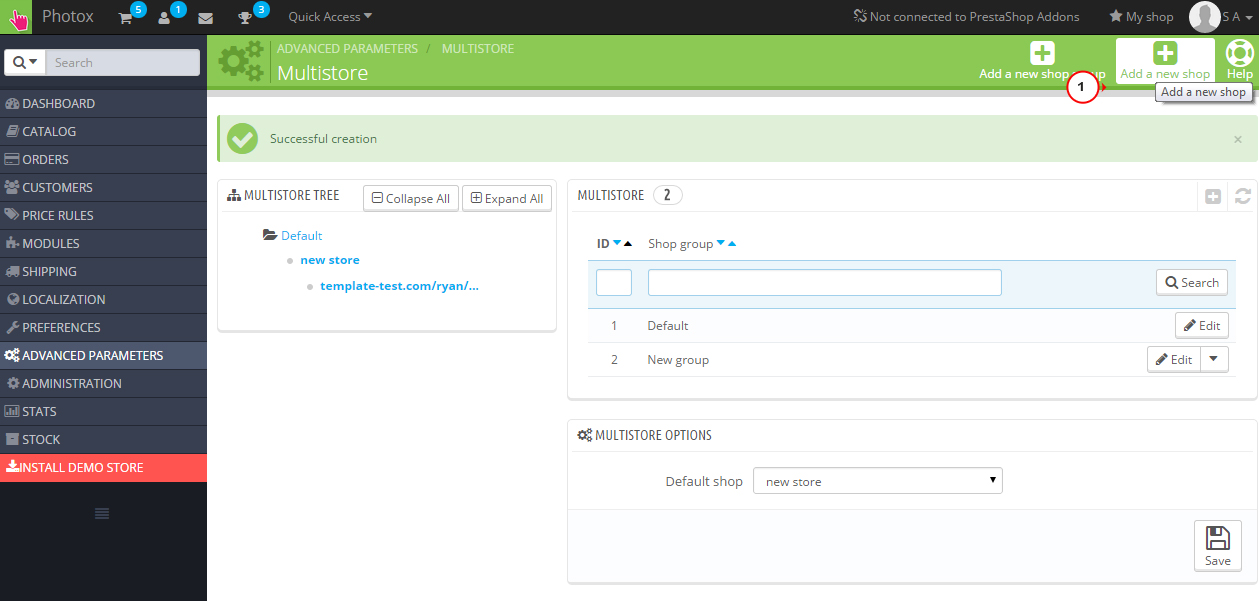
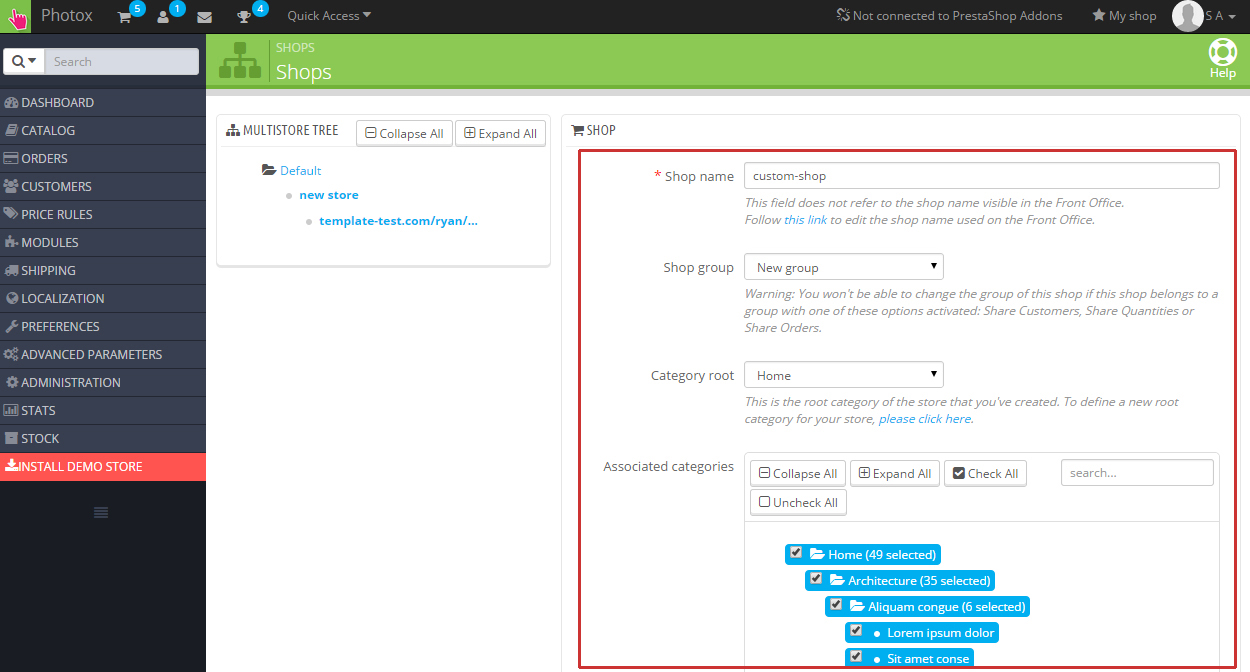
Specify shop name and select shop group. Select associated categories. Such categories will appear in the new store:
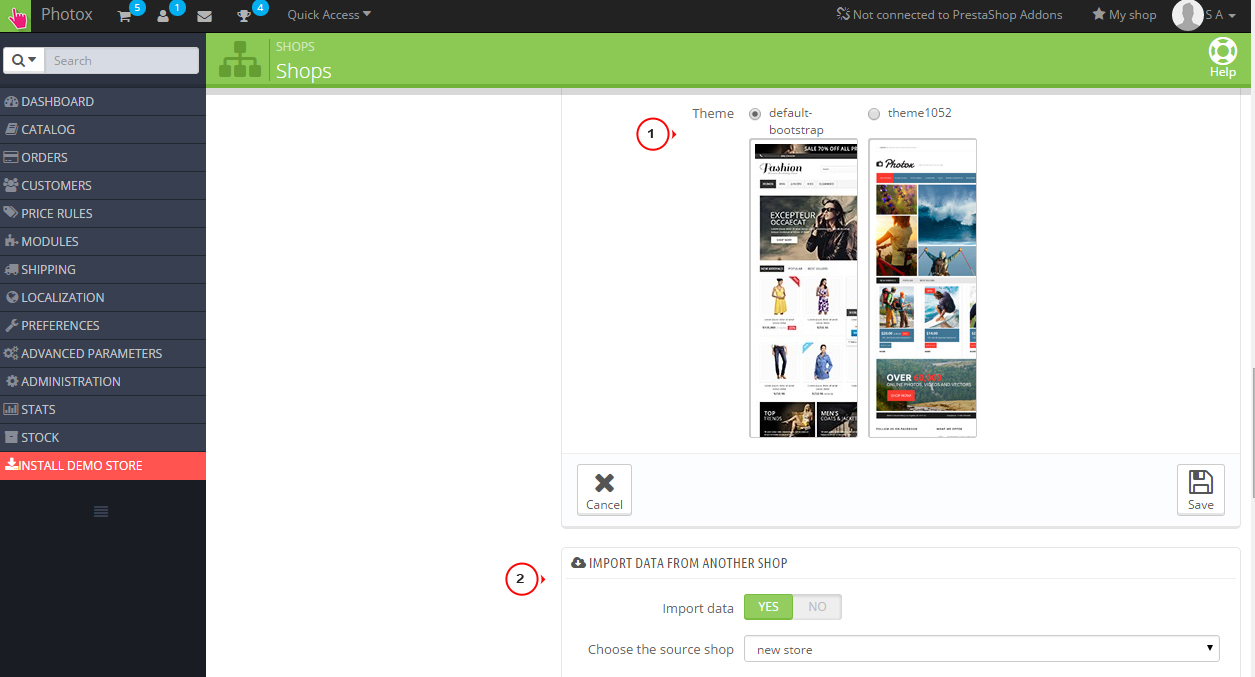
Select theme for the new store. Select data that should be imported to the new store. Save changes.
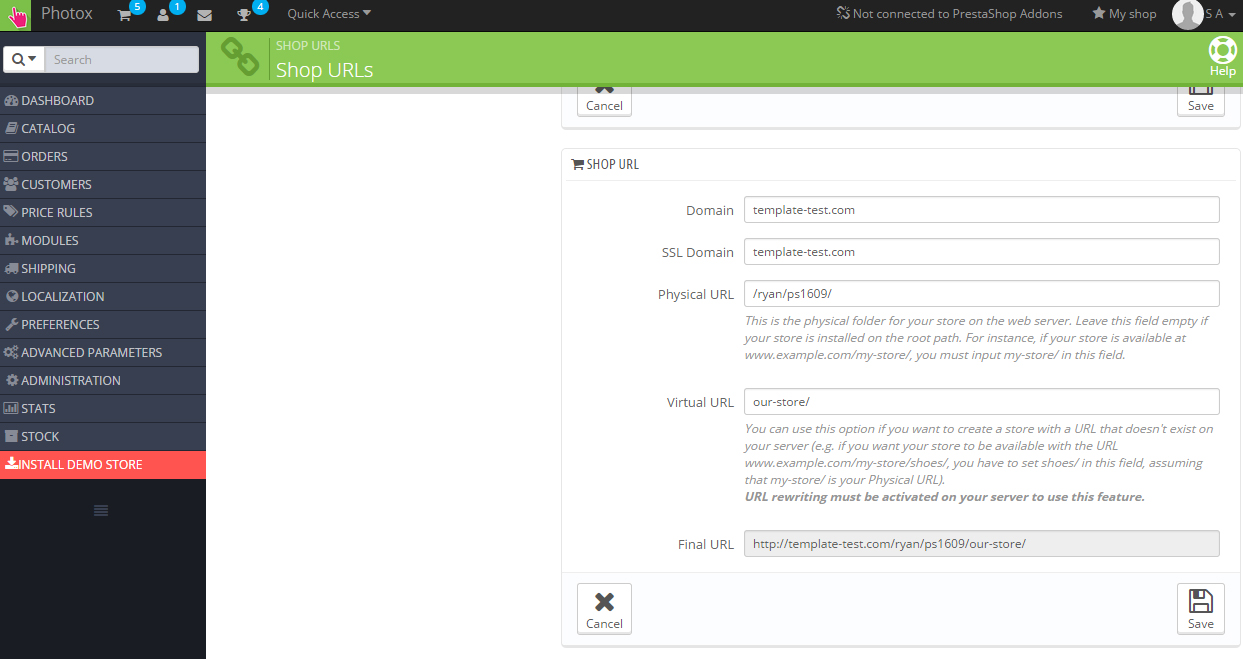
Now we should set URL for your new shop. Click on Click here to set URL for this shop:

Specify the domain name, SSL domain and Physical URL and Virtual URL. Final URL shows link to your new shop:
We have added a new store. Open URL and check how your store looks:
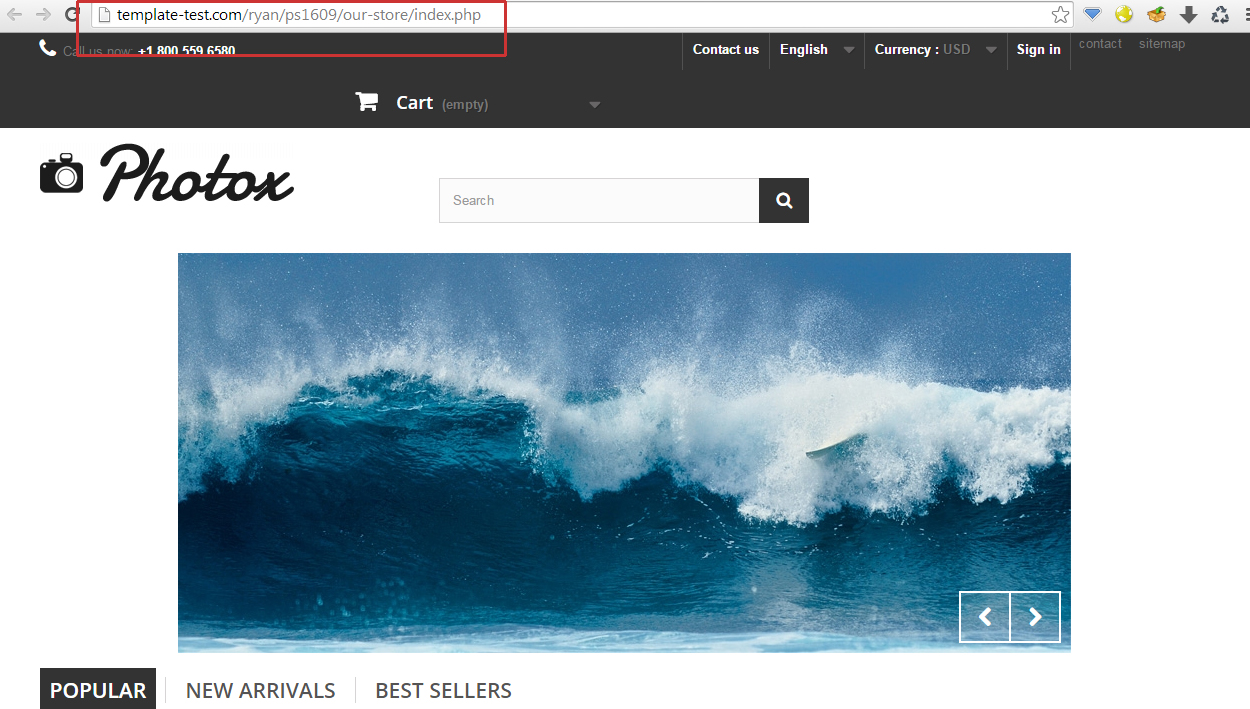
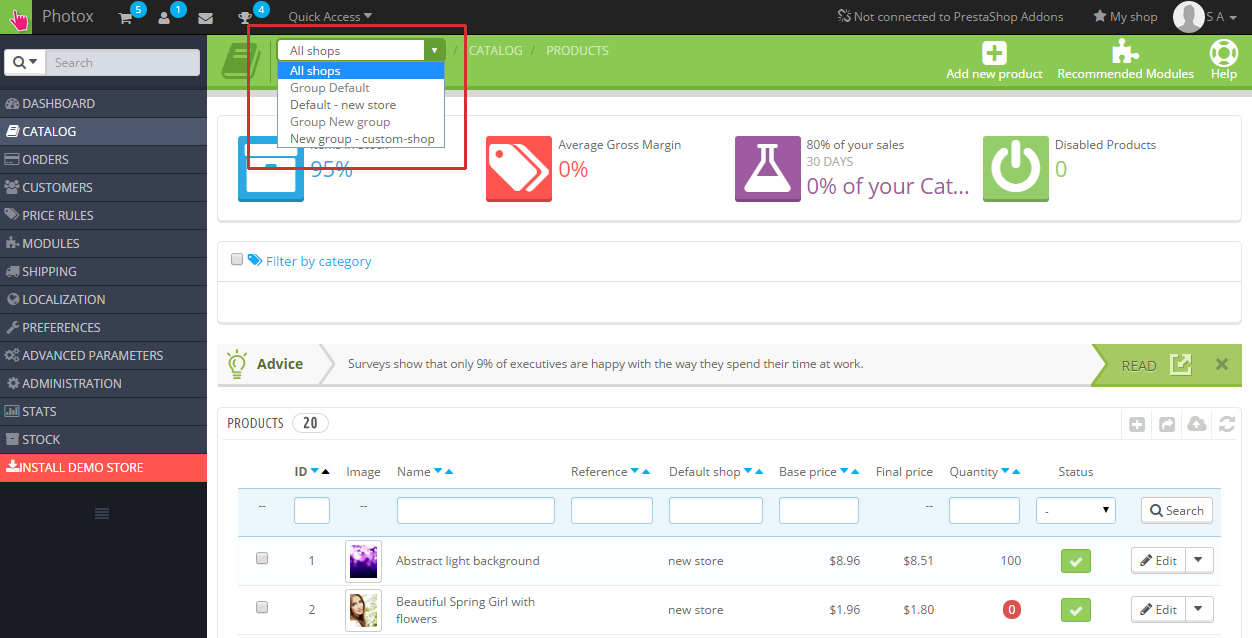
You should select appropriate store or store group when you perform changes in Prestashop (in admin section):
Feel free to check the detailed video tutorial below:
