


- Web templates
- E-commerce Templates
- CMS & Blog Templates
- Facebook Templates
- Website Builders
FAQs
General Tutorials
Featured templates
MonsterONE Subscrioption


This tutorial is going to show you how to work with the “Image slider for your homepage” module on your PrestaShop 1.6 template.
PrestaShop 1.6.X. How to work with “Image slider for your homepage” module
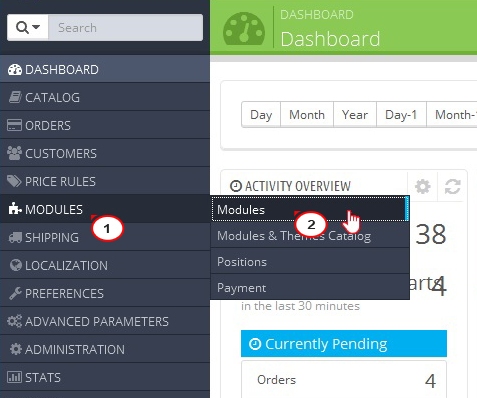
Log into your PrestaShop admin panel and go to the Modules -> Modules menu.
Enter the name of the slider (or just “slider”) in the “Search” field on the Module List page. This will show the “Image slider for your homepage” module. Click “Install” to install it if it’s not installed.
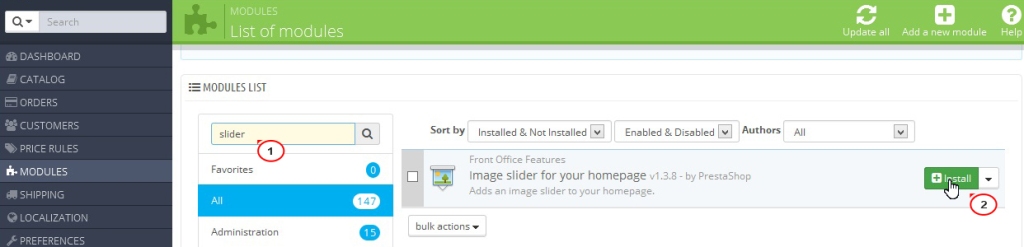
If the module is installed, click “Enable” to activate it, then click “Configure” to access its options.
On the module configuration page, in the “Settings” section, you can:
manually enter the maximum width of your slider images in px;
enter the slider speed in ms;
enter the slider pause time in ms;
set your slider to autoplay.
When you are done with the “Settings” part, click “Save.”
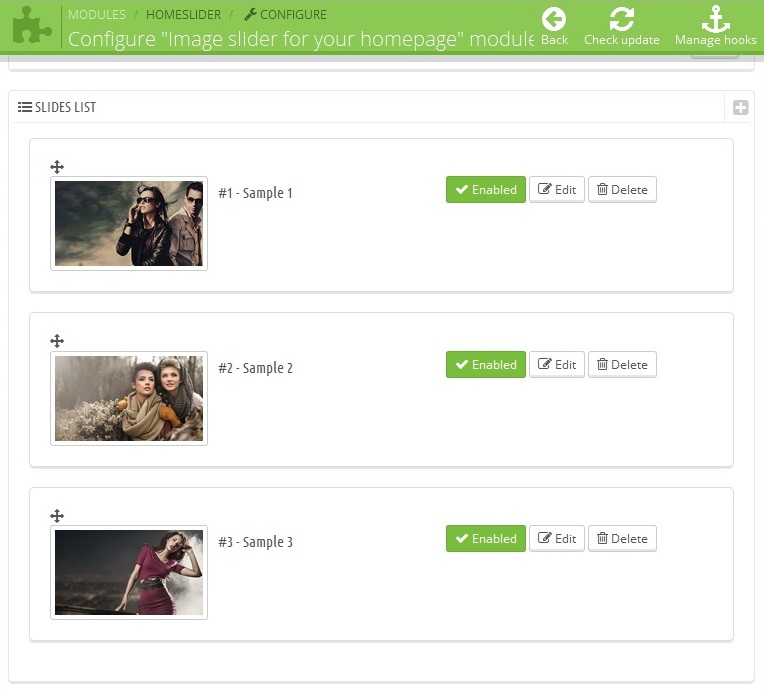
The second part called “Slider List” allows you to upload, edit, re-order or delete slider images. By default this part contains the original slider images. Click “Enabled” to disable, “Delete” to delete them or “Edit” to replace them with your images.
On the “Slider informations” page, the following options are available:
Select a file: click “Choose a file” to navigate to a new image on your computer and upload it;
Title;
URL;
Caption;
Description: allows you to add description text to the slider image. You can edit the content right in the text field by using the Tools of the default editor. Or you can also go to Tools -> Source code to edit the source code of the slide description in a separate pop-up window or insert one of your own created in some HTML editor.

Active: yes/now to enable/disable the particular slide.
To the right of each option there is a language button to select the Multilanguage version of your site. Click “Save” when you are done with the changes. Click “+” to add more slides. To re-order the slides, select the one you would like to change the current position of and drag it to the desired position.
Go to Modules -> Positions to hook the module to the “Top of pages” position on the Home page of your site.
Open the front end of your site to see the changes:

Feel free to check the detailed video tutorial below:
PrestaShop 1.6.X. How to work with “Image slider for your homepage” module
