


- Web templates
- E-commerce Templates
- CMS & Blog Templates
- Facebook Templates
- Website Builders
FAQs
General Tutorials
Featured templates
MonsterONE Subscrioption


This tutorial will guide you through on how to work with “TM MegaMenu” module in Prestashop 1.6.x.
PrestaShop 1.6.x. How to work with “TM MegaMenu” module
This module is designed to create complex menus. The module provides the ability to display one item (without sub-menu), a menu item with a sub-menu and a menu item with sub-menu by way of a multi-row and multi-column block. The module can be used in different positions, but it will display the same content.
Available positions: top(displayTop), left(displayLeftColumn), right(displayRightColumn), footer(displayFooter). You can add categories (with subcategories), CMS categories (with subcategories), manufacturers (one or a list), suppliers (one or a list), stores (if multistore is used), links to any product, information block about the product, custom links are not limited in quantity, custom HTML blocks are not limited in number, and banners. Check more details below.
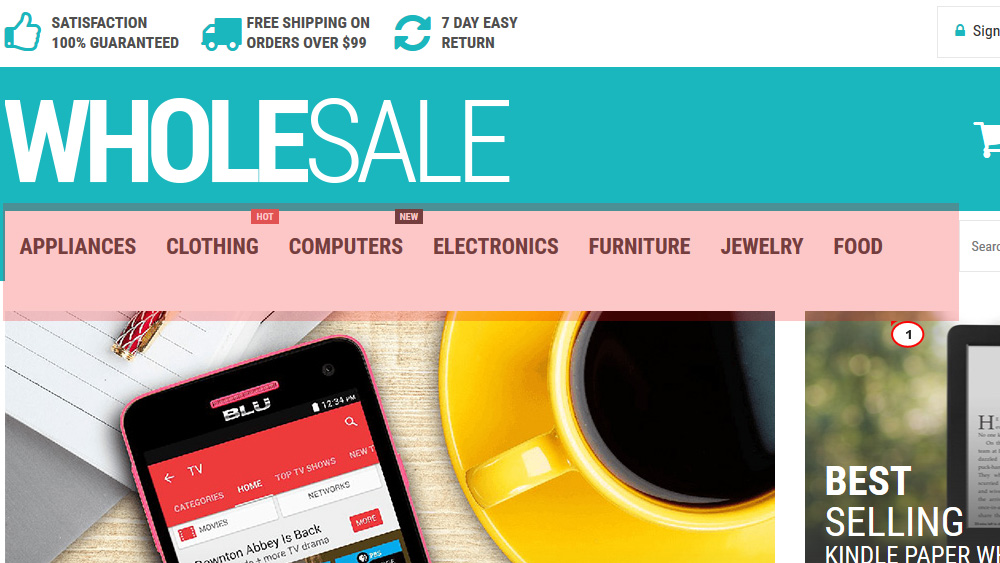
TM MegaMenu Tabs.
TM MegaMenu tabs are the basic items which are the top menu part:
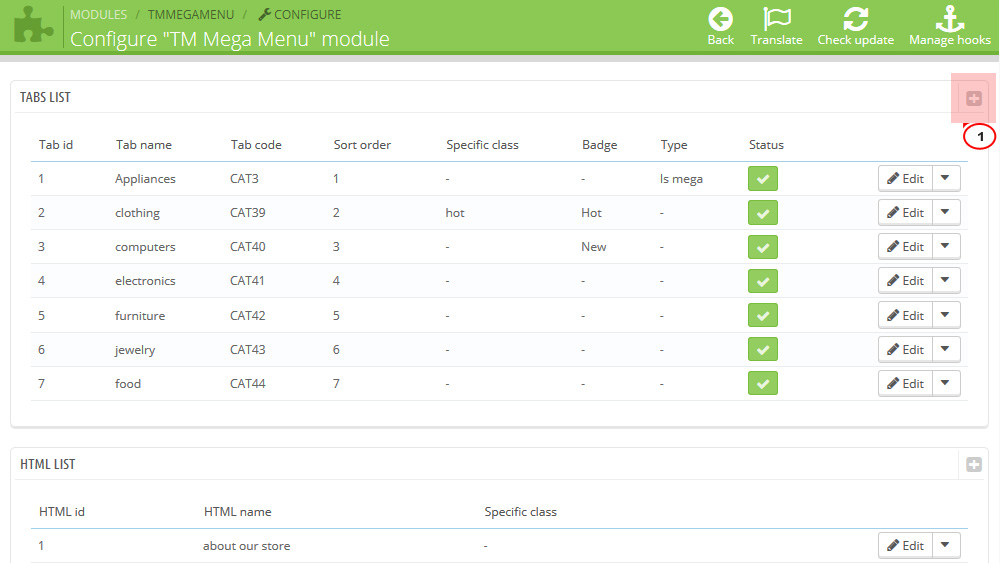
In order to create a new tab, open the Admin panel – > Modules – > Modules – > TM Mega Menu module and click + in the Tabs list table:
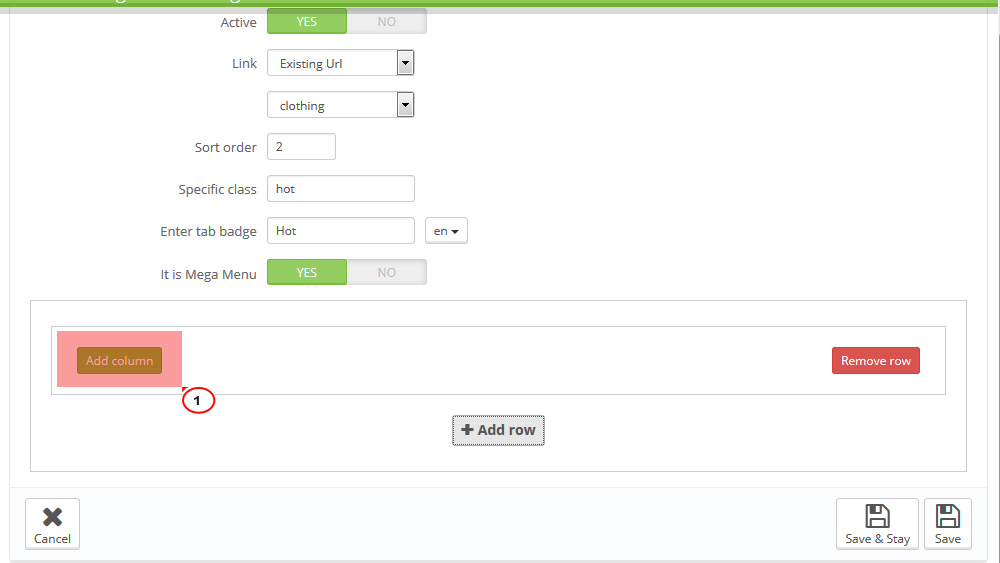
In the form that appears, fill in the required fields:
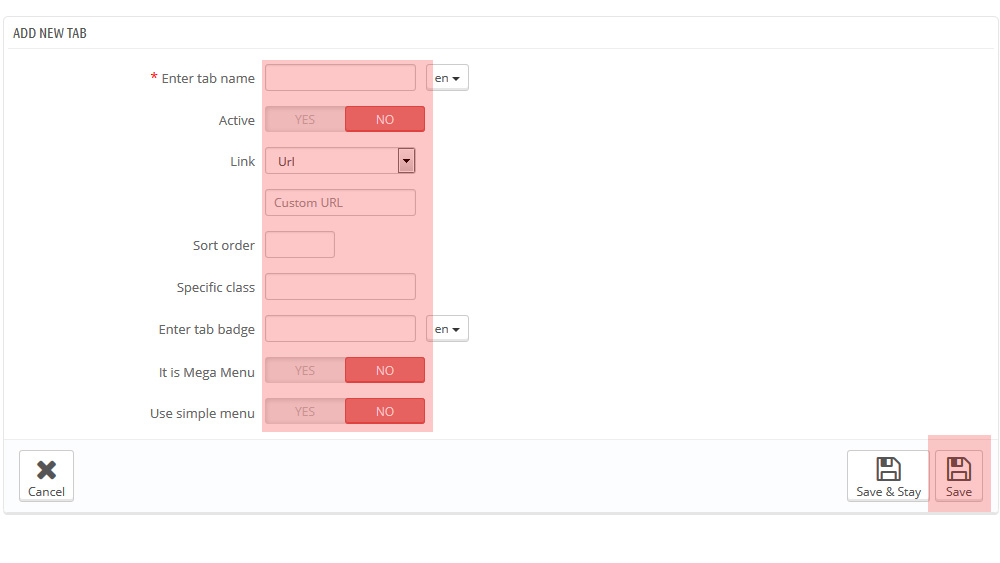
Enter tab name – the tab title which is mandatory to be filled in for the default language. If the additional languages fields are not filled in, the tab gives its name from the default language. Field is mandatory.
Active – active/inactive tab.
Link – a link that is assigned to this tab. You can enter a custom link, or choose from existing options (categories, CMS categories). If you leave the field blank, the link of this tab is inactive.
Sort order – the order of tabs to be displayed.
Specific Class – the class which is added to emphasize the item (CSS class).
Enter tab badge – is filled in depending on multi-languages.
It is Mega Menu – given tab sub-menu is a Mega Menu. *
Use simple menu – given tab sub-menu is a simple menu. **
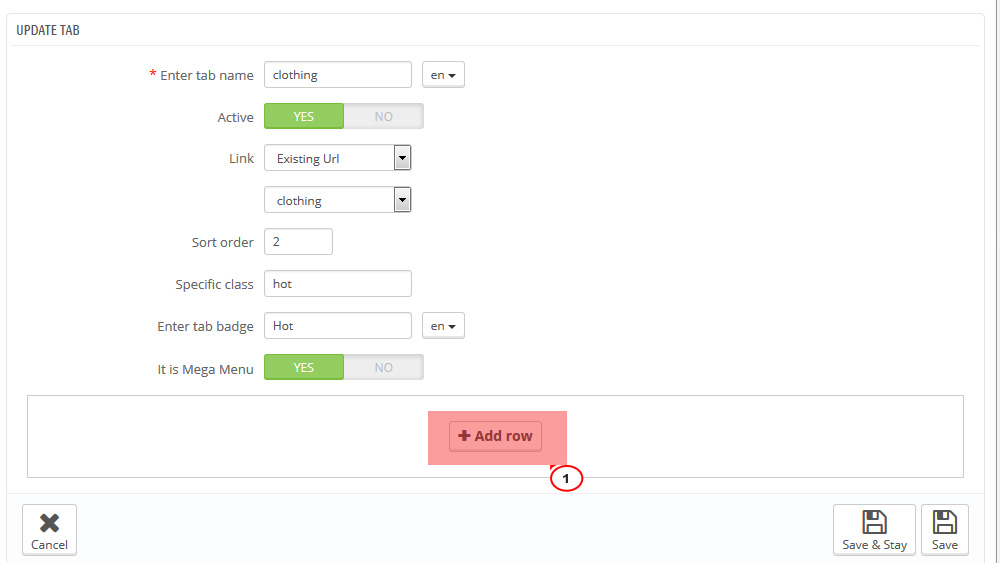
* It is Mega Menu. If this option is selected, there will be a form to create a complex menu (Mega Menu).
Complex menu consists of rows and columns in rows.
The Row is a part of the Mega Menu structure. It includes the menu columns. The existing row can be removed by clicking the appropriate button. The row will be removed with the content it includes. The rows quantity is not limited.
The Column is a part of the Mega Menu structure, which is placed inside the rows. (The Class) The width of the column cannot be less than 2 and more than 12. In order to make the menu display properly, the total column width cannot exceed 12. The width (class) is a Bootstrap column type, corresponds to the same values.
In order to create the menu, click the Add row button:
In the form appeared, click Add column button:
The pop up window appears, where you need to specify the column class (from 2 to 12). The column itself appears next where you need to set necessary settings:

Here you can change the column class, add CSS class, and also the required content from the list provided. You can add/remove content by double clicking the required item, or by highlighting required items and clicking the corresponding button.
Block can be removed by clicking Remove block button in the footer of the block.
By removing the row, the included columns are also removed.
**
Use simple menu. If this option is selected, there will be a form to create a simple menu. This is a menu that displays the selected content in a single column. If the menu has embedded content, the new column is added:

In order to move the content available in the selected menu, double-click or highlight the desired content and press the corresponding button.
Inactive menu information is saved while switching between menu types and you can always change the type of menu.
TM MegaMenu Menu HTML
In this section we will explain how to create a custom HTML block in the Mega Menu.
The module has a table listing all the available blocks to which you can add a new block by clicking the + button in the top right of the table.
In the form that appears, fill in the required fields:
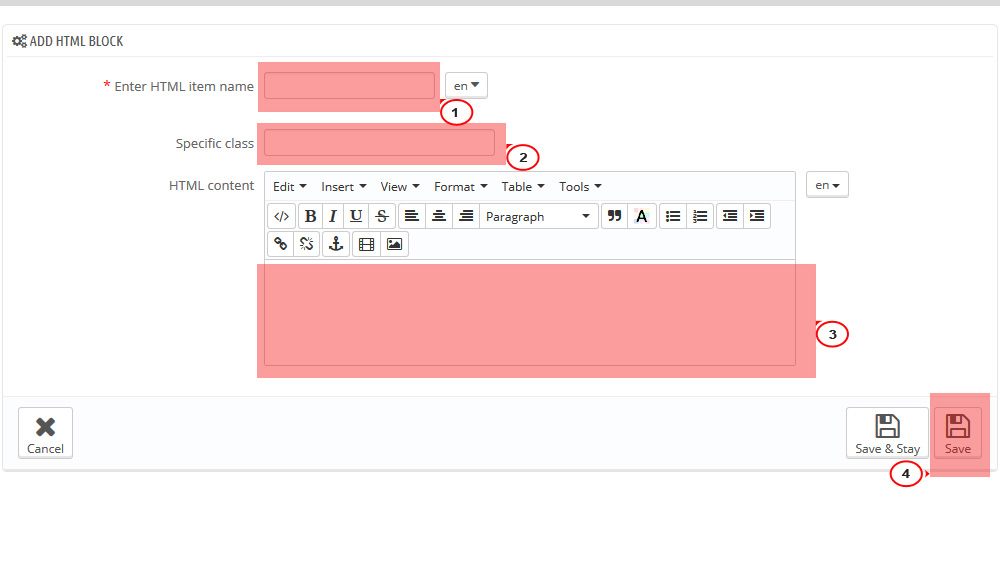
Enter HTML item name – HTML block name, is mandatory to be filled in for the default language.
Specific class – block CSS class.
HTML content – HTML content.
Added block will appear in the list of blocks, as well as in the list of available content while creating menu blocks.
TM MegaMenu Links
In this section we will show how to create custom links in the Mega Menu.
The module has a table listing all the available links to which you can add a new link by clicking the + button in the top right of the table.
In the form that appears, fill in the required fields.
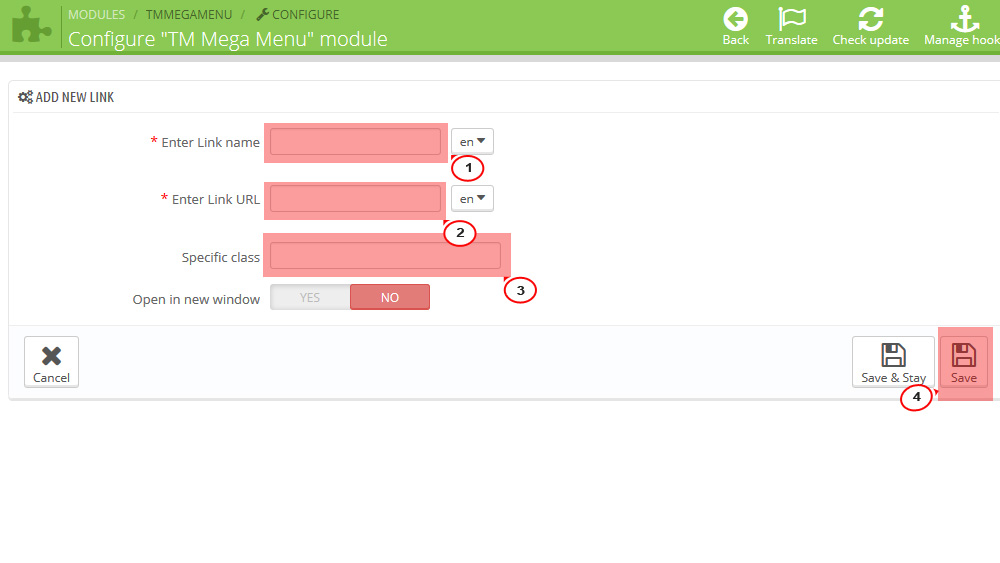
Enter Link name – link name, is mandatory to be filled in for the default language.
Enter Link URL – link URL, is mandatory to be filled in for the default language.
Specific class – block CSS class.
Open in new window – open link in a new window.
Added link will appear in the list of links, as well as in the list of available content while creating menu blocks.
TM MegaMenu Banners
In this section we will explain how to create banners in the Mega Menu.
The module has a table listing all the available banners to which you can add a new banner by clicking the + button in the top right of the table.
In the form that appears, fill in the required fields:
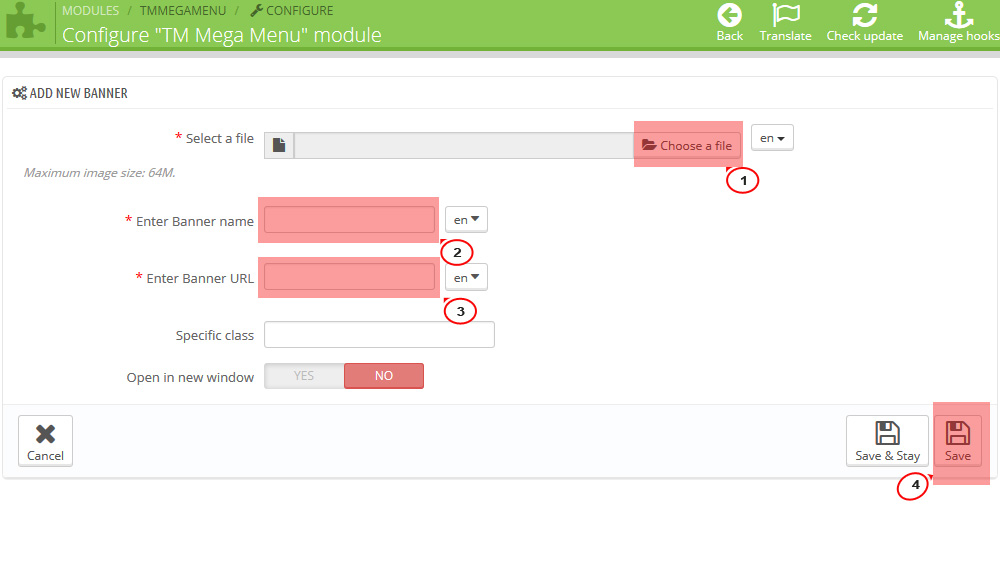
Select a file – select a file, is mandatory to be filled in for the default language.
Enter Banner name – banner title, is mandatory to be filled in for the default language.
Enter Link URL – link URL, is mandatory to be filled in for the default language.
Specific class – block CSS class.
Open in new window – open link in a new window.
Added banner will appear in the list of banners, as well as in the list of available content while creating menu blocks.
Feel free to check the detailed video tutorial below:
