


- Web templates
- E-commerce Templates
- CMS & Blog Templates
- Facebook Templates
- Website Builders
FAQs
General Tutorials
Featured templates
MonsterONE Subscrioption


Hello! Today we are going to learn how to manage TM One Click Order module in PrestaShop.
In order to locate it, navigate to the Modules>Modules section in your PrestaShop dashboard and look for its name. Then click on a Configure button.

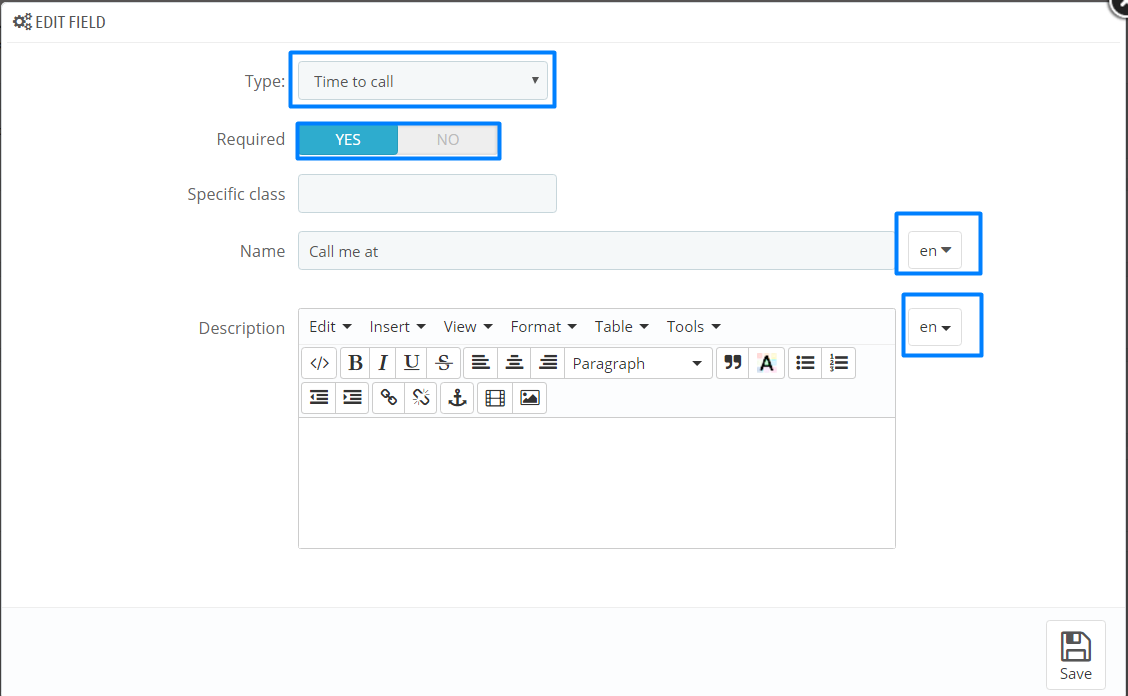
This module has 3 tabs: Preorder Template, Preorder Success Message and Settings. The first tab allows to manage popup form for the customers, where they are prompted to provide the needed information. Let us add some new field to it. Click the Add new field button.

Choose field type depending on the information you would like customer to provide. Then you can set this field to required if needed. Fill in the Name field for all languages, this label will show up on frontend. Also add some field description and specify CSS class for applying custom styles. Once you are done, click Save.
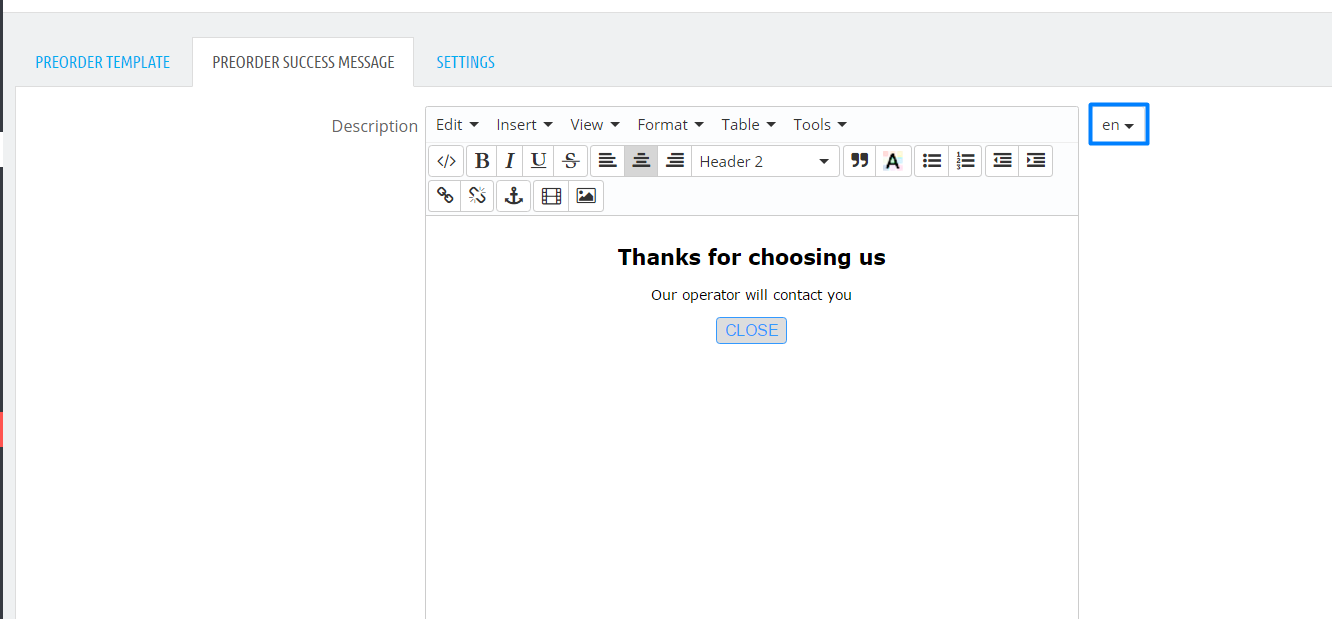
Under the Preorder Success Message you can set your own popup message when the form is filled. Make sure to specify the message for all the languages available.
Under the Settings you can enable online notifications for the placed orders. Set Ajax order to Yes and specify time interval between notifications in Ajax order timeout.

Now navigate to any product, click on the Add to cart and then on Buy in one click buttons in order to use the module’s functionality. Fill in the fields.

Once the order has been placed, you can check it under Orders -> Quick orders in your PrestaShop dashboard.
Feel free to check out complete module documentation.
This is the end of the tutorial.Feel free to check the detailed video tutorial below:
PrestaShop 1.6.x. How to manage “TM One Click Order” module