


- Web templates
- E-commerce Templates
- CMS & Blog Templates
- Facebook Templates
- Website Builders
FAQs
General Tutorials
Featured templates
MonsterONE Subscrioption


The following tutorial will show you how to maintain email configuration in PrestaShop 1.6.x.
PrestaShop 1.6.x. How to maintain email configuration
Adding a new contact email address
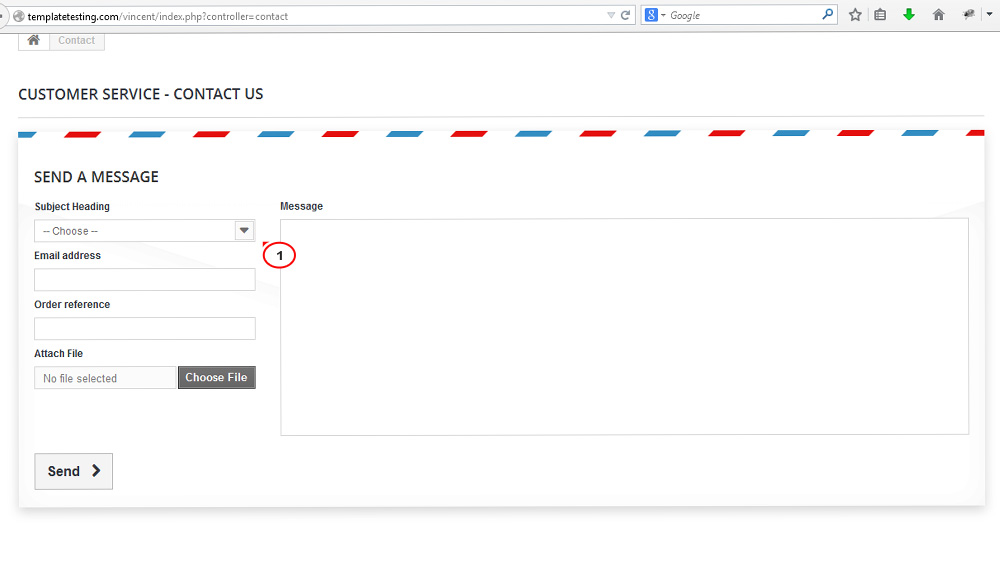
From your Contact Us page the customers can select which department to send their questions or comments. There are two default contacts: webmaster and customer service.
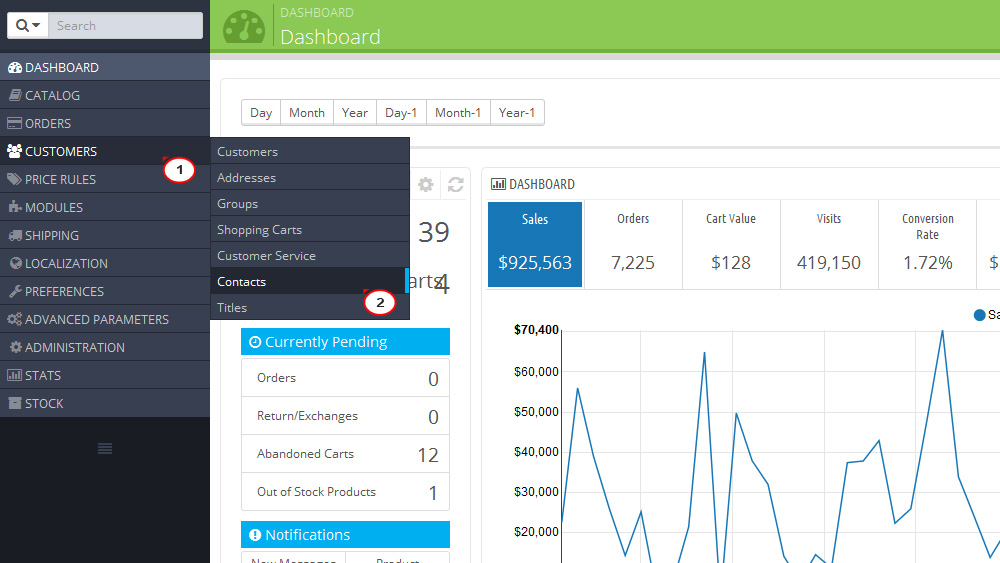
To add a new contact email address, log into your PrestaShop 1.6 admin dashboard.
Navigate to Customers -> Contacts menu.
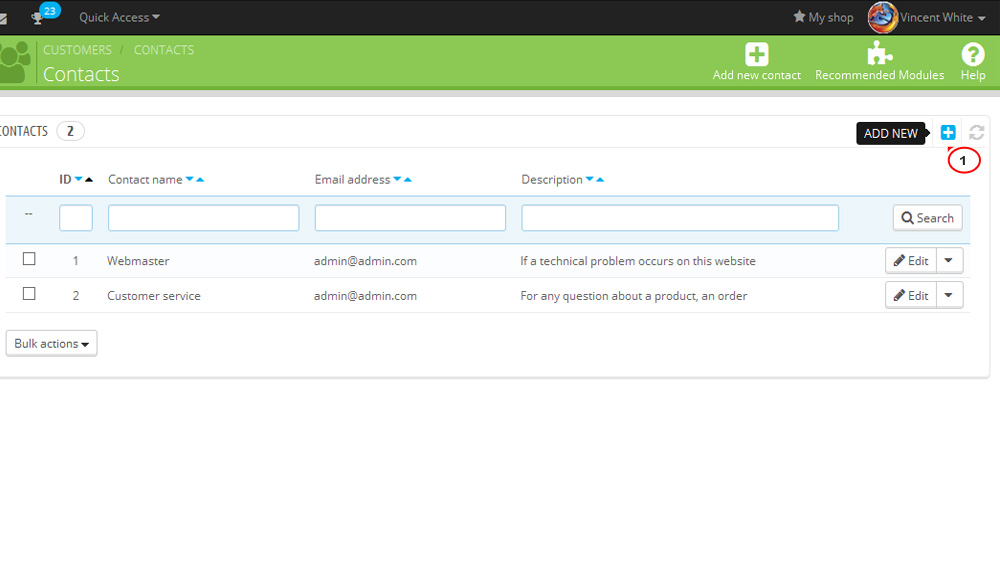
Click Add New button in the top right corner.
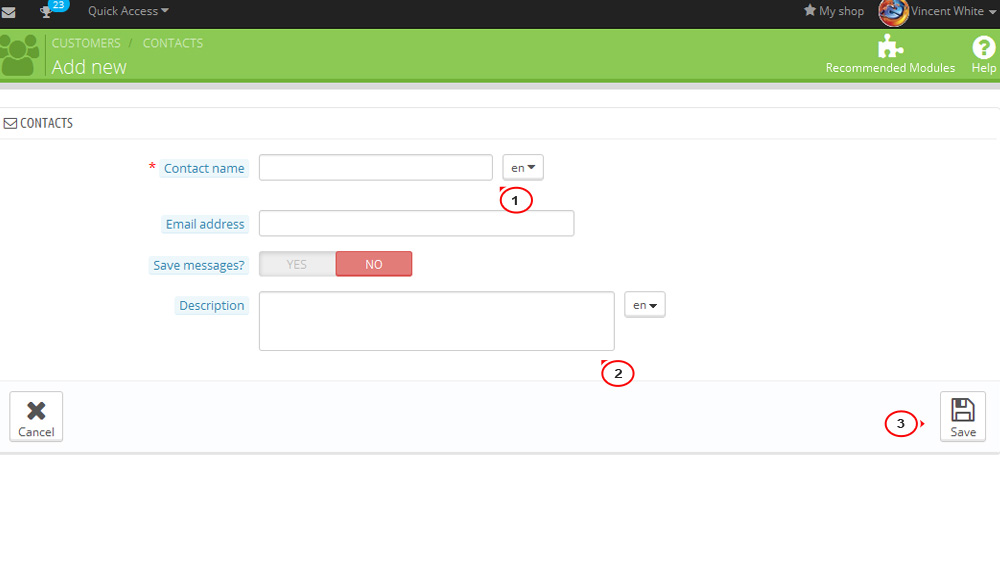
Here you need to enter the following options:
Contact name – The title of the store department.
Email address – The contact email of the new department
Save messages? – If enabled, all messages will be saved in the “Customer Service” page under the “Customer” menu.
Short description – The information regarding the new contact.
Once completed, click Save button to save the new address.
Now the contact list displays your newly added contact.
E-Mail Parameters
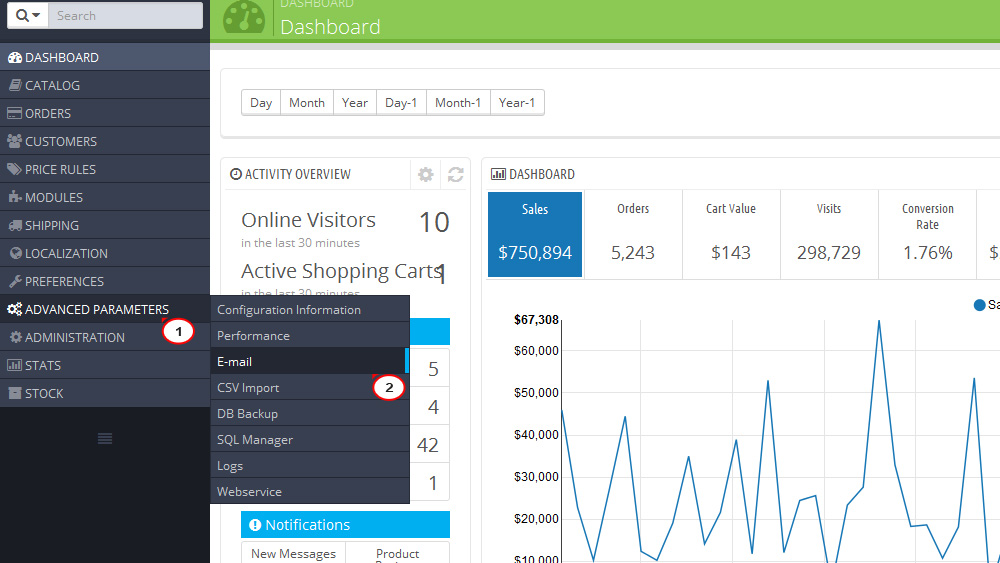
If you store does not send emails, you should check your email configuration in Advanced Parameters -> E-mail menu.
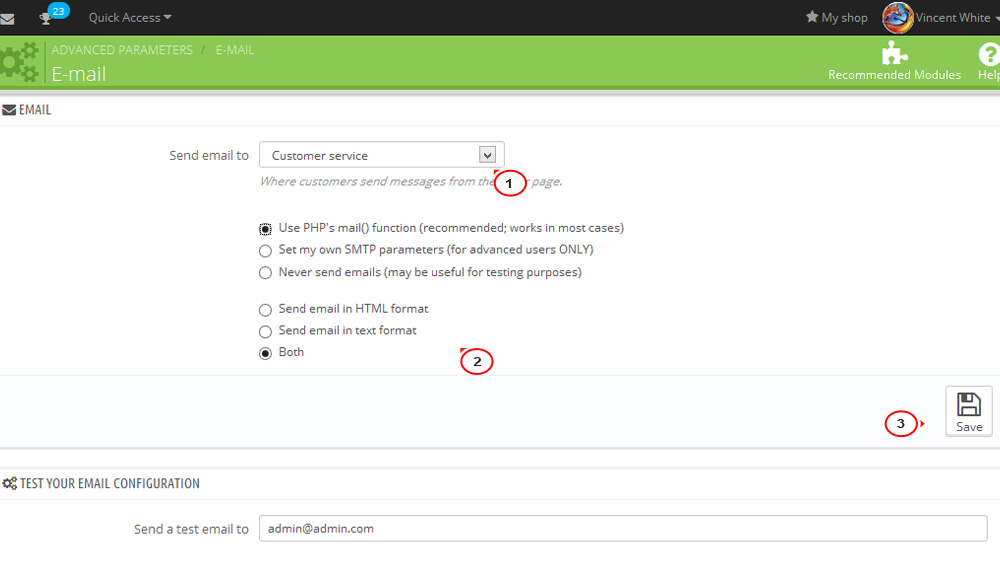
In E-mail section there are three sets of options:
Send e-mail to. At the end of the checkout process a client can send a message to your staff. You can choose to whom this message will be sent by selecting the department from the drop-down list.
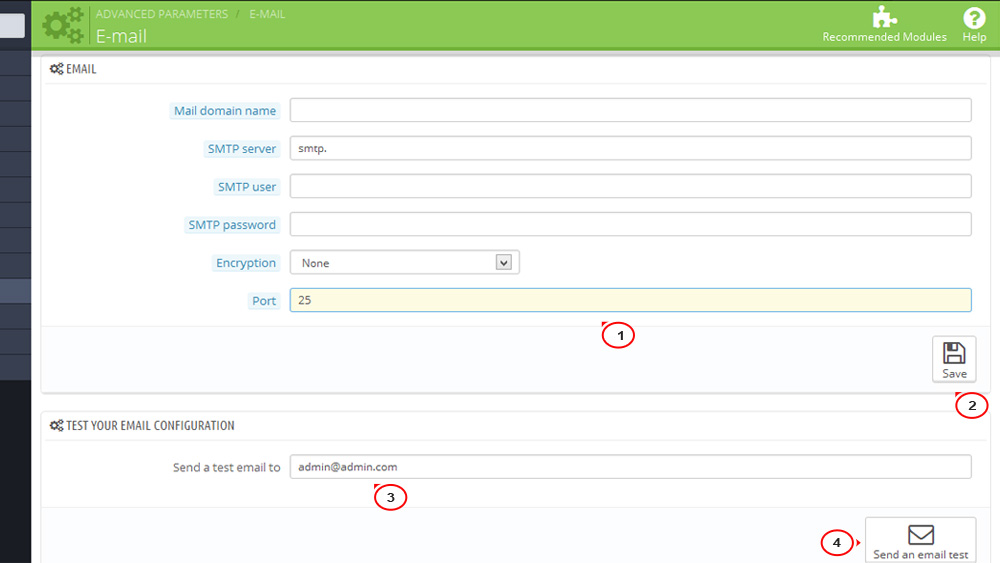
Technical configuration. How e-mails are technically sent.
NOTE: We strongly advise you to consult your hosting provider concerning the settings which you should use for this feature. The work of your emails depends strongly on a web server configuration.
Never send e-mails. Activate this option if you want to disable emails completely
Use the PHP mail() function. This option is recommended by default. If that does not work, you should configure SMTP option.
Set my own SMTP parameters. In case you activate that, a new section will appear. The information for these fields should be provided by your web host: mail domain name, SMTP server, SMTP user, etc. Make sure to transcribe exactly what your web host provides you with.
NOTE: Your SMTP configuration information can be provided by the following services only:
Your system administrator
Your hosting provider
Your Internet service provider
Your e-mail provider.
Your web host can tell you whether your username is mandatory or not, as well as the password information and the encryption to use.
For example, in the case of Gmail (the e-mail service offered by Google) you have to enter the following information:
SMTP server: smtp.gmail.com
User: my.user.name (example)
Password: RT22UE87 (example)
Encryption: SSL
Port: 465
You can find more details on the following page.
Visual configuration. How e-mails are visually sent
Send email in HTML format. This format is great to look at, but might not work everywhere.
Send email in text format. The text is much simpler to look at, but much more reliable.
Both. That is the recommended option.
Test your email configuration
Once you have configured your e-mails, enter your own e-mail address in this section.
Click Send an e-mail test button.
Now check the inbox of the address provided to verify that you have received the test e-mail in the correct format. If you have not received it, update your configuration with the correct information.
That is the end of the tutorial. Now we know how to maintain email configuration in PrestaShop 1.6.
Feel free to check the detailed video tutorial below:
