- Web templates
- E-commerce Templates
- CMS & Blog Templates
- Facebook Templates
- Website Builders
PrestaShop 1.5.x. How to manage modules positions
November 30, 2013
This tutorial shows how to manage module positions in PrestaShop 1.5.x templates.
PrestaShop 1.5.x. How to manage modules positions
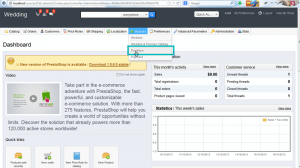
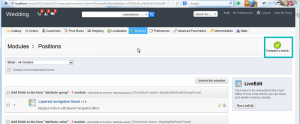
1. In order to manage modules positions you need to open Modules – Positions menu.
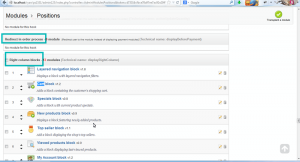
2. Modules are organized in so-called hooks. In most cases you will need these hooks:
- Payment – check out page (selection of payment method)
- Right column blocks
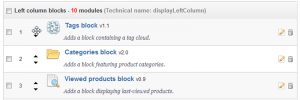
- Left column blocks
- Homepage content – center column of your home page
- Top of pages – by default you’ll find the language block and the currencies block here…
- Footer
3. Moving a module within a hook. You have two ways of changing a module’s position within a hook.
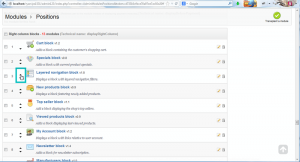
3.1. – Click the up or down arrow. The page will reload and display the new order.
3.2. – Drag and drop the module’s row itself:
3.2.1. Place the mouse cursor between the moving arrows and the module’s name to have it change into a "move item" cursor.
3.2.2. Click and hold while moving the cursor over the row/position where you want the module to be: the module’s row changes position accordingly.
3.2.3. Release the mouse button: the current position for the module is saved.
4. Attaching a module to a hook: Transplanting.
In PrestaShop, "transplanting" is the action of attaching a module to a hook. You can add a module to more than one hook. Please note that some modules are written to only be attached to a given set of hooks and some hooks are written to not accept some specific kinds of modules. Therefore, be aware that you cannot always transplant any module to any hook.
Make sure to disable the cache when testing the effect of a new module on the front-end. You can do this in the "Preferences" page, under the "Advanced parameters" menu.
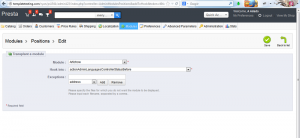
4.1. The transplanting process has its own interface:
- Go to the "Modules" menu, and its "Positions" page.
- Click the "Transplant a module" button at the top right. The transplanting interface appears.
In the "Module" drop-down list, select the module you want to transplant.
In the "Hook into" drop-down list, select where you want to transplant the module to. There are many available hooks. You can change your setting later if needed.
In the "Exceptions" field, type the name of the file(s) of the pages in which you do not want the module to appear.
5. Removing a module from a hook. There are two ways to remove a module from a hook.
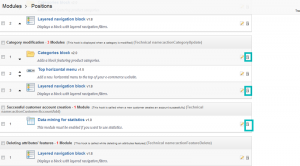
Removing a single module: click the trashcan icon on the right of the module’s row.
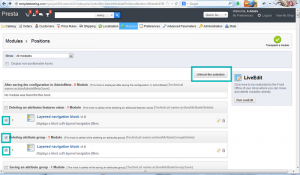
Removing a batch of modules: select the modules by checking the box on the right of their row, and then click the "Unhook" button found at the top and the bottom of the list of hooks.
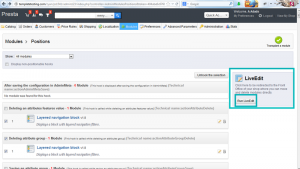
6. Transplanting a module visually: Live Edit. Another way to move modules around on the shop’s homepage is the Live Edit mode, You can access it from the "Position" page, by clicking the "Run LiveEdit" button.
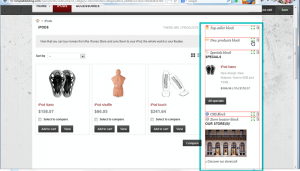
All module blocks have a dotted red border, enabling you to see which blocks you can move.
- At their top left side, a block-specific icon appears, along with the block’s name, enabling you to always find your way among blocks.
- At their top right side, they have two icons:
- A "move" icon: click on it to start moving the module around.
- A "trash" icon: click it to remove the block from the home.
Feel free to check the detailed video tutorial below:


