


- Web templates
- E-commerce Templates
- CMS & Blog Templates
- Facebook Templates
- Website Builders
FAQs
General Tutorials
Featured templates
MonsterONE Subscrioption


This tutorial will show you add a blog post in Shopify store.
Shopify. How to add a blog post
By default, your store comes with a blog already created for you. If you’re setting up your shop for the first time, you will already have a link in your store’s main navigation called ‘Blog’. Let’s see how to add a new blog post:
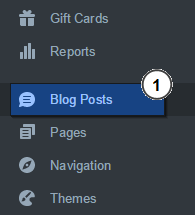
From your shop admin, go to the ‘Blog posts’ page:
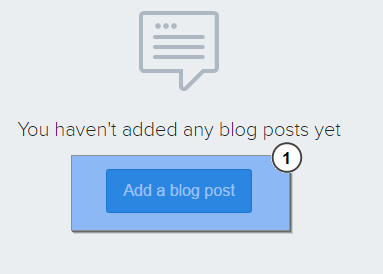
From your ‘Blog posts‘ page, click ‘Add blog’ post. This will take you to the ‘Write your blog post‘ section:
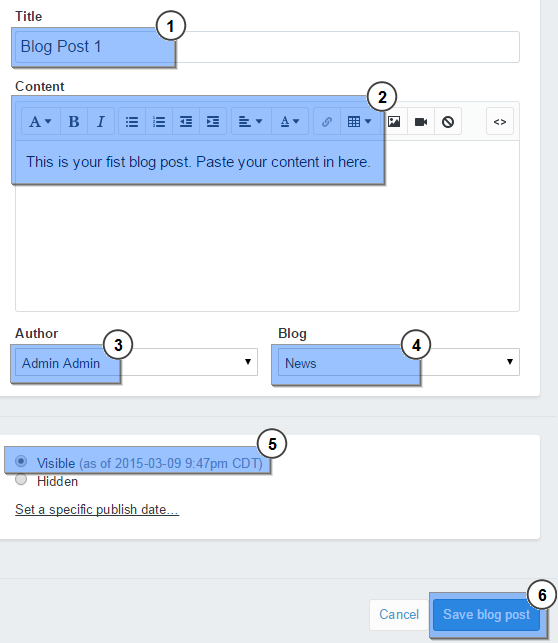
In the ‘Write your blog post’ section, fill out the following fields:
Title: enter the title of the article;
Author: select your name from the drop-down menu;
Blog: select which blog you would like your blog post to be published;
Visibility: control if this blog post can be viewed on your storefront.
Under the ‘Tags’ section, you have the option of adding tags to your blog posts to help to categorize them and make them more visible for better search engine optimization (SEO). Enter one-word descriptors for your post in the tag field. Each word should be separated by a comma (,):

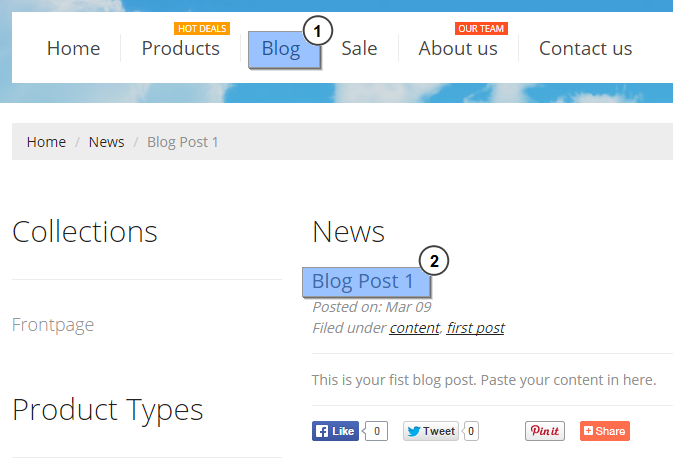
Click ‘Save’ button. Your blog post should now be visible in your store.
Feel free to check the detailed video tutorial below:
