


- Web templates
- E-commerce Templates
- CMS & Blog Templates
- Facebook Templates
- Website Builders
FAQs
General Tutorials
Featured templates
MonsterONE Subscrioption


This tutorial shows how to add and remove tags in bulk in Shopify.
Shopify. How to add and remove tags as a bulk action
In order to add and remove tags as a bulk action, you should perform the following:
Step 1. Navigate to Products – Products in Shopify admin.
Step 2. Make a selection of products you want to add the tags to:
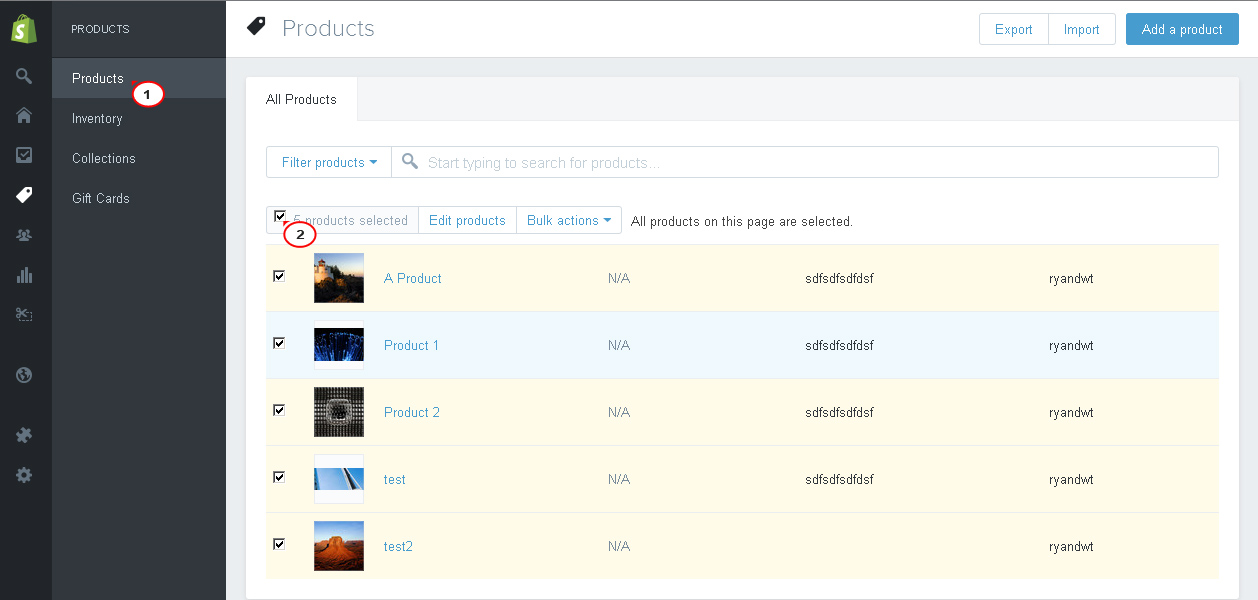
There are 3 ways to select list items to prepare for a bulk action:
Select items one by one:
– Click the checkbox next to each item you want to select.
Select a range of items:
– Click to select an item, then hold the shift key and click another item. This will select the first and last items you clicked and all items in between.
Select all list items on a page:
– There is a master checkbox at the top of most item lists. You can click the master checkbox to select every list item on a page.
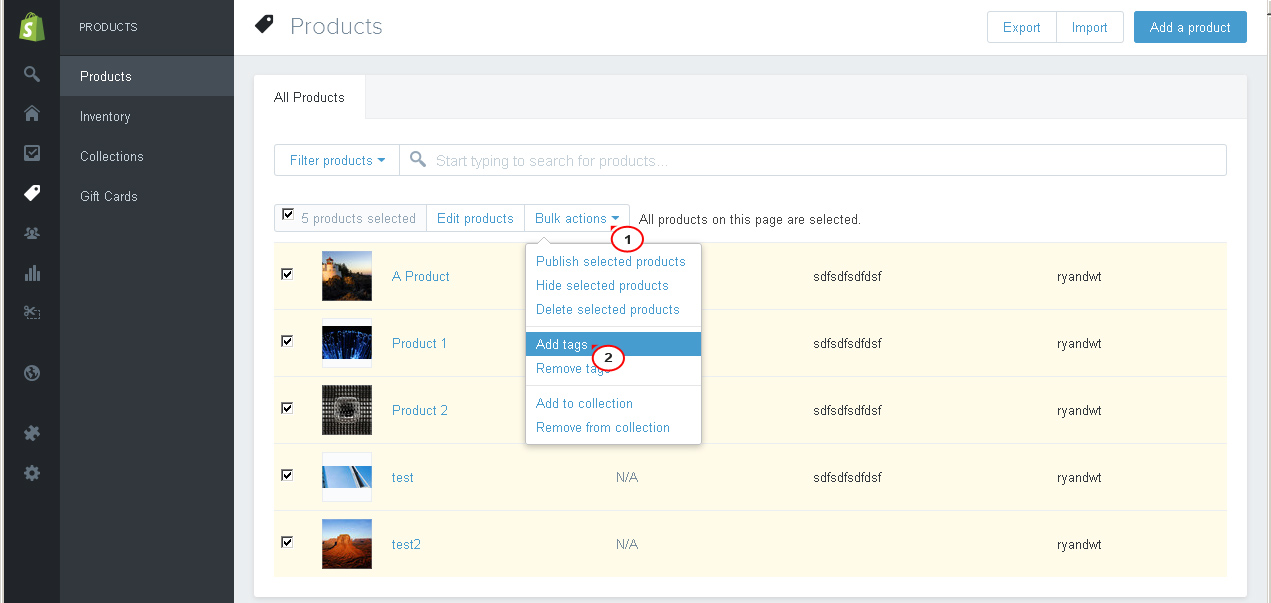
Step 3. Select a bulk action.
Click the ‘Bulk actions’ button.
Select ‘Add Tags’/ ‘Remove Tags’ depending on your needs:

Click ‘Apply Changes’ after the tags are added/deleted:
Feel free to check the detailed video tutorial below:
