


- Web templates
- E-commerce Templates
- CMS & Blog Templates
- Facebook Templates
- Website Builders
FAQs
General Tutorials
Featured templates
MonsterONE Subscrioption


We will learn how to change default Twitter widget information which is coded in liquid files in Shopify.
Shopify. How to change default Twitter widget informationIn order to change the information, there will be a few steps to be performed.
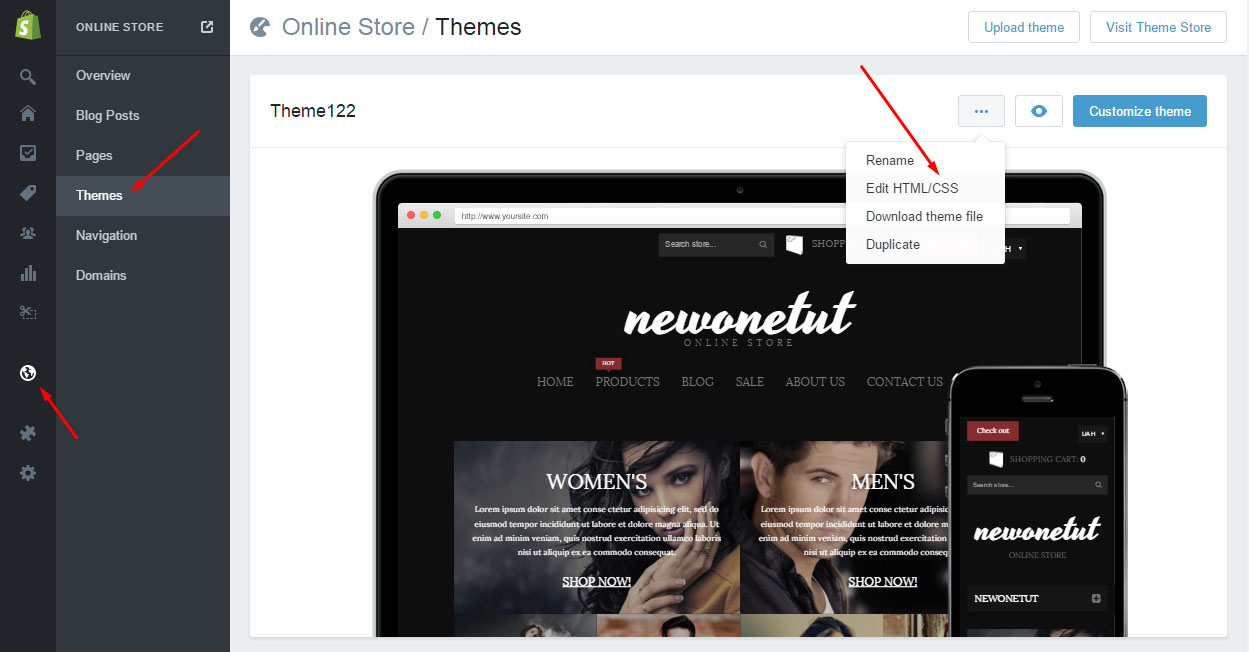
After you have entered your shop admin panel, go to Online Store -> Themes -> Edit HTML/CSS -> theme.liquid file:
You should search for the following part of the code there:
<h3>Twitter</h3>
<a class="twitter-timeline"
href="https://twitter.com/templatehelpcom"
data-widget-id="549551363005636609"
data-chrome="noheader nofooter noborders noscrollbar transparent"
data-tweet-limit="3"
data-link-color="{{ settings.color_3 }}">Tweets from @templatehelpcom</a>
<script>!function(d,s,id){var js,fjs=d.getElementsByTagName(s)[0],p=/^http:/.test(d.location)?'http':'https';if(!d.getElementById(id)){js=d.createElement(s);js.id=id;js.src=p+"://platform.twitter.com/widgets.js";fjs.parentNode.insertBefore(js,fjs);}}(document,"script","twitter-wjs");</script>
</div>
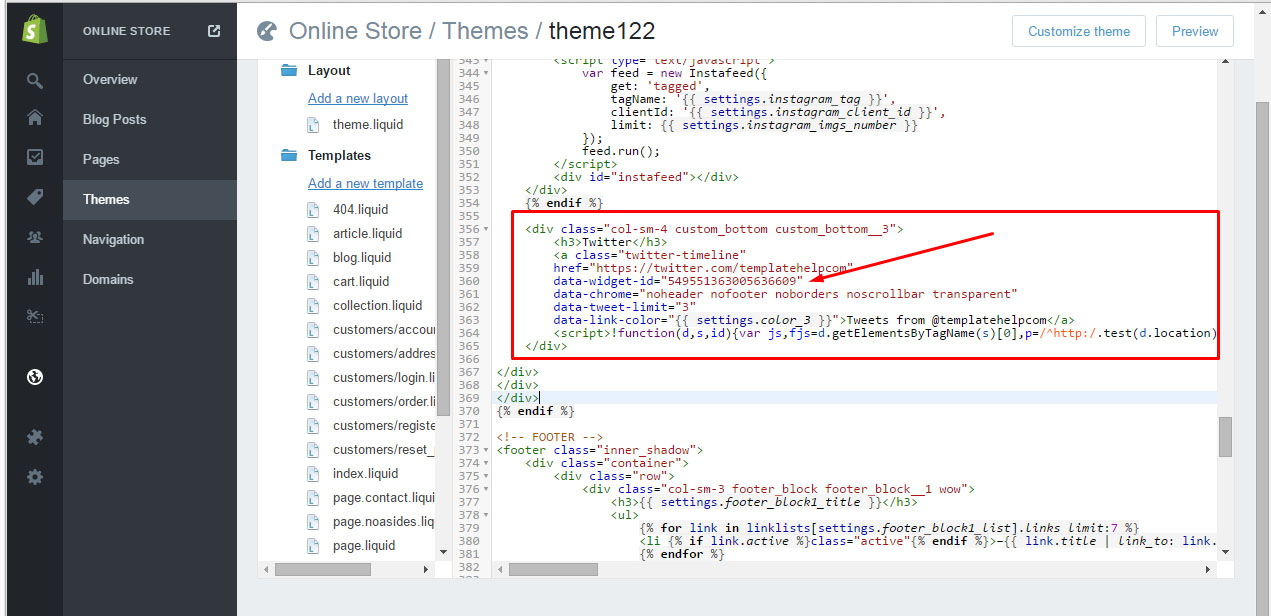
You will need to change the widget id, URL of your Twitter page and save the changes.
After that you can check the changes at the front-end.
Feel free to check the detailed video tutorial below:
Shopify. How to change default Twitter widget information