


- Web templates
- E-commerce Templates
- CMS & Blog Templates
- Facebook Templates
- Website Builders
FAQs
General Tutorials
Featured templates
MonsterONE Subscrioption


This tutorial will show you how to manage Google Map in Shopify templates.
Shopify. How to manage Google Map
Log into the admin page and go to Online store -> Themes -> Customize a theme, search for Google map tab.
To replace the map loaction, it’s enough to type in your new address in the field required. New map will be displayed automatically:

After you’re done, save the changes and check the site.
Now let’s see how to change the Zoom level. Open Online Store – Themes – Edit html/css files.
Go to ‘Snippets’ directory and search for ‘widget-googlemap.liquid’. Change the zoom level in line 13:

Also, it’s possible to replace Google Map marker. Under ‘Assets’ search for marker image. In our template it is called marker1.png, in your one the name may be different.
Remove the default image and upload your custom one with the same name/size/extension.
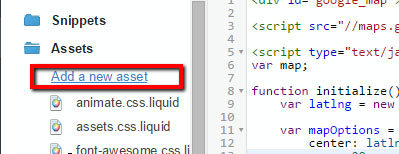
To do it, click ‘Add a new asset’:
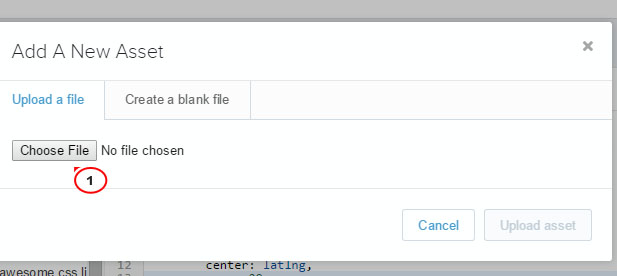
Click ‘Choose file’ and select a new marker image on your computer:
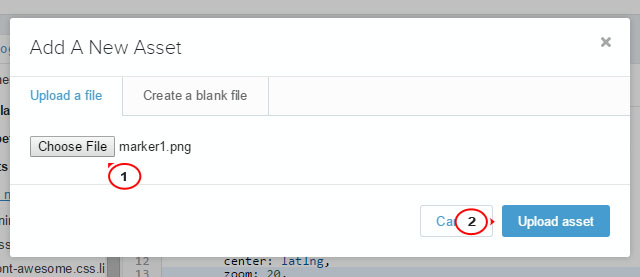
When the image has been selected, click ‘Upload asset’. Done! you’ve changed map marker successfully:
That’s it! Now you know how to manage Google Map. Feel free to check the detailed video tutorial below:
