


- Web templates
- E-commerce Templates
- CMS & Blog Templates
- Facebook Templates
- Website Builders
FAQs
General Tutorials
Featured templates
MonsterONE Subscrioption


Good news for all on-line store keepers! In our new tutorial we will teach you how to manage links in your Shopify navigation menus.
Shopify. How to manage navigation links
You can easily add, change or remove navigation links in your store.
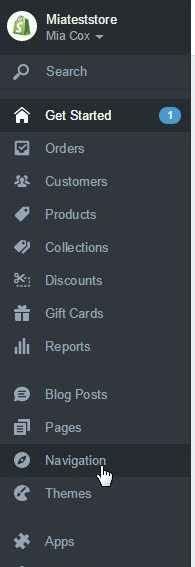
Log into your Shopify Admin panel and go to Navigation.
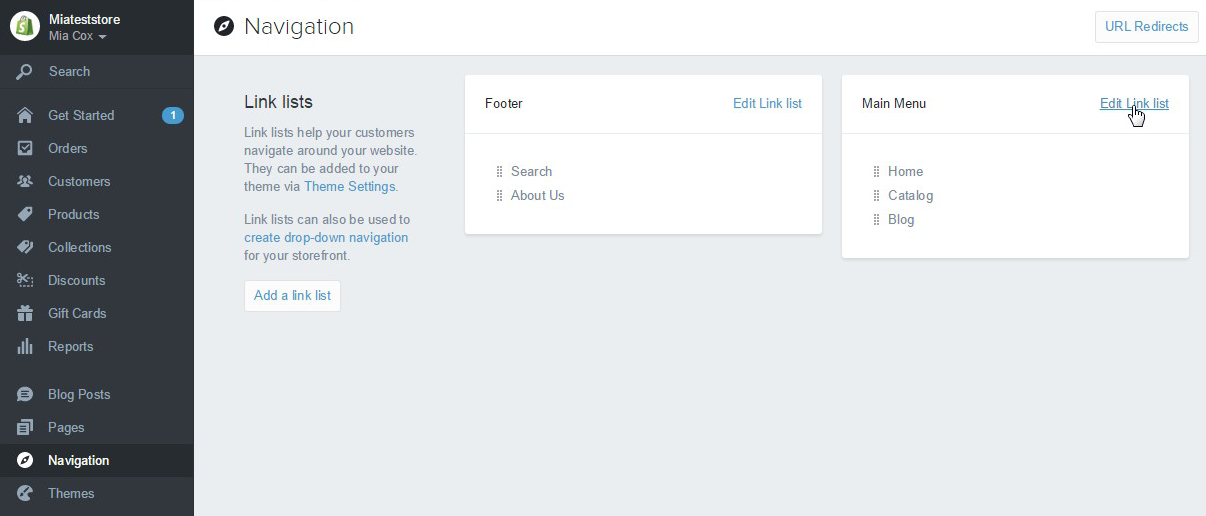
You will see two link lists: Footer and Main menu.
Both menus work exactly the same way. The difference is that Main menu is responsible for links at the top and Footer – for links at the bottom of your site:
We will show you how to manage navigation links using top menu as an example:
Click Edit link list on the left side of the Main menu section:
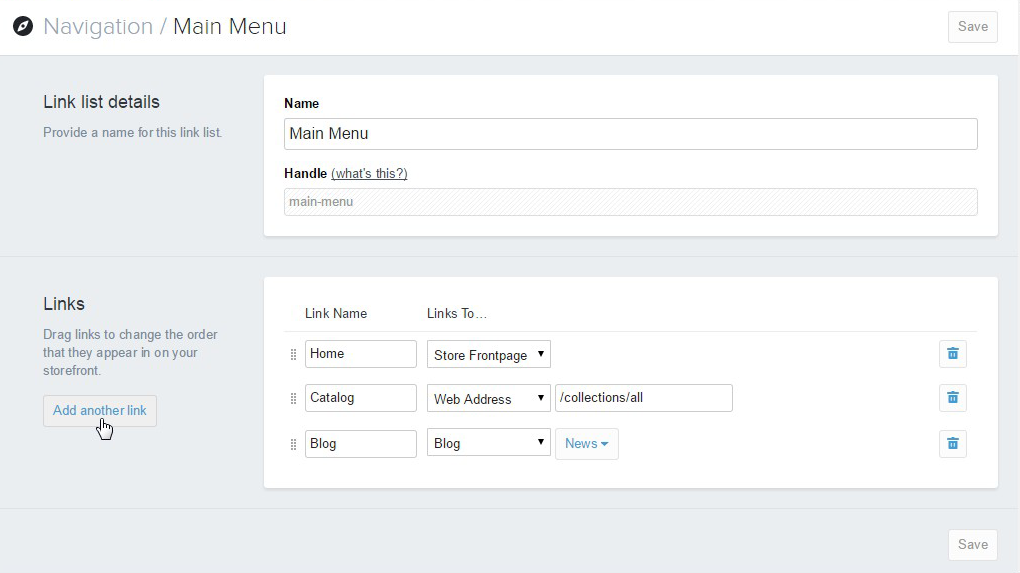
Here we can see the links that we have now. At the moment they are Home, Catalog and Blog.
To show you how to add links, let us add the link to About us page as an example.
Click Add another link on the left:
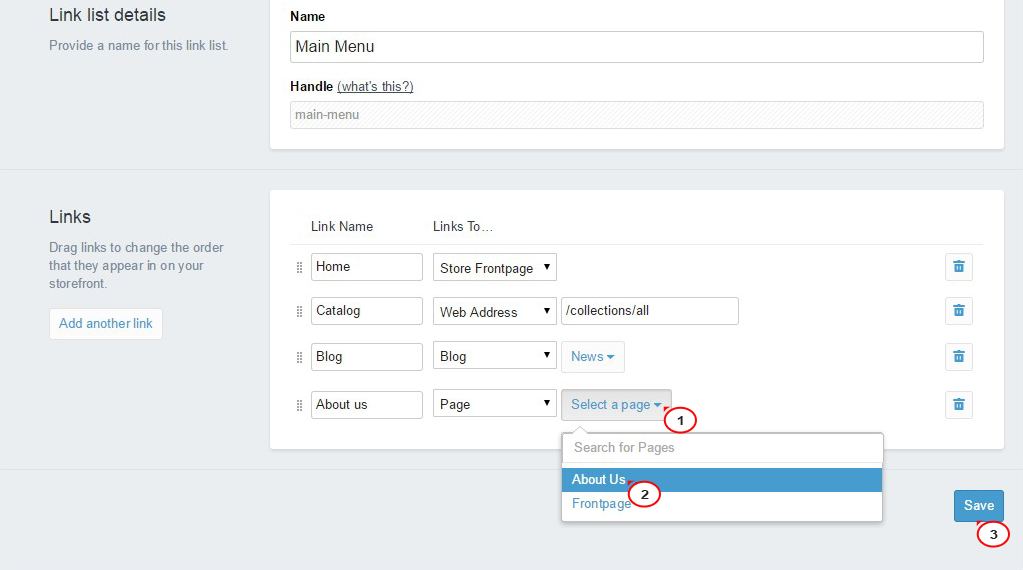
Type the Link name in the appropriate field and pick up the type of link from Link to… dropdown.
First seven items of this drop down are for the internal Shopify links. And the last one Web Address will help you in case you need to set a link to the external web page:
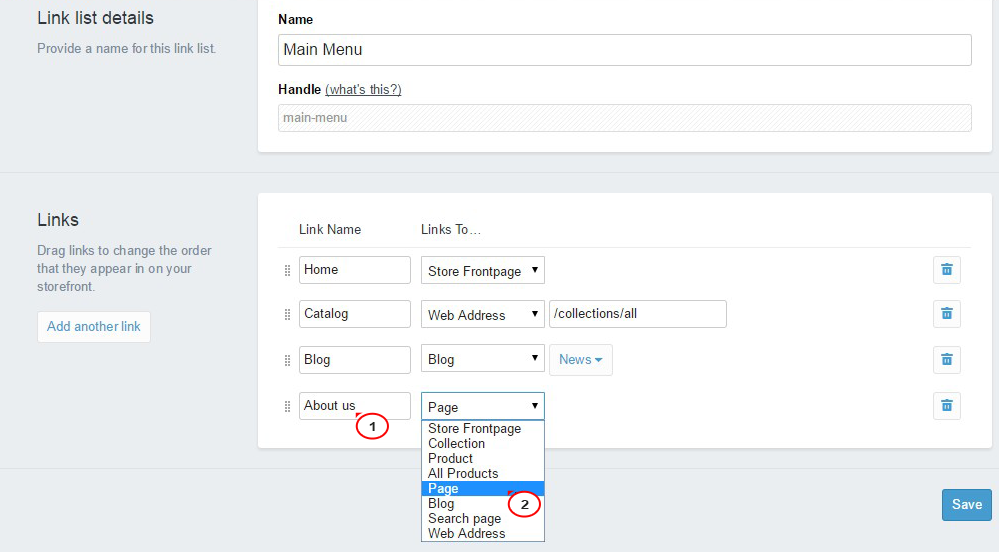
From the Select a page dropdown select a specific page you want to link to. (In case you choose Web Address from this drop down, you will need to paste site url in this field).
Save the changes:
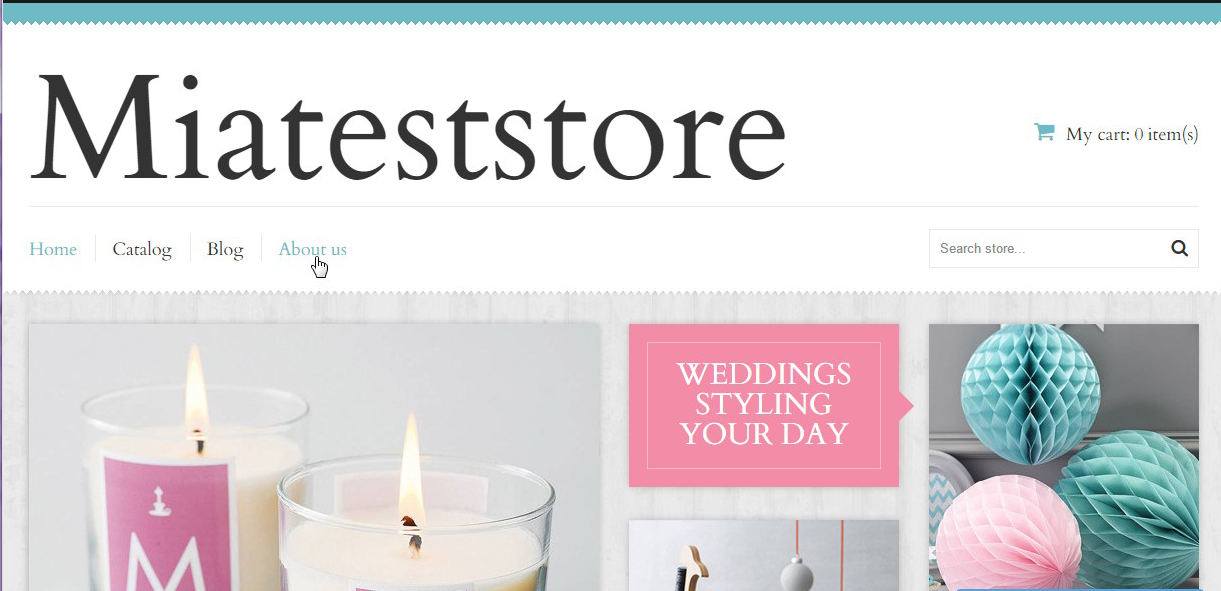
Refresh your front end. The link list is now updated and About us page appears in the top menu:
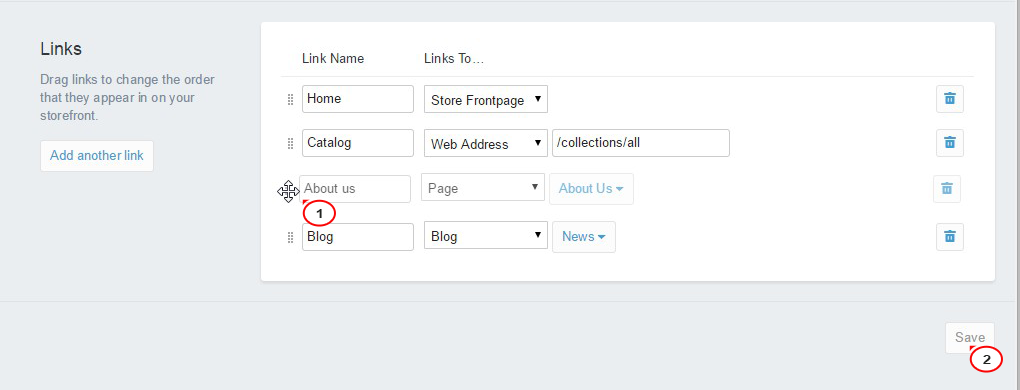
You can change links order in the same section.
Hover with your mouse over the small button on the left of the link name. When cursor changes, drag and drop your menu item to new location. Save the changes:
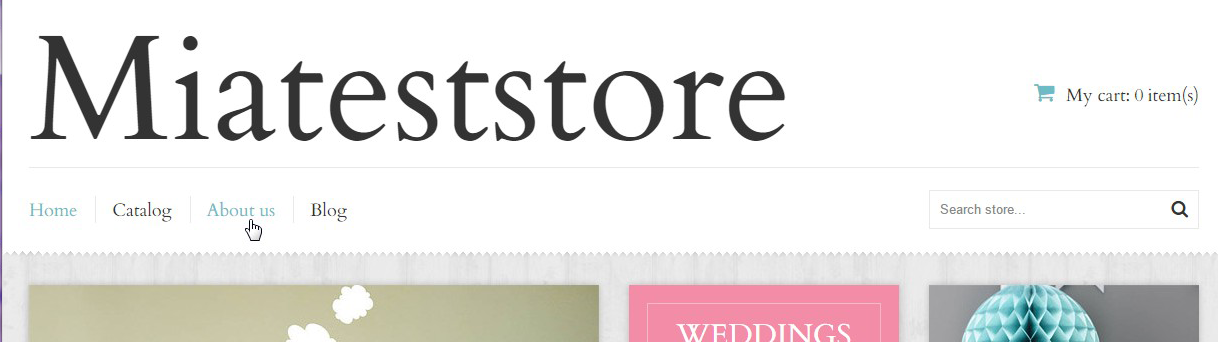
Refresh your front end. Links order is changed now:
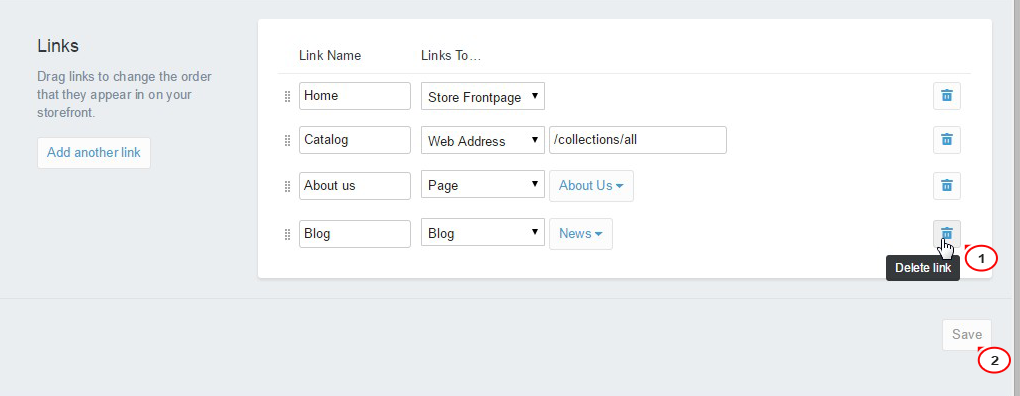
To delete a link click on the trash can icon on the right and Save the changes.
Please keep in mind that deleting a link from the list will not delete the block from your shop:
That’s it! Now you know how to manage navigation links in your Shopify store. Please feel free to check the detailed video tutorial below:
