


- Web templates
- E-commerce Templates
- CMS & Blog Templates
- Facebook Templates
- Website Builders
FAQs
General Tutorials
Featured templates
MonsterONE Subscrioption


This tutorial will show you how to replace favicon in Shopify store.
Shopify. How to replace favicon
In order to replace it, you should perform the following steps:
Log into the Shopify Admin with your login credentials.
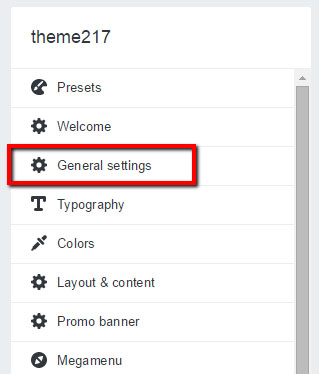
Navigate to Online Store -> Themes -> Customize theme. By default, favicon can be replaced in ‘General settings’:
Click ‘Replace’ button and browse your custom favicon image on the computer, upload it:
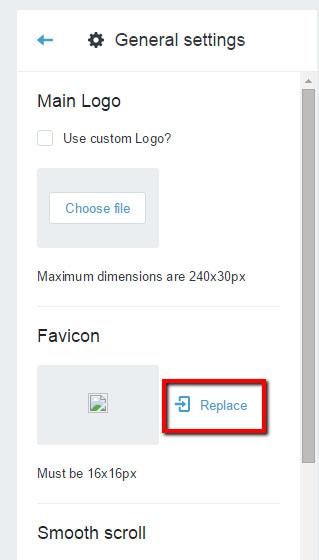
After you’re done, click ‘Save’ button and open the home page to see the changes.
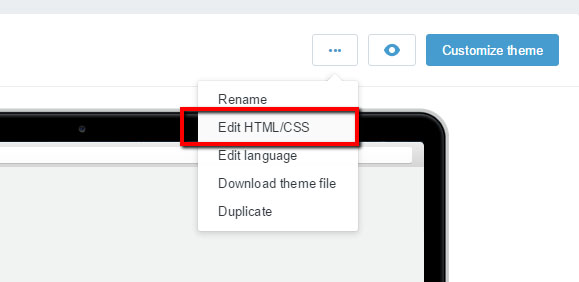
Now let’s try to re-upload it in a different way.
Open the admin panel, go to Online Store -> Themes -> Customize theme -> Edit HTML/CSS:
Open ‘Assets’ and search for existing favicon image, remove it:
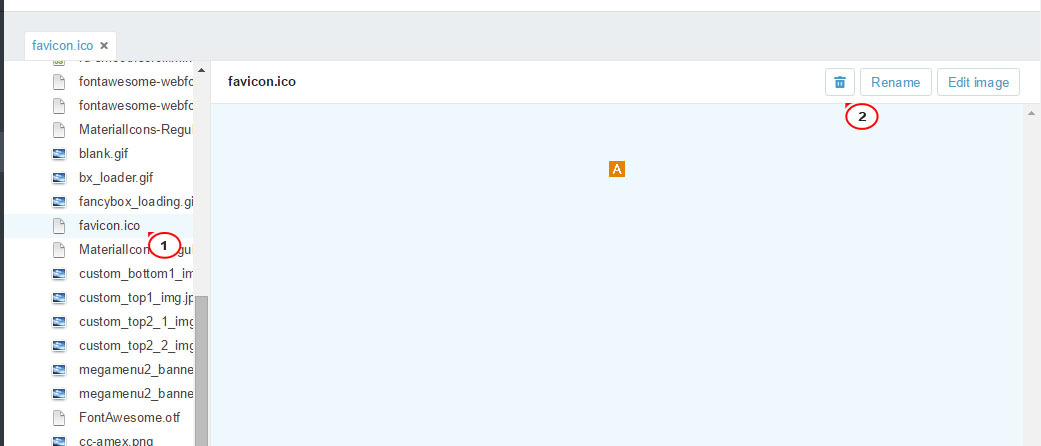
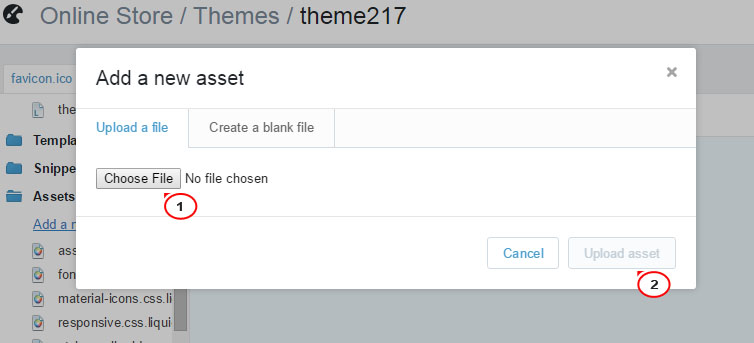
After you’re done, click ‘Add a new asset’ button. Browse your custom favicon image on the computer and upload it. It should be of the same size/name/extension as default one:
Check the home page to see your new favicon.
That’s it! Now you know how to re-upload favicon image in two ways.
Feel free to check the detailed video tutorial below:
