


- Web templates
- E-commerce Templates
- CMS & Blog Templates
- Facebook Templates
- Website Builders
FAQs
General Tutorials
Featured templates
MonsterONE Subscrioption


We are glad to present you a new tutorial that shows how to manage Blog meta and posts settings in the WordPress Blogging templates.
.jpg)
We will learn how to manage these options, in order to make the posts to be as much attractive to your visitors as possible.
Log into the WordPress Admin with your login credentials.
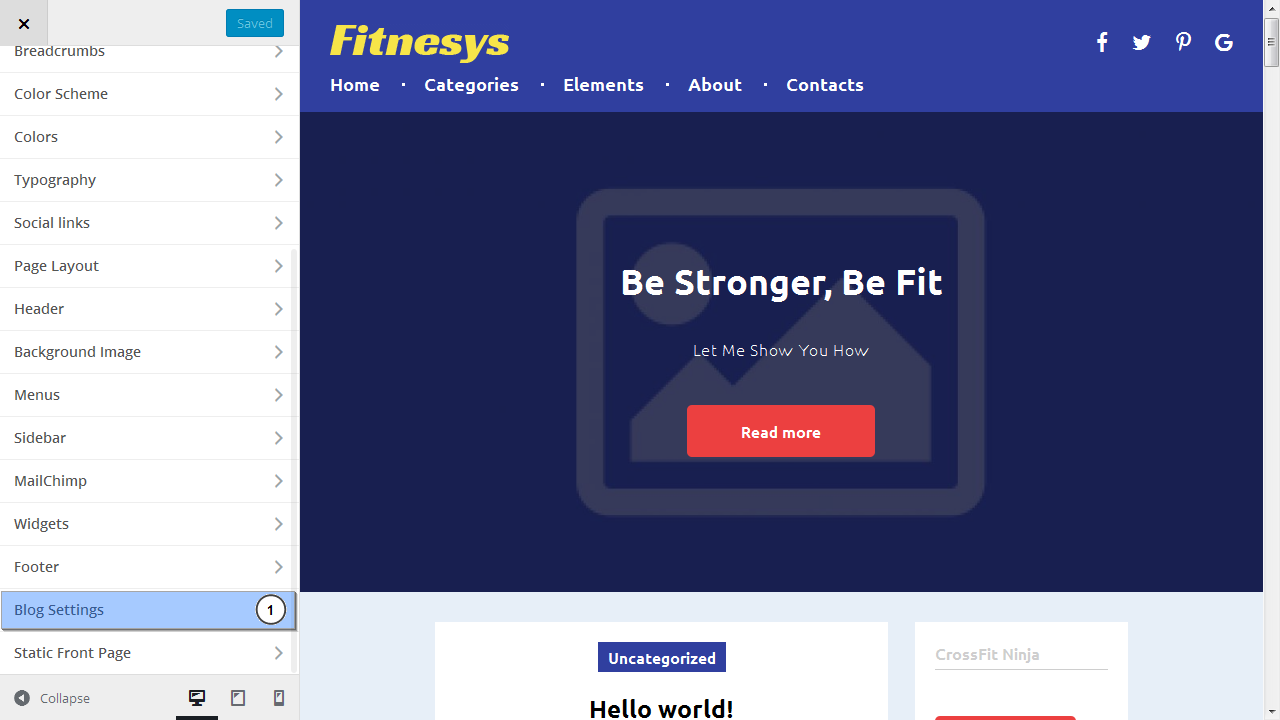
Navigate to Appearance -> Customize:

Locate the Blog settings tab and open site blog.
Make sure to navigate to the Blog page using website menu on the right side to make Blog Settings section appear in Customizer menu.
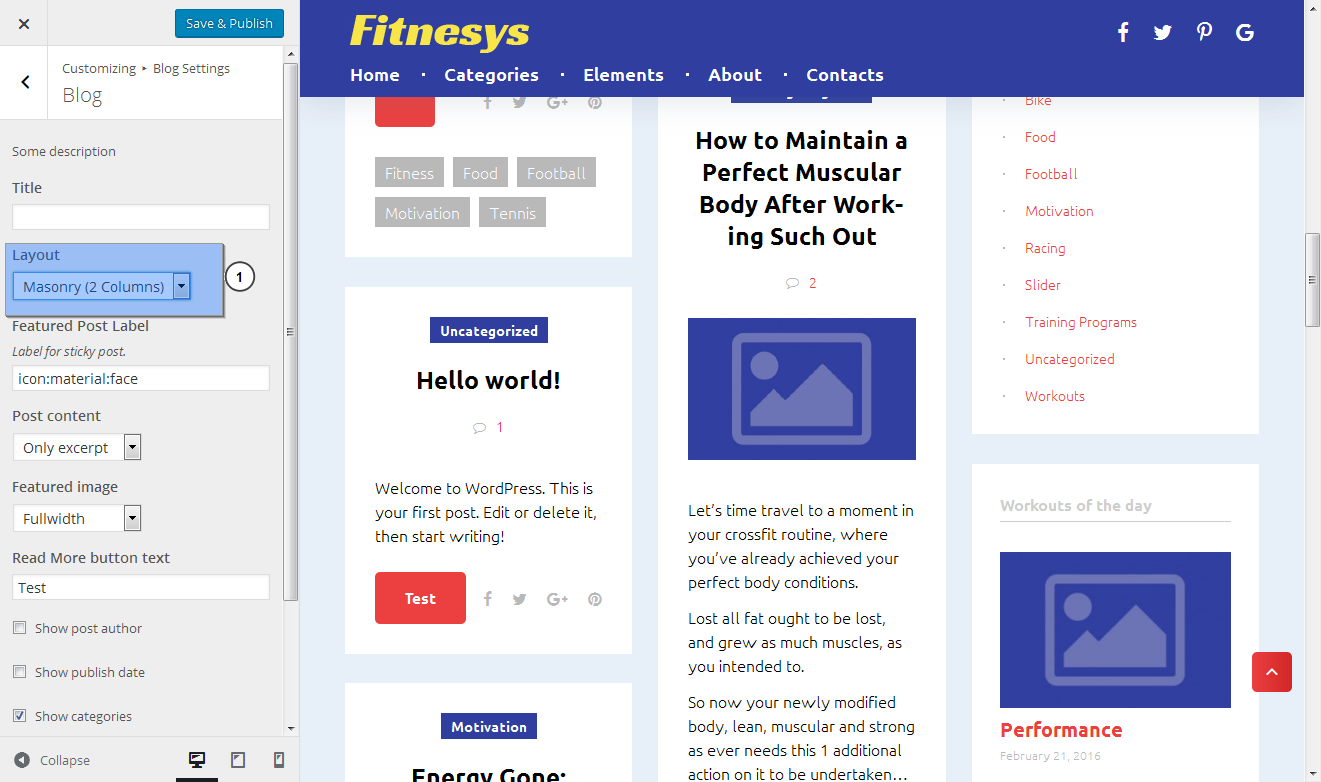
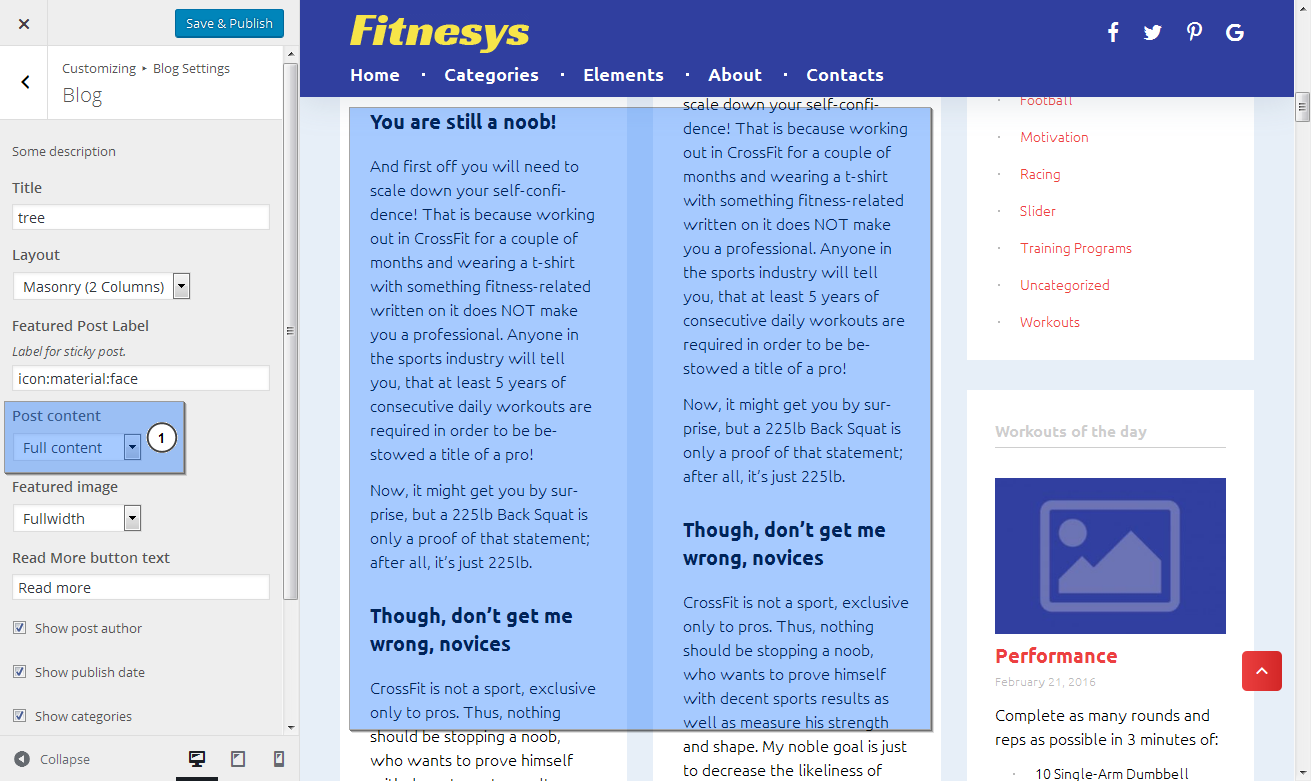
First of all, you can change the layout of the blog page under the Layout field. For example, let’s change it to be Masonry (two columns).
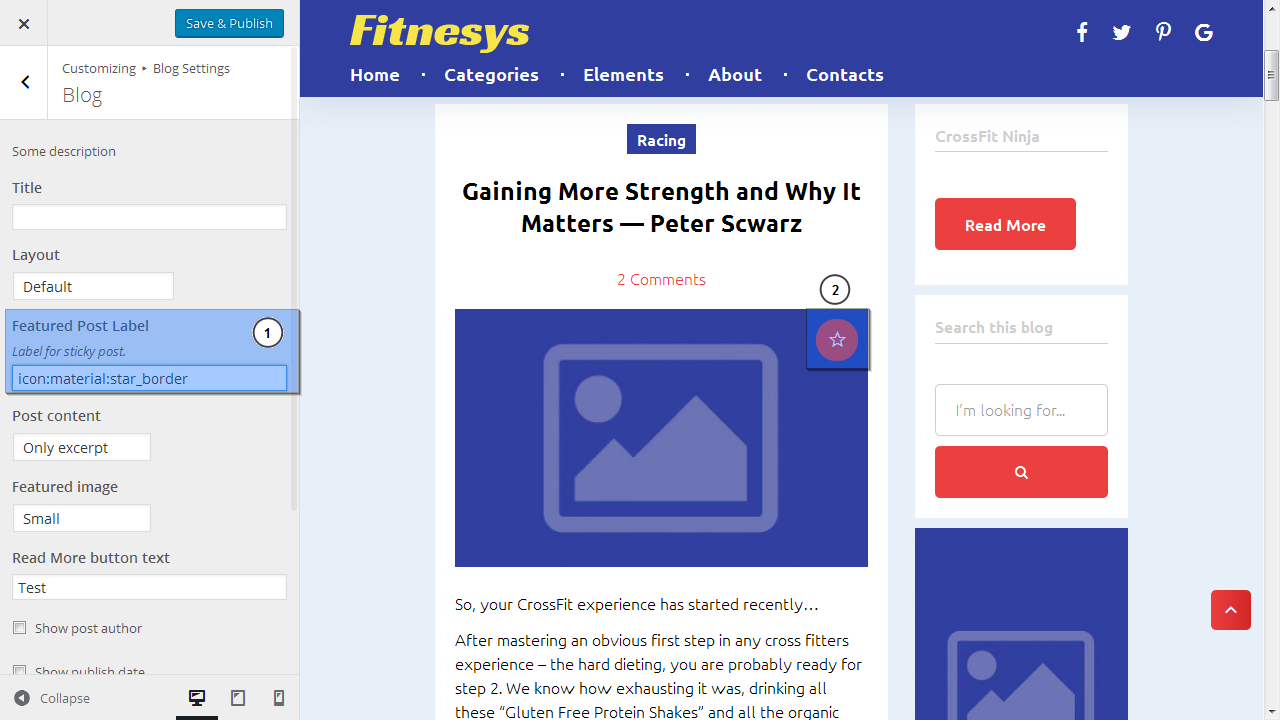
Moreover, you can change the icon for sticky post under Featured Post Label tab. At the moment we can see there a star icon.
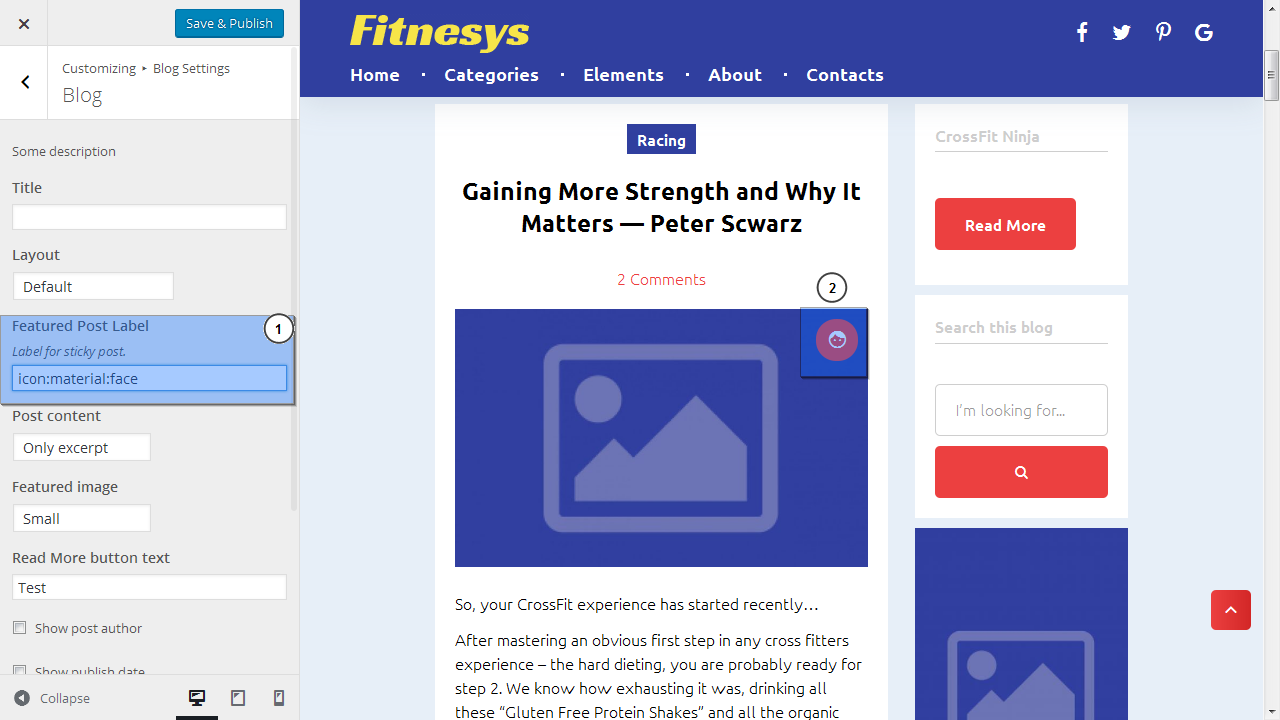
We changed star icon to the face one.
There is also a great option that can help to show the excerpt or the full content of articles. It is located under the Post content field.
Another useful option that is located lower can make the featured images to be small or fullwidth. Firstly, we need to make the layout to be default. We made featured image to be small.

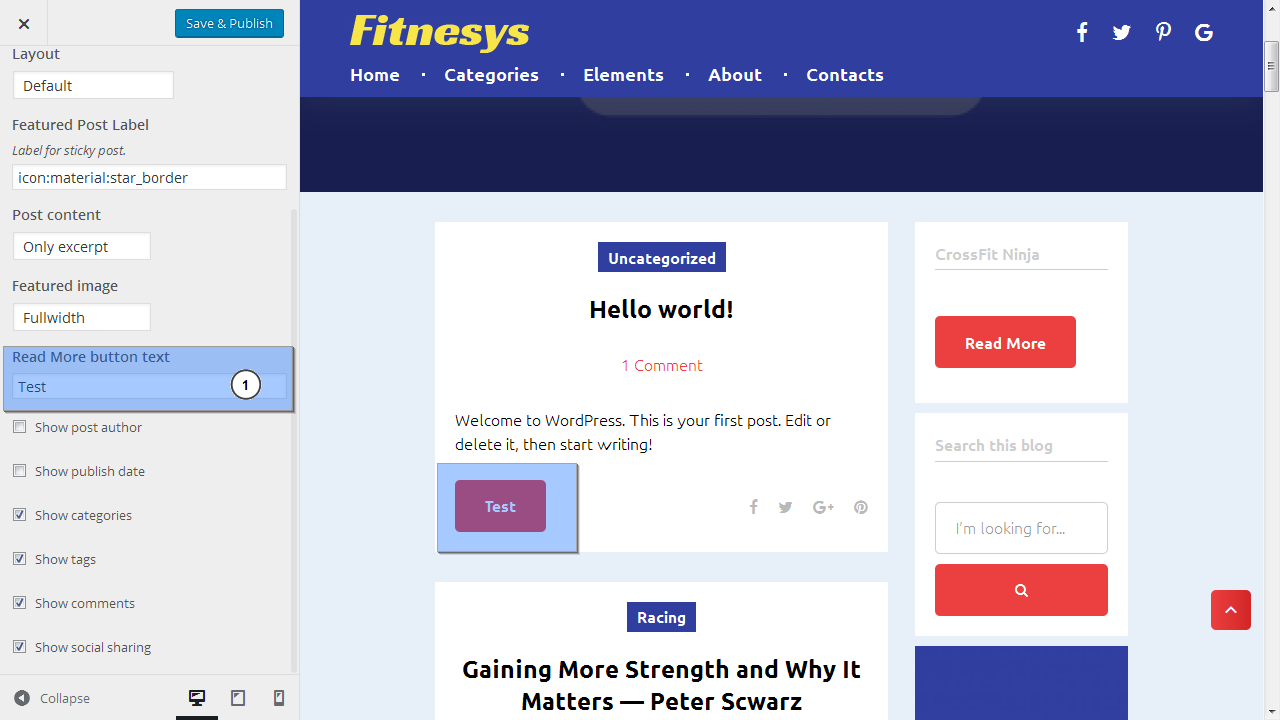
Furthermore, you can also edit Read More button text. In order to do this, put the needed text to the field under the Read More button text.
We changed it to say TEST.
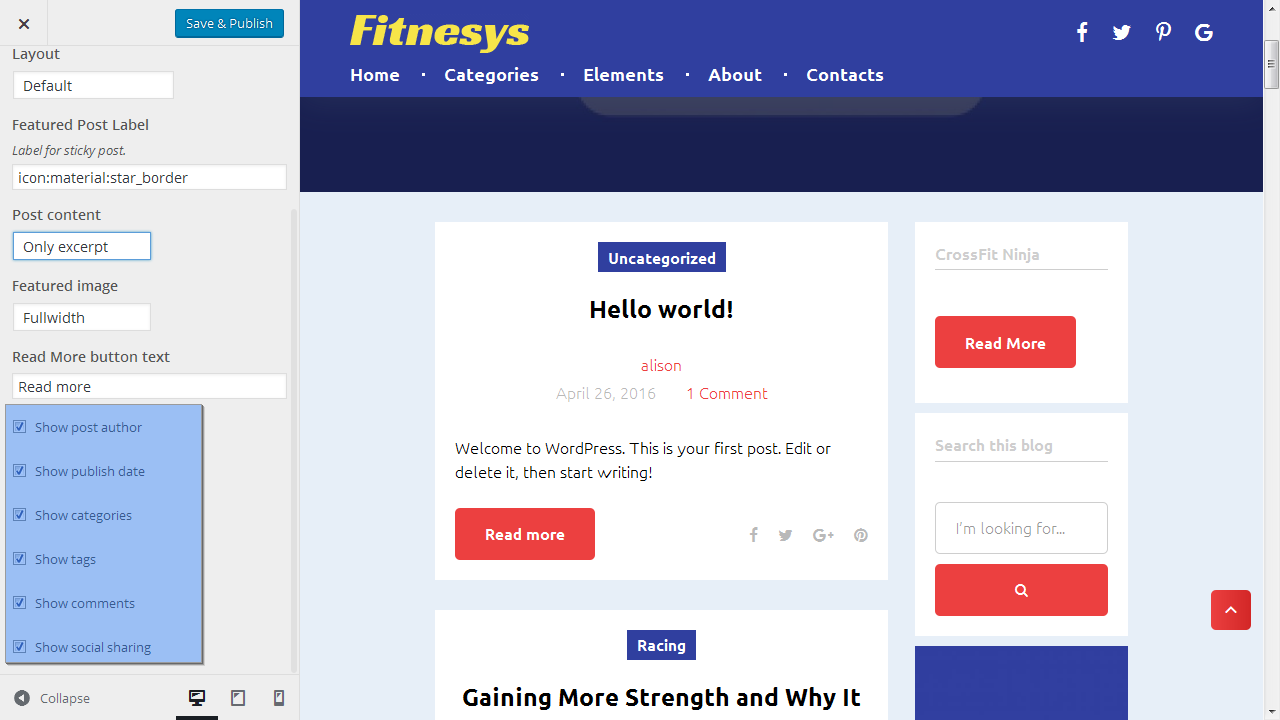
At the bottom, you can control all the meta options and decide what to do with them: display or hide.
Just uncheck the options you do not need for now. For example, we have hidden the date and author.
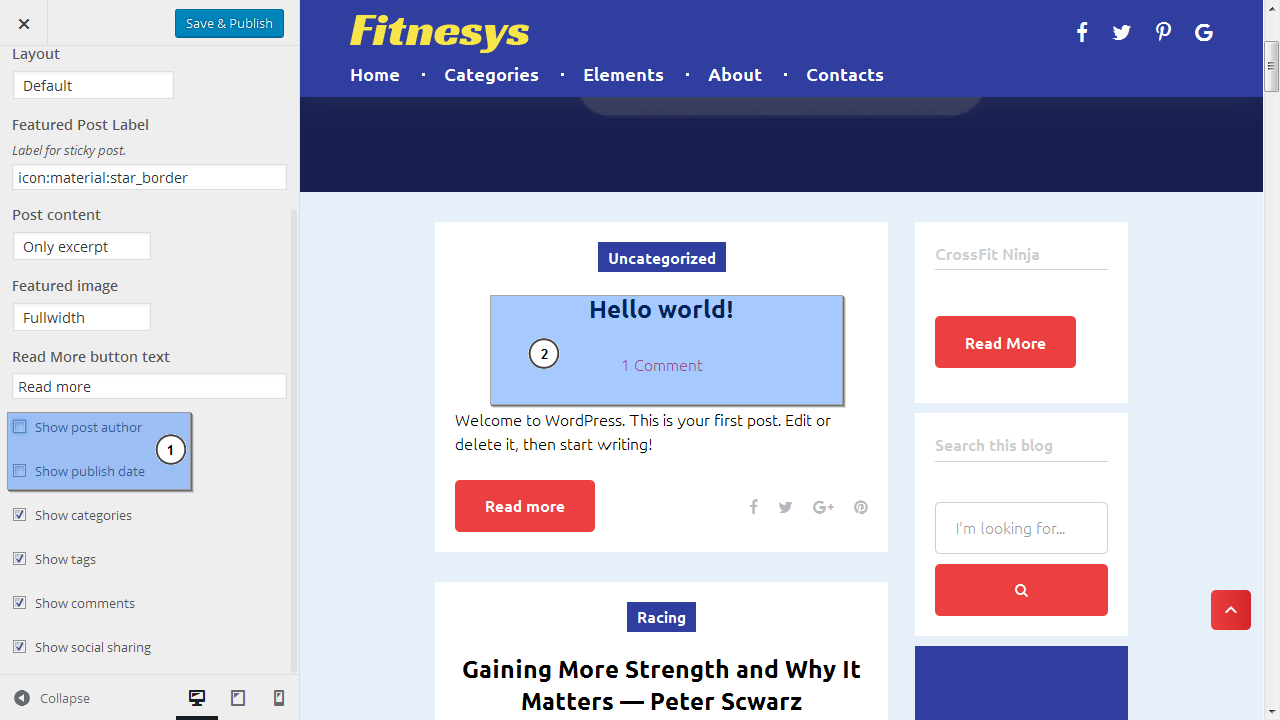
Save the changes.
Now you know how to manage Blog meta and posts settings in the WordPress Blogging templates.
Feel free to check the detailed video tutorial below:
WordPress Blogging themes. How to manage Blog meta and posts settings