


- Web templates
- E-commerce Templates
- CMS & Blog Templates
- Facebook Templates
- Website Builders
FAQs
General Tutorials
Featured templates
MonsterONE Subscrioption


This tutorial shows you how to manage Taxonomy widget in WordPress Blogging templates.
The widget shows up this way on the frontend:

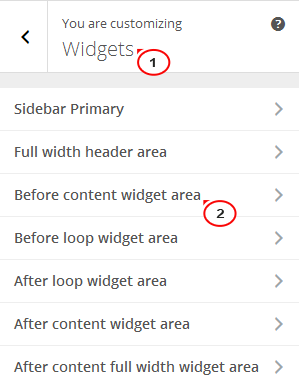
Log in to WordPress admin panel, go to Appearance > Customize.

Select Widgets field to edit. It’s located in the Before Content Area.
You can take a look on all the options here:

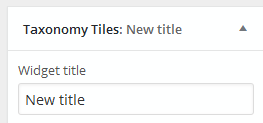
We can add/change the title:
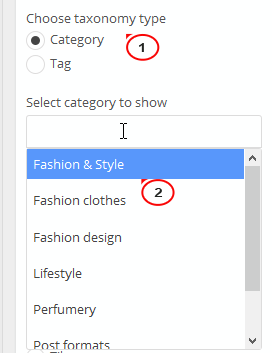
Choose taxonomy type as Category or Tag. For each option, we will see a list of categories or tags included. You can add more categories or tags to the section by picking up one from the list.
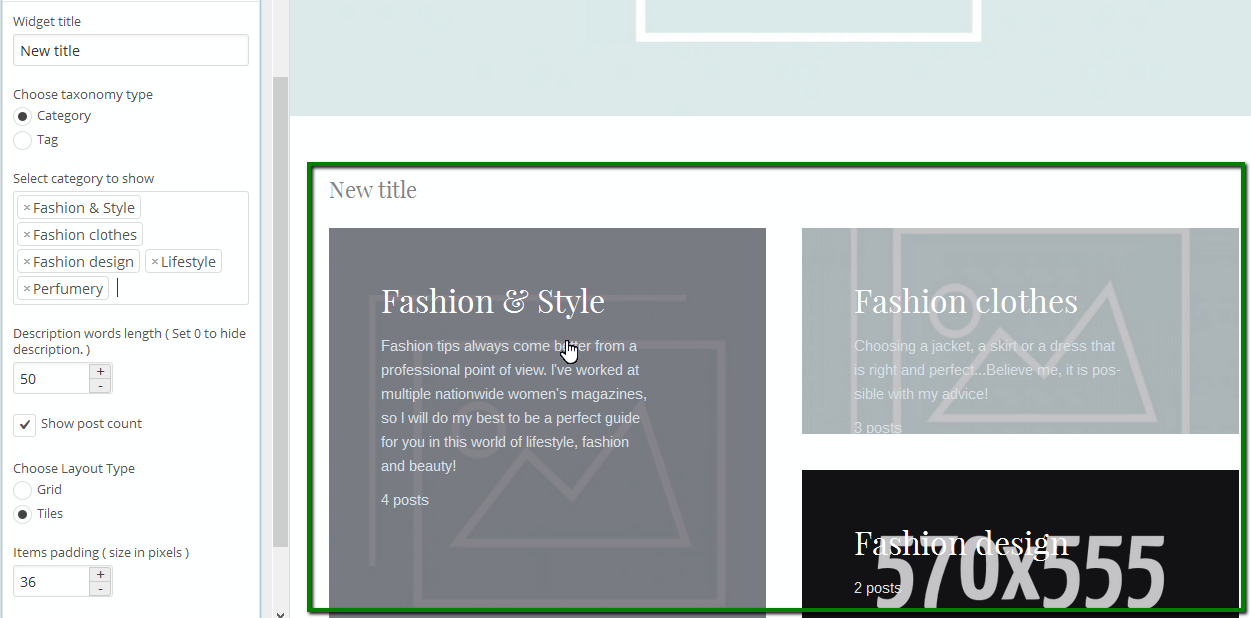
There are also other options to select: Descriptions words length, Show post count, Show layout type, Items padding. You can try to make all the necessary changes.
Your changes will be displayed in the preview mode on the right hand side:
Refresh the page to see the result.

Feel free to check the detailed video tutorial below:
WordPress Blogging themes. How to manage Taxonomy widget