


- Web templates
- E-commerce Templates
- CMS & Blog Templates
- Facebook Templates
- Website Builders
FAQs
General Tutorials
Featured templates
MonsterONE Subscrioption


This tutorial will show you how to manage widgets in WordPress Blogging Themes.
WordPress Blogging themes. How to manage widgetsTo start editing widgets, log into WordPress Dashboard and click the Customize link in the admin top bar:

Use the browser Inspect Element tool in order to learn what widget area is assigned to a page or whether it’s assigned at all:

Click Widgets in the Customize sidebar and select the area for editing. This is Full Header Widget Area in our case.
On next screen, you’ll see a list of widgets assigned to the area. You can edit existing ones in the box or add new ones by clicking the Add Widget button. After clicking the Add Widget button, a full list of available widgets will appear on the right:
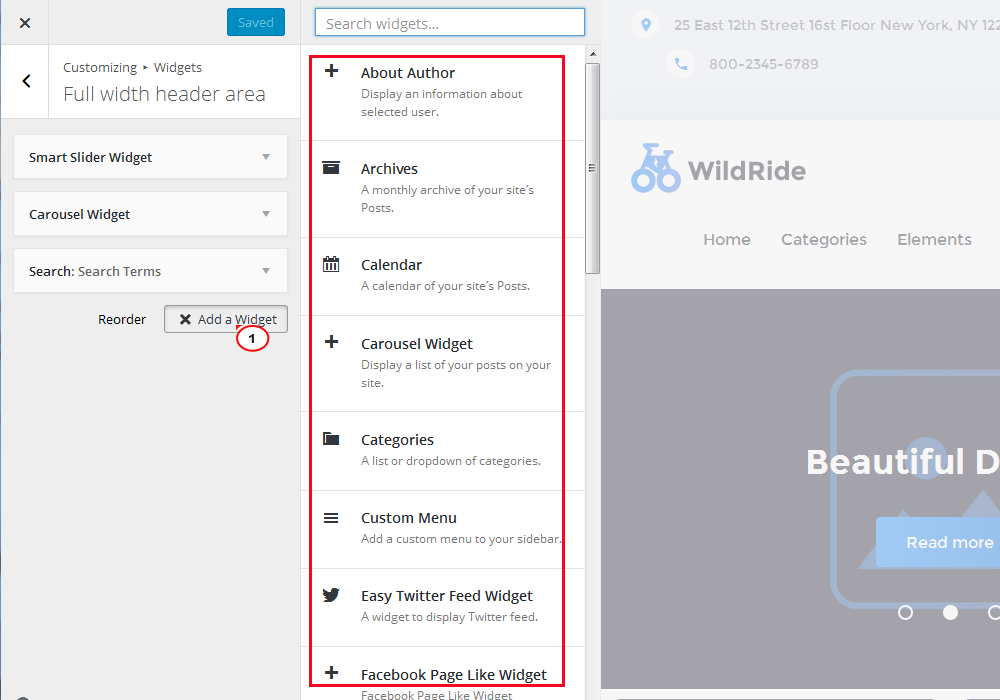
You can check each widget description at the template documentation page.
Please note that, when widget area is assigned to several pages, changes will take place on all the pages that display a widget. For example, a widget that is assigned to footer widget area will be displayed on all pages.
Make sure to click the Save button at the top of Customize screen in order to save changes in widget area.
Feel free to check the detailed video tutorial below:
WordPress Blogging themes. How to manage widgets