


- Web templates
- E-commerce Templates
- CMS & Blog Templates
- Facebook Templates
- Website Builders
FAQs
General Tutorials
Featured templates
MonsterONE Subscrioption


Our Support team is ready to present a new tutorial that shows how to change featured images dimensions in WordPress templates.
WordPress. How to change featured images dimensions
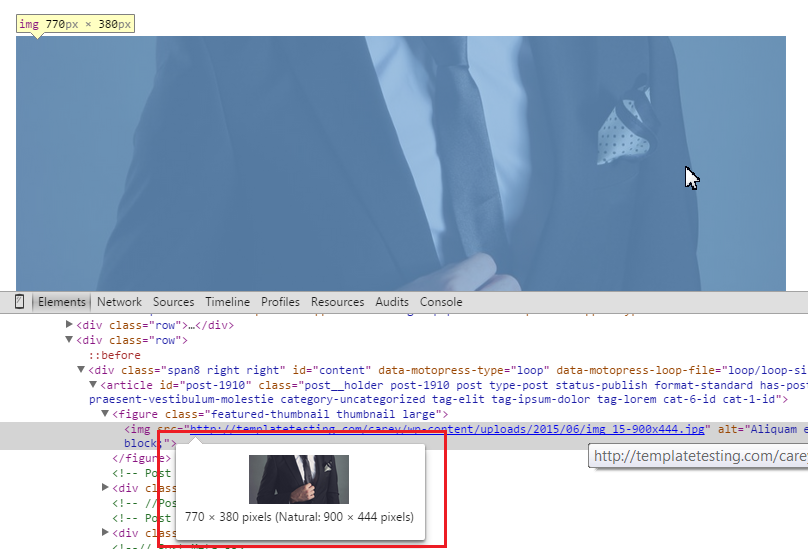
You can locate the current dimensions using the developer tools:
.jpg)
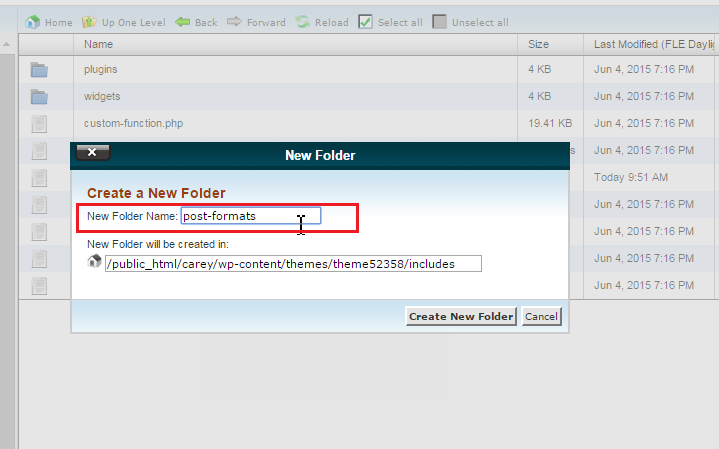
Please navigate to wp-content/themes/CherryFramework/includes/post-formats folder on the server.
The first thing that should be done, is to copy post-thumb.php from CherryFramework to themeXXXXX folder on the server, saving the files structure.
Create new folders within the themeXXXXX directory if needed:
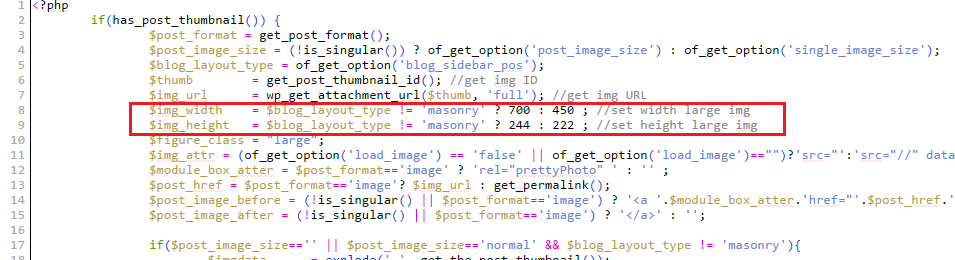
Open the file for editing, you will see the following lines with the images dimensions:
		 $img_width    = $blog_layout_type != 'masonry' ? 900 : 450 ; //set width large img
		 $img_height   = $blog_layout_type != 'masonry' ? 444 : 222 ; //set height large img
Change the dimensions, save changes to file when you are done:
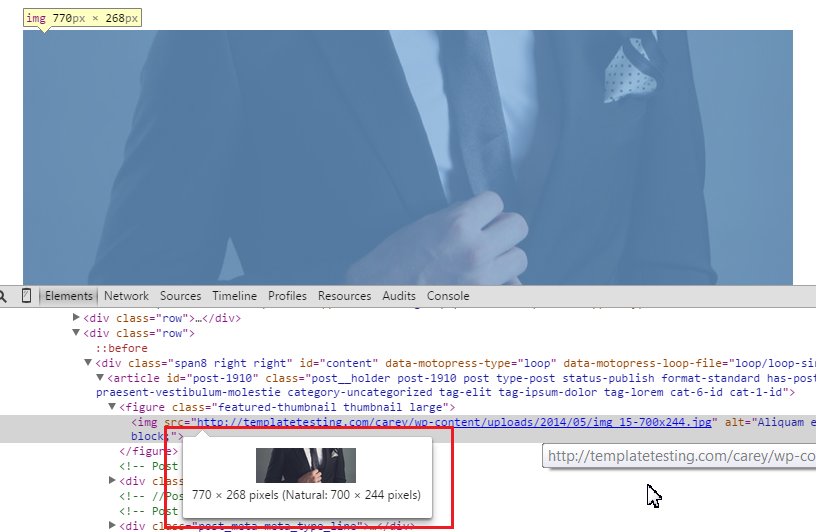
Remove and re-upload the featured images, they will have the new dimensions:
Feel free to check the detailed video tutorial below:
