


- Web templates
- E-commerce Templates
- CMS & Blog Templates
- Facebook Templates
- Website Builders
FAQs
General Tutorials
Featured templates
MonsterONE Subscrioption


Today you will learn how to install a WordPress template on localhost.
WordPress. How to install a theme on localhost
First, you will need to install the theme itself. In order to do this, you need to follow the steps below:
Log into your WordPress admin panel (add /wp-admin to your domain name in the browser address bar).
Go to the menu Appearance > Themes and click the Add New tab:
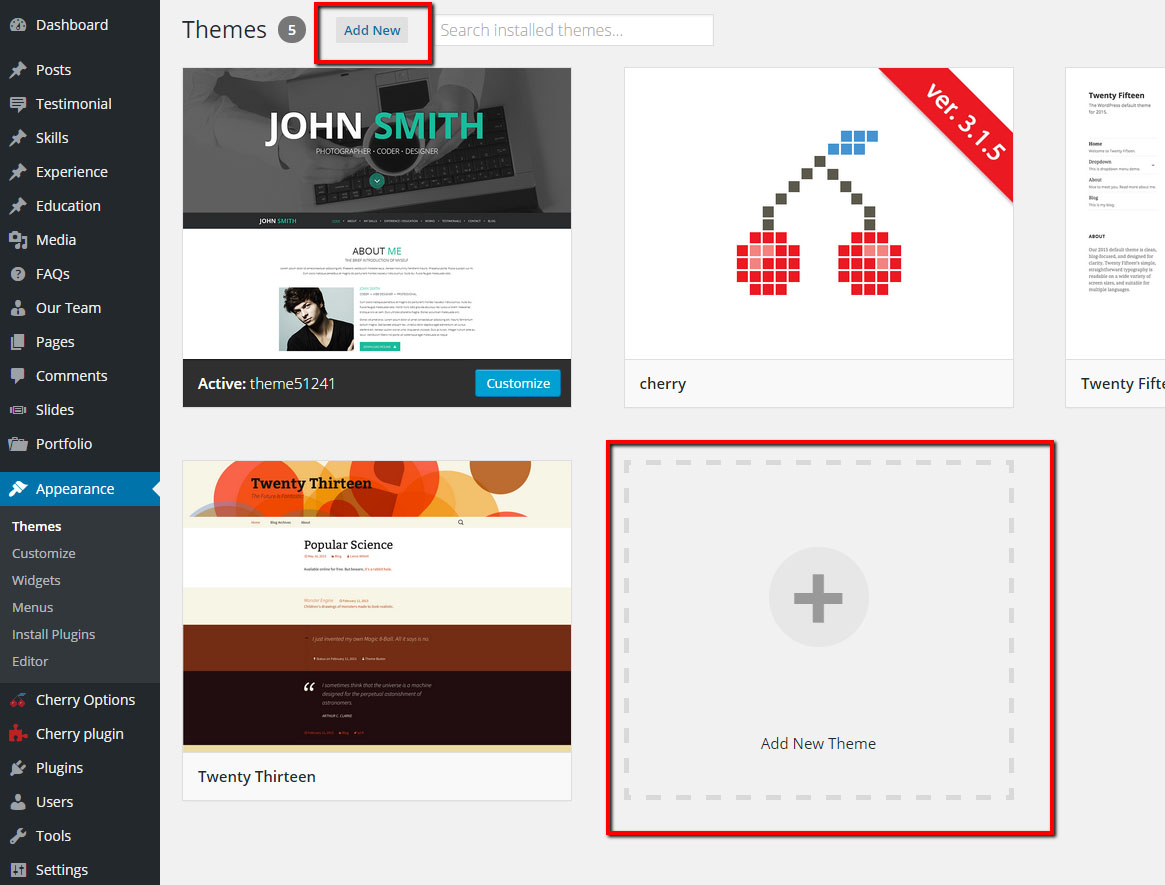
Click the Upload button. Click Browse and navigate to the unzipped template package on your computer.
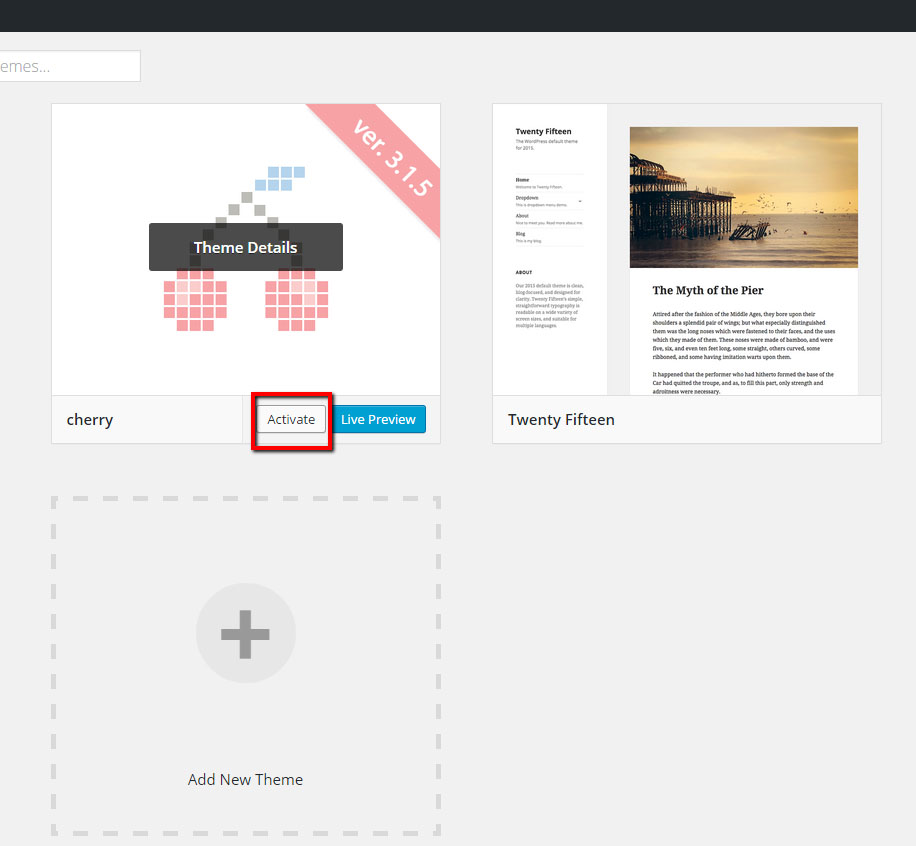
Look for a file called CherryFramework.zip in the theme folder of the template package. Click on it to select, then click Open.
Click the Activate button:
The same steps should be performed with the child theme(themeXXXX).
In order to make your WordPress website look like our live demo, please follow the steps below. We also suggest that you back up your database before sample data import.
As soon as you install the Child Theme(themeXXXX), you may see a pop-up window on the left suggesting that you import the sample data. You can go ahead and click the Import Content button in this window.
Alternatively, you can go to the Cherry Plugin menu and click Import.
You may see the requirements table that shows if your hosting server meets the Cherry Plugin requirements. Please contact your hosting provider if there are any warnings. If all server settings are OK, you’ll see the uploading screen. Click the Browse local files button on this screen.
Navigate to the “theme/sample_data” directory from the template package and upload all files you see there to WordPress. Just hit CTRL+A or Command+A to select all of them and click Open. You can also upload all these files by selecting them in the “theme/sample_data” directory (CTRL+A or Command+A) and dragging them to the uploading area:

Make sure to upload all files from the sample_datadirectory including .JSON and .XML files. When the upload is done, click the “Continue Install” button to proceed.
Congratulations! You have successfully installed your Cherry WordPress Theme. You can look at your website and the installed theme now.
Feel free to check the detailed video tutorial below:
WordPress. How to install a theme on localhost
In case you’re searching for premium themes to build a hosting website from scratch, look through our hosting theme wordpress selection.
