


- Web templates
- E-commerce Templates
- CMS & Blog Templates
- Facebook Templates
- Website Builders
FAQs
General Tutorials
Featured templates
MonsterONE Subscrioption


Hello, this tutorial shows how to add a new slide and manage it.
WordPress. How to add a new slide and manage it
This tutorial assumes you’ve already logged into WordPress admin panel. In order to add a new slide, you should perform the following steps:
Open WordPress administration panel;
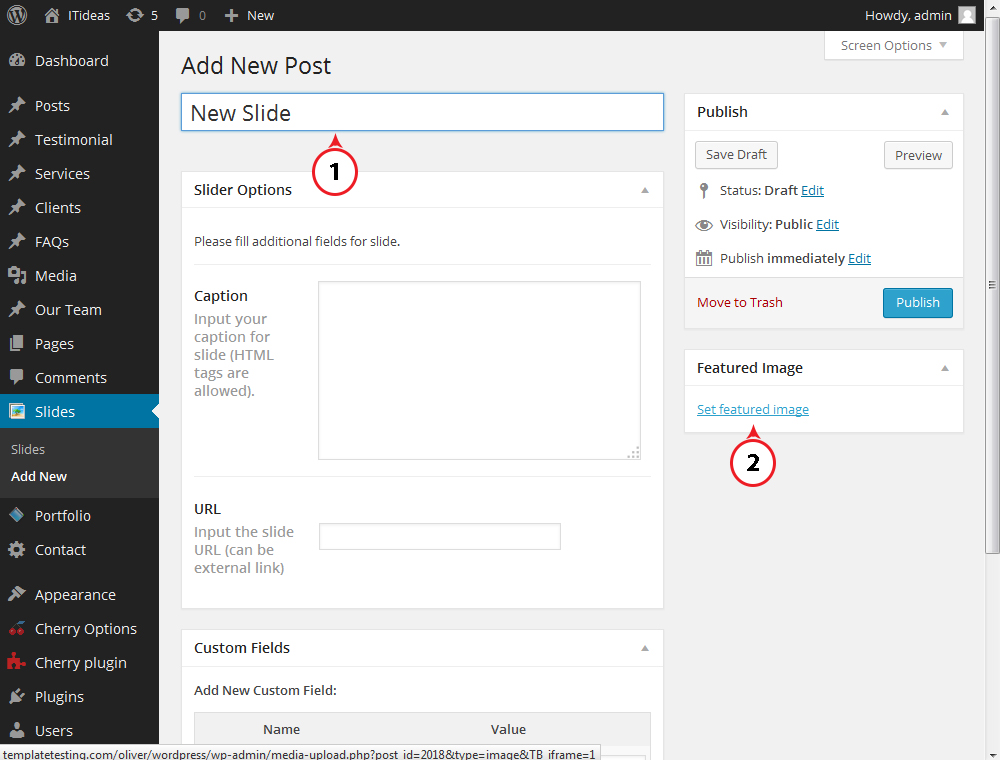
Click Slides -> Add new tab:

Type the Slide Title;
Then select and upload the featured image. Make sure to upload your image from the computer:
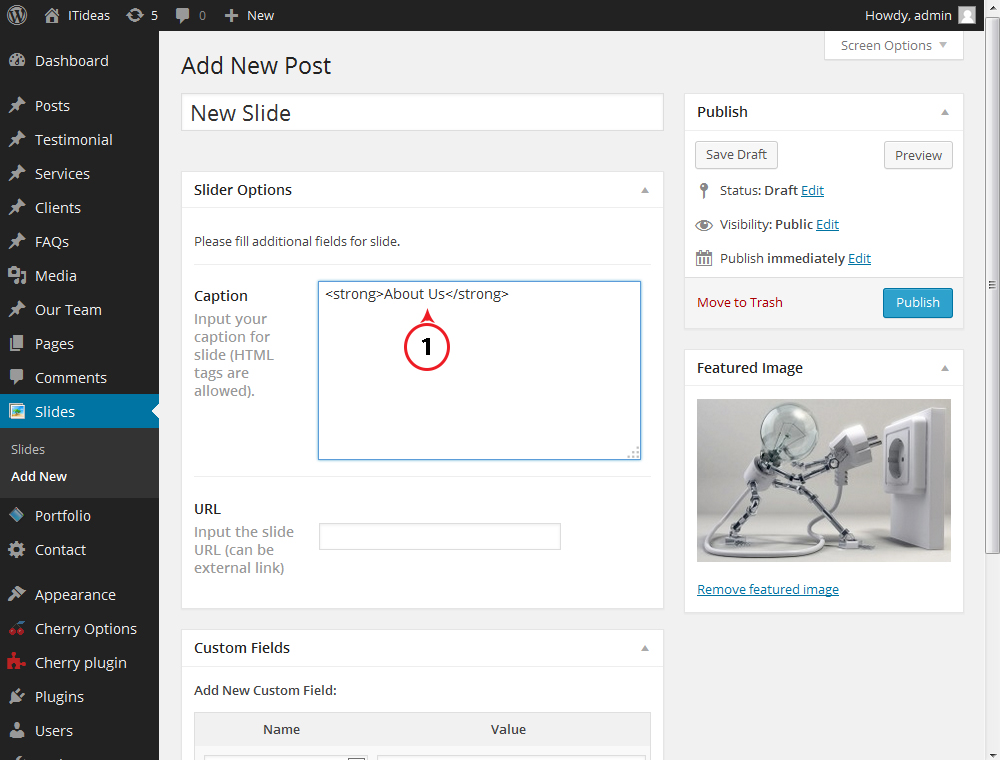
Now let’s add a custom caption for the new slide:
Publish the post and check how it looks.
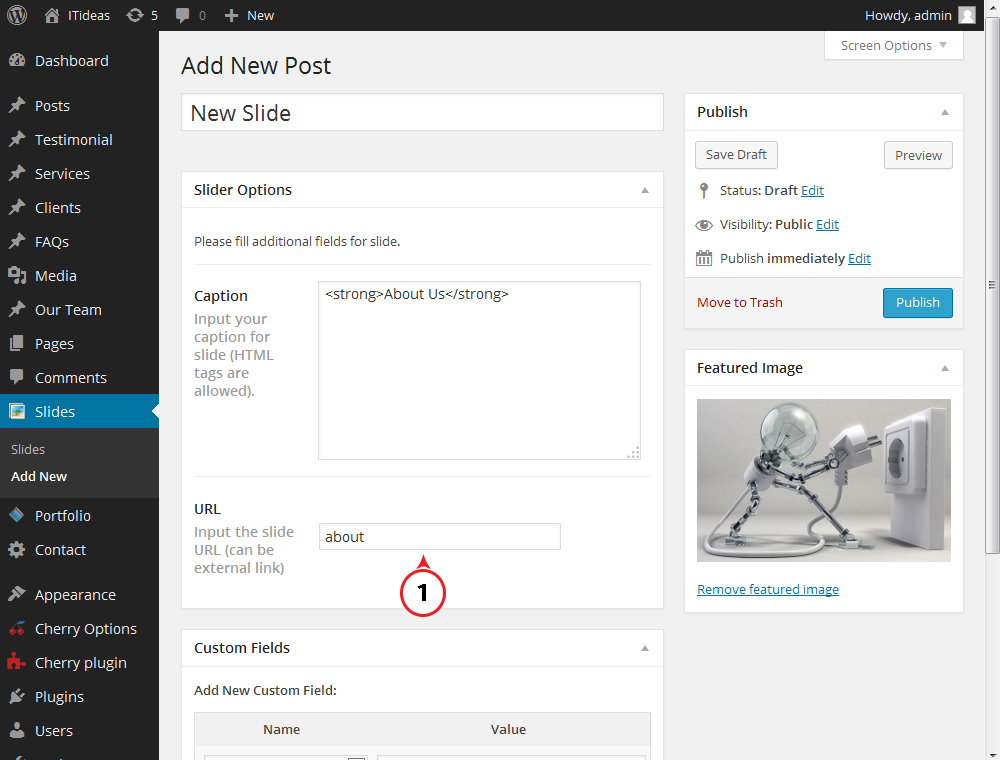
Now let’s learn how to add a custom link for the slide.
In the field URL you can input any page or post slug or any external link:
That’s it! Our new slide has been published and you can see our new slide with custom caption and link to the page here:

Feel free to check the detailed video tutorial below:
WordPress. How to add a new slide and manage it
In case you’re seeking a new wordpress template to put up a professional website, take a look at our premium themes.
