


- Web templates
- E-commerce Templates
- CMS & Blog Templates
- Facebook Templates
- Website Builders
FAQs
General Tutorials
Featured templates
MonsterONE Subscrioption


This tutorial shows how to add additional fields to Contact Form in WordPress.
Joomla 3.x. How to install engine and template on localhost
In WordPress templates, we always have a sample of contact form added with Contact Form 4 plugin. You can edit this form or create a new one:
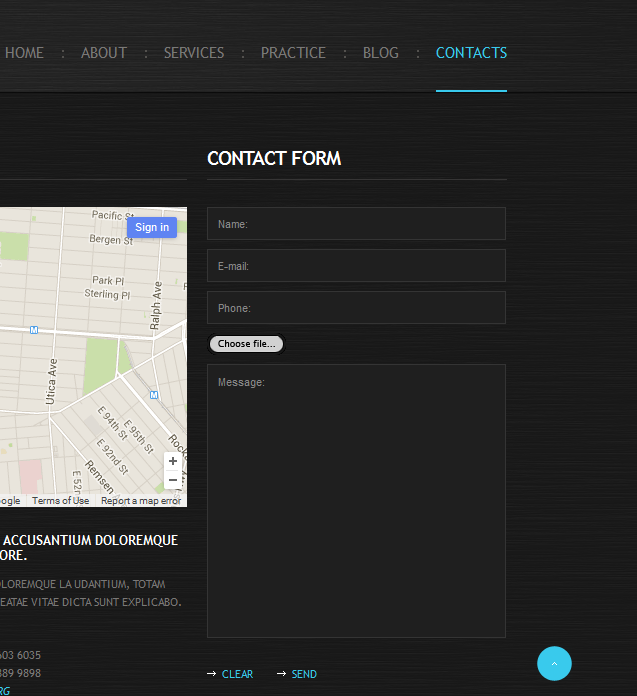
Log into WordPress Admin Panel, go to Contact, you will see the current contact form of the template. You can edit this form or click Add New to create a new form:

We will try to create a new Contact form now. Click Add New, then a sample form will show up, this form includes some basic fields such as Name, email, etc. So we will create some additional field, for example Cell phone and File Upload:
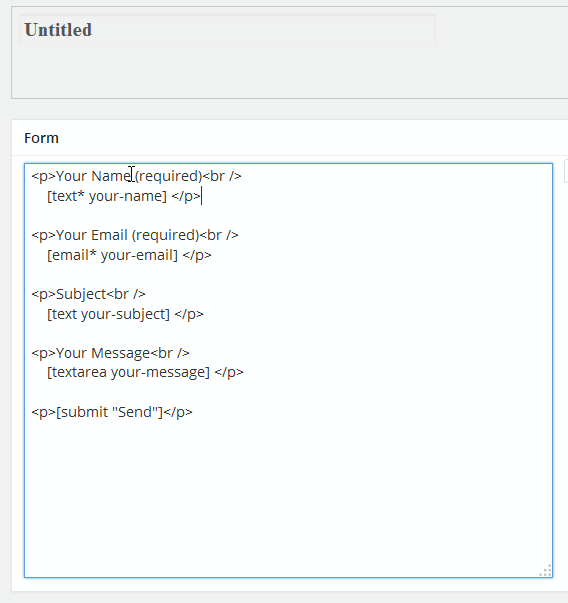
For Cell phone field:
Copy the code from one of the other fields to get the same layout with the new name of the field:

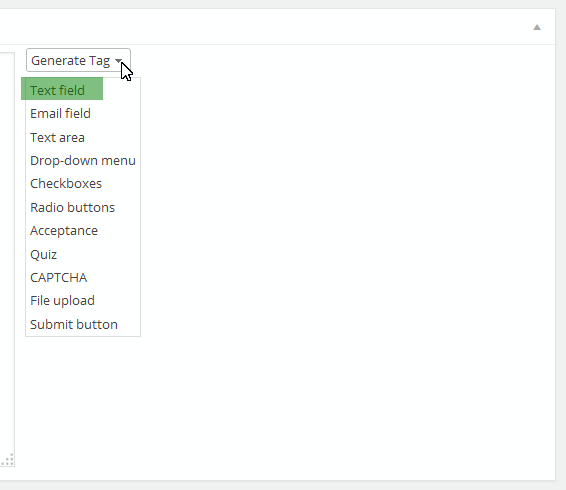
We can select Text field from Generate Tag button, fill in the name, choose some option provided. After this, you will see the code generated. Just copy it to the left side:
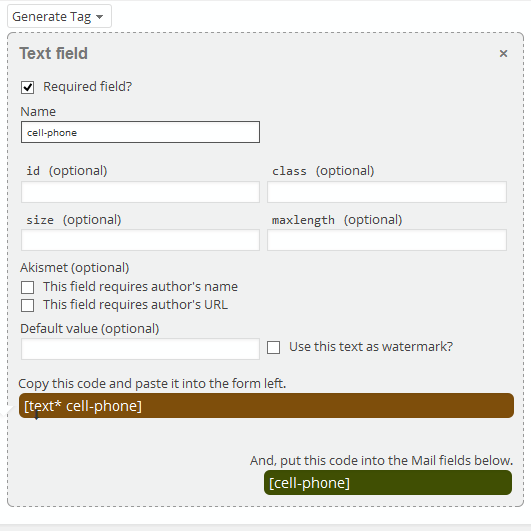

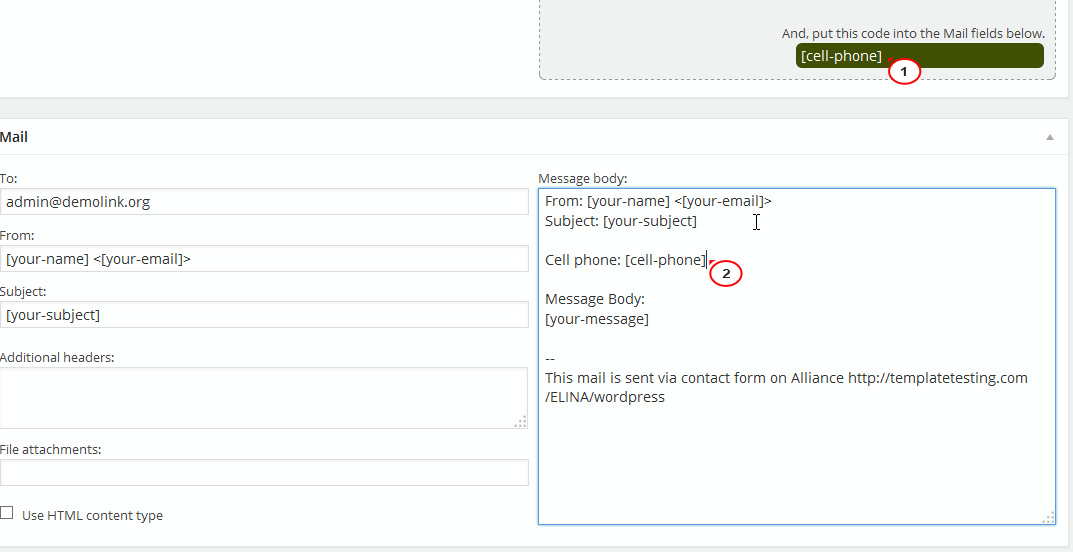
Copy the other code to the Message Body so that you will get this field to your email:
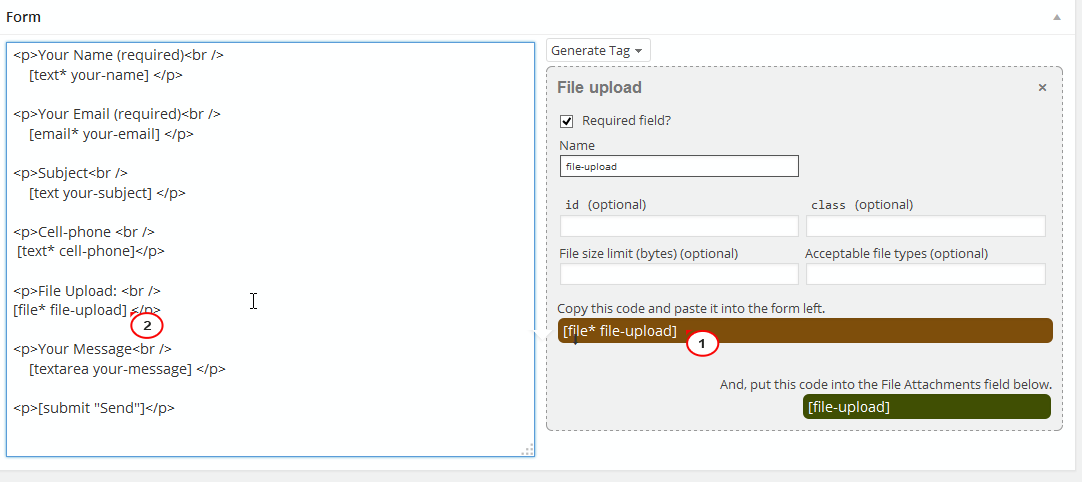
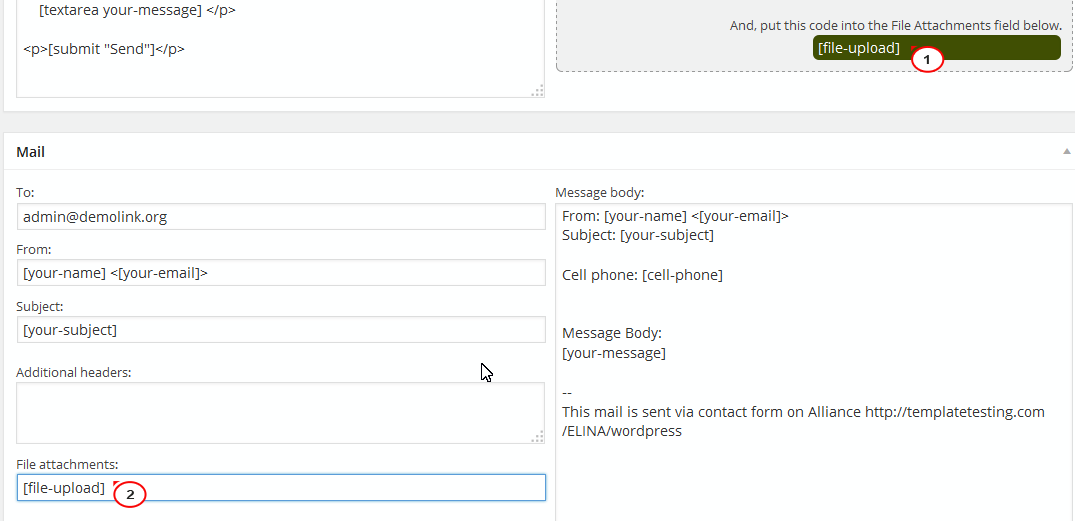
For File Upload field, we will do the same steps, copy the layout with the name of the field:

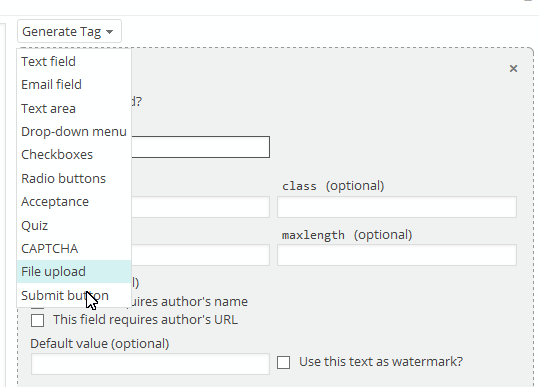
From Generate Tag button, we will choose File upload. Fill in the name and other options:
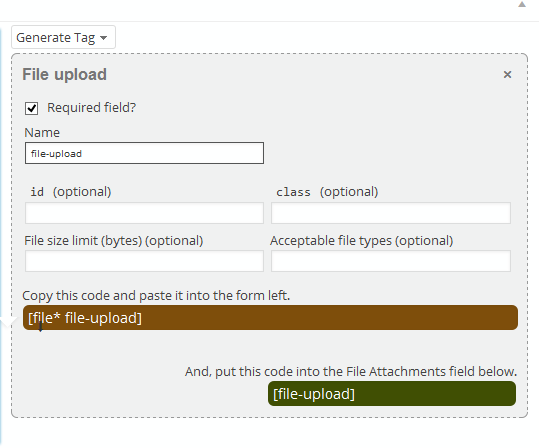
You will see the code generated after this. Just copy it to the left side:
To get this file to your email, you need to copy this code to the File attachments:
Put a title for this form, and click Save:
![]()
You will see the code for this form on the top:

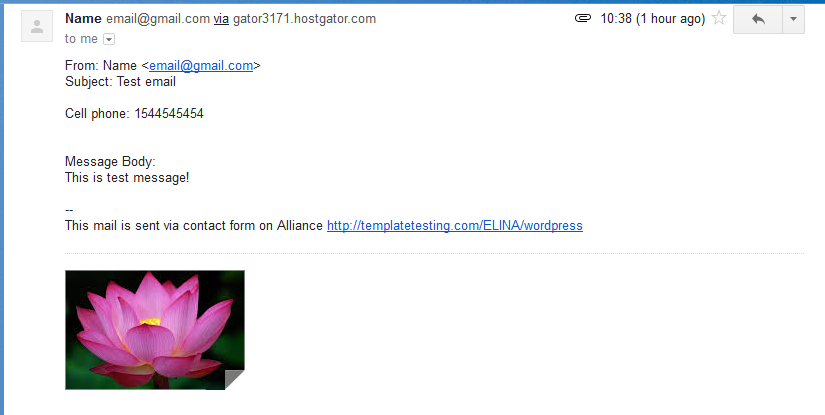
Copy this code to a page, a post or a text widget. Then you can test the form. After getting the confirmation that the message is successfully sent, you can open your email to check:
.jpg)
Feel free to check detailed video tutorial below:
