- Web templates
- E-commerce Templates
- CMS & Blog Templates
- Facebook Templates
- Website Builders
WordPress. How to add theme localization
May 9, 2013
The following tutorial is going to show you how to add WordPress theme localization (translate a theme).
WordPress. How to add theme localization
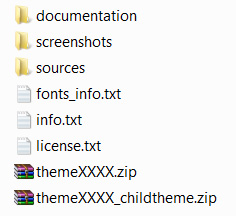
1. Here you can see the content of typical WordPress theme
2. Unzip themeXXXX.zip (where XXXX is the number of your theme).
3. Navigate to themeXXXX/languages folder. There you will see en_EN.mo and en_EN.po files.
4. We will edit PO file using PO editor. We will us Poedit. You can download it at http://www.poedit.net/download.php
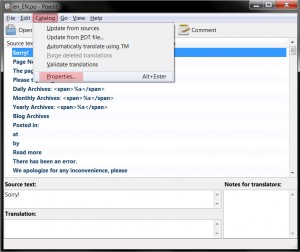
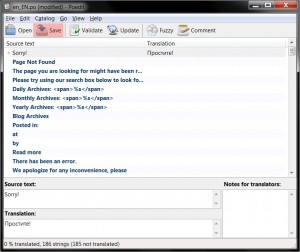
5. Open en_EN.po file using Poedit
6. Navigate to Catalog menu and open Properties.
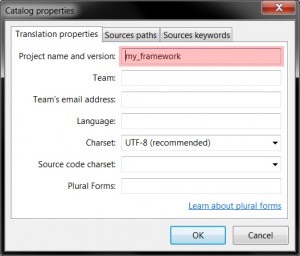
7. Change Project name and version field value to your theme name. themeXXXX in our case.
8. Click OK to save the changes.
9. Select File -> Save as and save the file using your locale name. E.g.: ru_RU.po for Russian locale, es_ES.po for Spanish locale, fr_FR.po for French locale etc.
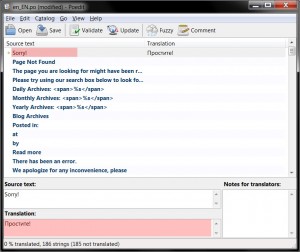
10. Select a line in Poedit and type in translation to Translation field at the bottom
11. Hit Ctrl + Return on your keyboard to save translation and go to next line.
12. Click Save button when you done translating. ru_RU.mo file will be created in the same folder ru_RU.po file is located.
13. Copy ru_Ru.mo file to /wp-content/themes/themeXXXX/languages folder on your FTP.
14. Navigate to root WordPress folder on your FTP and edit wp-config.php file.
15. Search for define(‘WPLANG’, ”); and change its second argument to your locale (ru_RU in our example)
define('WPLANG', 'ru_RU');
16. Save the file.
Feel free to check the detailed video tutorial below:
WordPress. How to add theme localization


