- Web templates
- E-commerce Templates
- CMS & Blog Templates
- Facebook Templates
- Website Builders
WordPress. How to back up, restore and update Cherry Framework 3.x
November 19, 2013
This tutorial is going to show you how to back up, restore and update the Cherry Framework.
WordPress. How to back up, restore and update Cherry Framework
In your WordPress admin panel under the menu Appearance -> Themes or under Dashboard -> Updates you can find options that allow you to update your current Cherry version. If you click Update right away, it may mess up the look of your site.
We suggest that you follow the easy steps below to avoid such problems:
- You will need to back up your database (for GoDaddy) and save it on your computer.
- Log into your WordPress admin and go to the menu Cherry Options -> Data management.
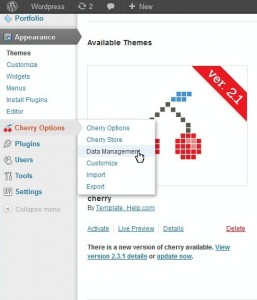 There you will find one more option to update Cherry Framework, as well as to back up and download both your Cherry theme and its child theme and restore them after updating. If you do not have these options in your Cherry version, just create backup copies of the CherryFramework and theme#### folders located in the wp-content\themes directory on your FTP and proceed to updating Cherry (step 8).
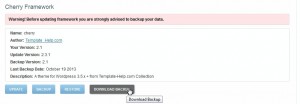
 - First off, under Cherry Framework click Backup. This will create an archived copy of the CherryFramework folder under the directory wp_content/themes_backup on your FTP.

- If needed, you can also download this folder on your computer by clicking the Download backup button.
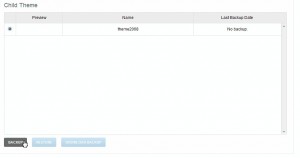
- Scroll down and under Child Theme click the Backup button. This will create a zipped copy of your theme###.zip folder under the wp_content/themes_backup directory on your FTP.
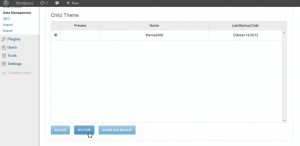
- You can also download this folder on your computer by clicking the Download backupbutton.
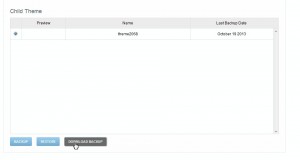
- There are also two Restore options under Cherry Framework
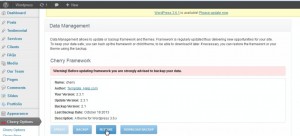 and Child Theme
which allow to recover your site by migrating back to the previous versions of Cherry and the theme.
- Now you can go ahead and update your current Cherry version.
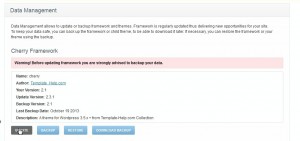
- In the window that is going to pop up, click OK.
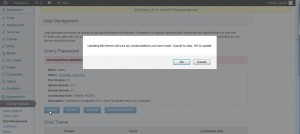
- Wait till the update of your Cherry Framework is complete.
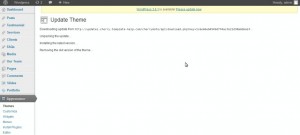 If you check out your site after that, most probably it will look corrupt (wrong css styling, doubled header and footer etc).
 - Open the frontend of your site and check its pages. In case it looks messed up, use the backup of the database. It is suggested to first drop all tables
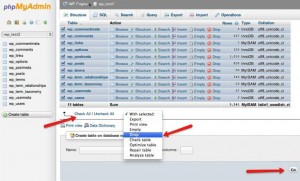
- Then import the .sql or .zip file you had saved on your computer (for GoDaddy).
- Check your site. In most cases, the steps above are enough to keep the same look of your site after updating Cherry.
Feel free to check the detailed video tutorial below:
WordPress. How to back up, restore and update Cherry Framework


.jpg)
