


- Web templates
- E-commerce Templates
- CMS & Blog Templates
- Facebook Templates
- Website Builders
FAQs
General Tutorials
Featured templates
MonsterONE Subscrioption


Hello! This tutorial shows how to configure WordPress multisite.
WordPress. How to configure multisite
A WordPress multisite network allows you to run and manage multiple WordPress sites from a single WordPress installation. This means you can create new sites instantly and manage them using the same username and password.
Let’s learn how to configure a WordPress multisite.
First of all, you should enable WordPress Multisite Network feature.
Access your FTP/hosting Control Panel File Manager and open wp-config.php file.
Add the following code to the file right before the /* That’s all, stop editing! Happy blogging. */ line:
/* Multisite */
define( 'WP_ALLOW_MULTISITE', true );
![]()
Save the file and overwrite the existing file on the server.
You have successfully enabled the Multisite Network feature on your WordPress site, now it’s time to set up your network.
First, deactivate all the plug-ins on your site via admin panel Plugins tab or manually via FTP.
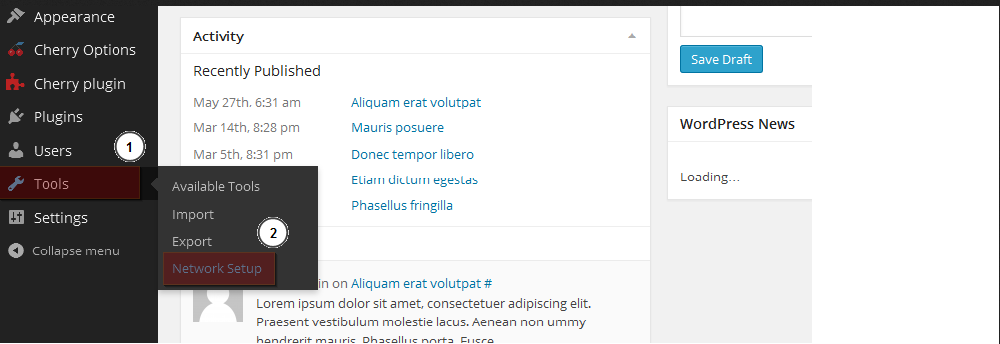
Then, go to Tools ->Network Setup to configure your multisite network:
On the appeared screen choose what kind of domain structure you will use for sites in your network, e.g. Subdomains or Sub-directories, provide a title for your Network and make sure that the email address in the Network Admin Email field is correct. Click “Install” button to continue:

Now, you should follow instructions on the appeared interface and add some rules to your wp-config.php and .htaccess files as instructed:

Once you complete these steps, your network is enabled and configured. You will have to log in again for changes to apply.
Now you have new tab at the top left of your WordPress dashboard called “My Sites”. From there, you may manage your sites, add new ones, configure network settings, etc.:
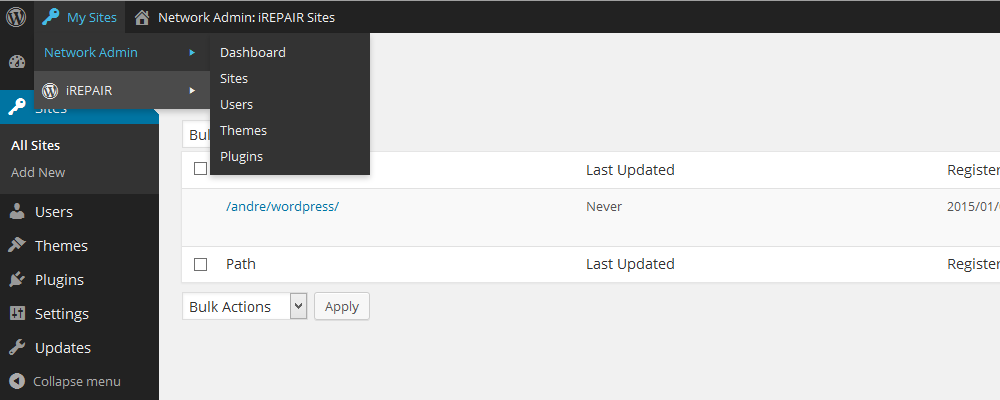
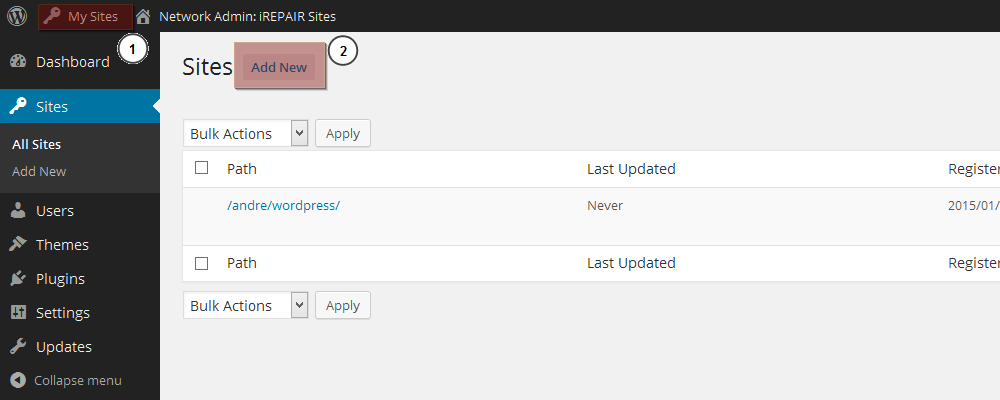
In order to add new sites you should go to My Sites ->Network Admin ->Sites tab and click “Add New” button:

On the appeared screen fill in “Site Address”, “Site Title” and “Admin Email” fields. You don’t need to type the full address of the site, just the part you want to use as subdomain or sub-directory, e.g. newsite:
.jpg)
Once you add new site(s), you may configure each site to your needs, add plug-ins, themes, etc. for each one separately.
This is the end of the tutorial, you have learnt how to configure a WordPress multisite.
Feel free to check the detailed video tutorial below:
