- Web templates
- E-commerce Templates
- CMS & Blog Templates
- Facebook Templates
- Website Builders
WordPress. How to create a Gallery post
June 26, 2013
This tutorial shows how to create a Gallery post.
WordPress. How to create a Gallery post
1. Go to WordPress dashboard;
2. Add new post and text to it;
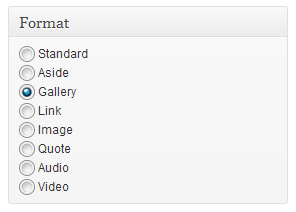
3. Select Gallery format in the right Format box;
4. Use ‘Add Media‘ button to upload images for your Gallery;
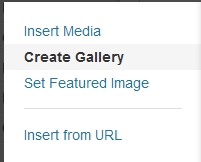
5. Click on ‘Create Gallery’ link. Upload all the images from your hard drive only! Other way, they will not be shown on your website.
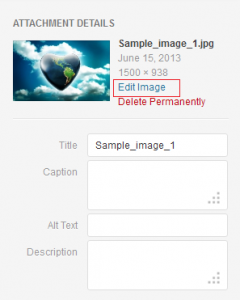
6. You can crop/rotate/edit any image directly from the admin panel. Use ‘Edit image’ link to proceed.
7. At the very bottom of the Gallery settings box you can see what images will appear in Gallery Post.
8. Click on ‘Create new gallery’ button.
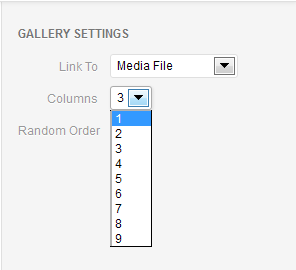
9. Use 1 Column layout in Gallery settings.
10. Click on ‘Insert gallery’ button.
11. In the ‘Text/Html’ tab you should remove the gallery shortcode. It should look like this:
[gallery ids="2059,2060,2061,2062"]
12. Publish your new Gallery Post. Gallery post was successfully created.
Feel free to check the detailed video tutorial below:
WordPress. How to create a Gallery post
If you need premium templates to choose from, check out our wordpress graphic design or wordpress theme with gallery solutions.


.jpg)


