


- Web templates
- E-commerce Templates
- CMS & Blog Templates
- Facebook Templates
- Website Builders
FAQs
General Tutorials
Featured templates
MonsterONE Subscrioption


This tutorial will show you how to edit existing slideshow posts in WordPress.
WordPress. How to edit existing Slideshow posts
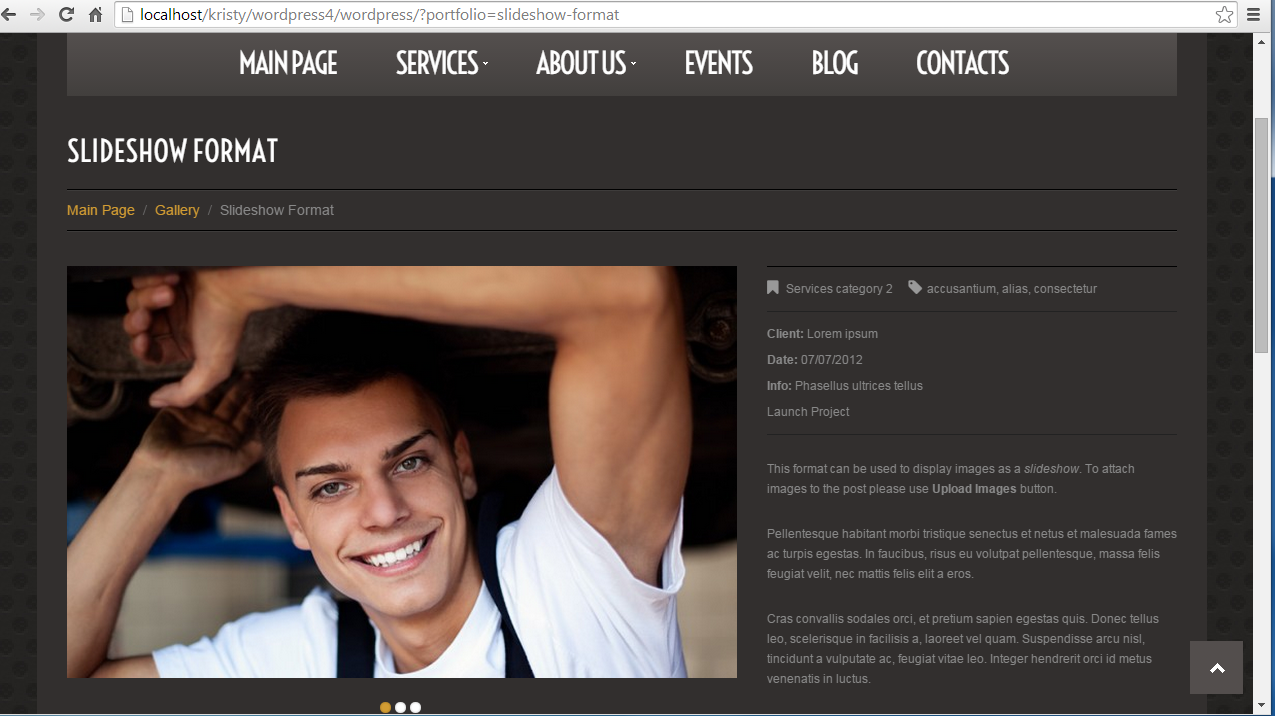
If you open your website, you will see a slideshow post in your gallery page. This post shows several images in the slideshow. You can change these images:
Open your WordPress admin panel, navigate to Gallery/Portfolio posts and find your post. Click edit.
On the right you will see Featured Image. Click it:

Then select small filter and choose “Images uploaded to this page” option.
It will show images that are uploaded to this post and shown in the slideshow:

Click every image and delete it permanently.
Then you will need to upload your images.
Use Upload file button.
Upload images one by one. Select featured image that you need.
Click Update and check your site.
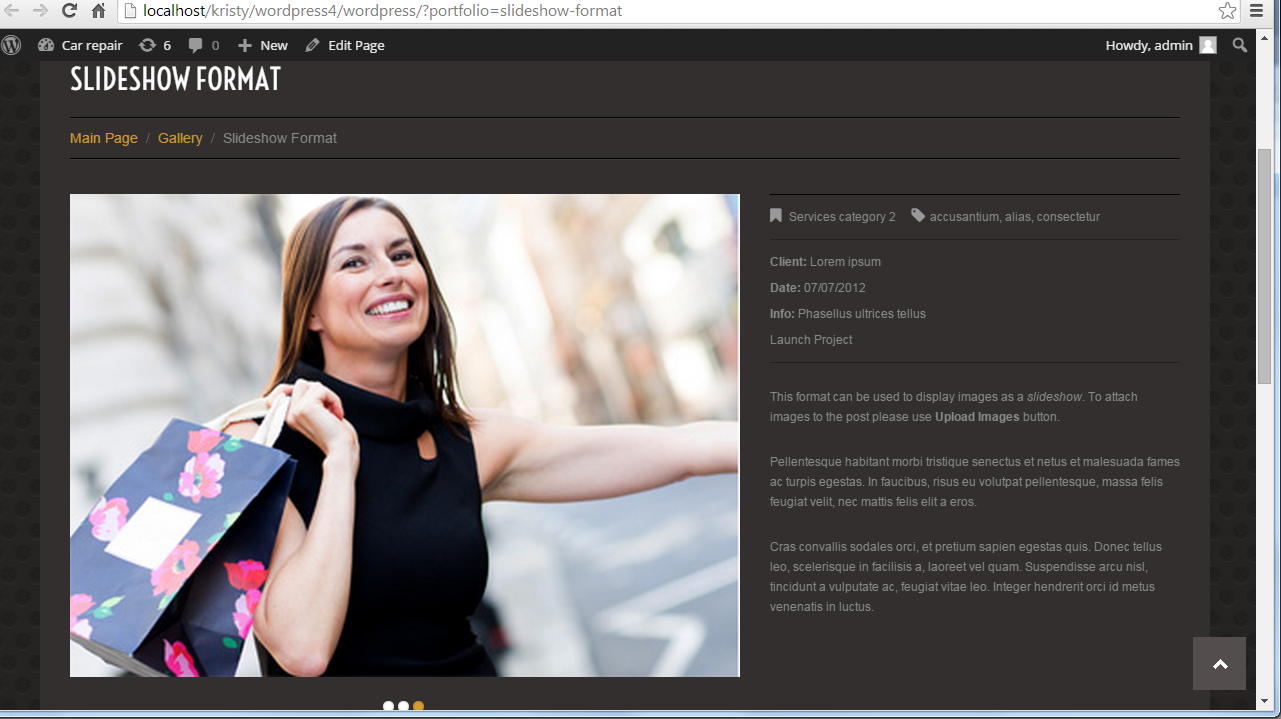
As you see images have changed:
Now you know how to edit existing slideshow posts in WordPress.
Feel free to check the detailed video tutorial below:
WordPress. How to edit existing Slideshow posts
If you need more premium templates to choose from, check out WordPress photography portfolio themes and responsive WordPress themes for business.
