


- Web templates
- E-commerce Templates
- CMS & Blog Templates
- Facebook Templates
- Website Builders
FAQs
General Tutorials
Featured templates
MonsterONE Subscrioption


This tutorial shows how to add tags to custom post types (for example, ‘Our team‘ ) in WordPress.
WordPress. How to add tags to custom post types
Log into WordPress Admin Panel.
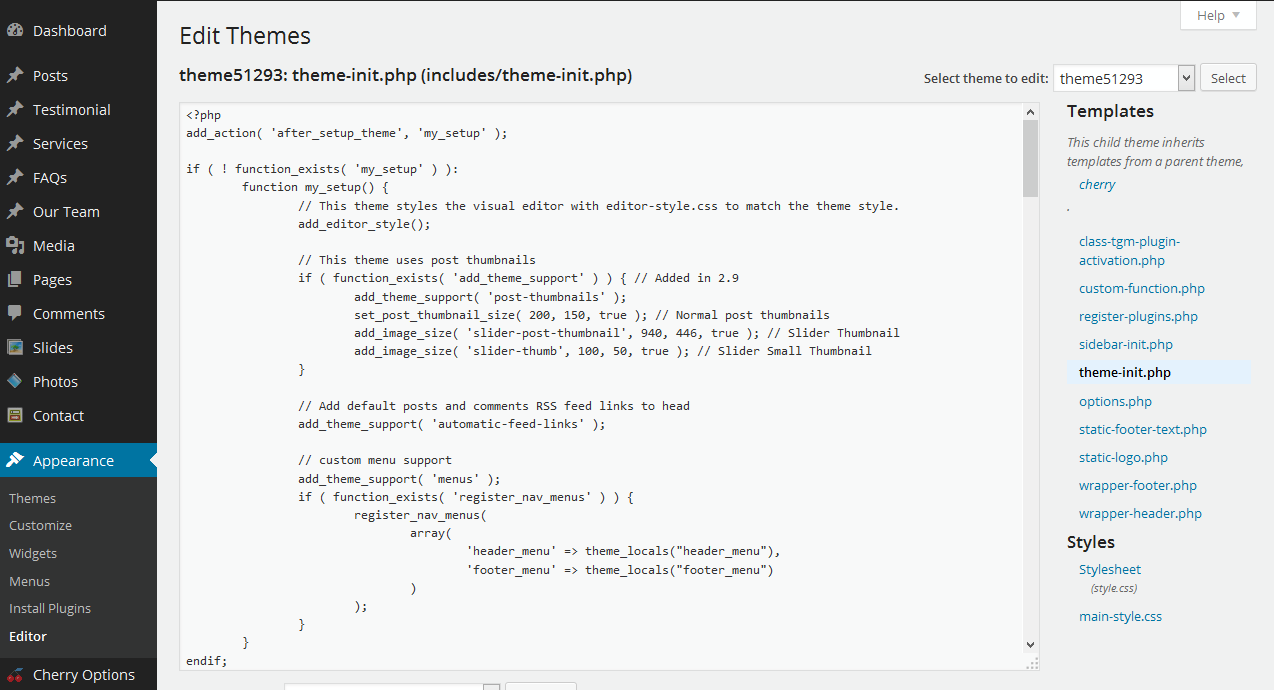
Go to Appearance > Editor, select the active theme (themeXXXXX) and open theme-init.php file under this theme files list:
Search for this code – my_post_type_team:
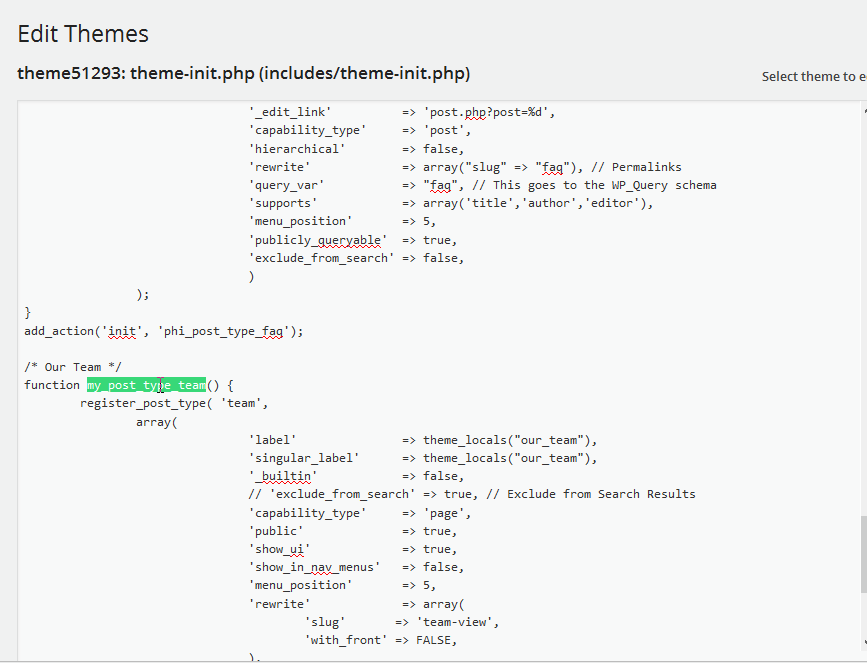
After team post registration:
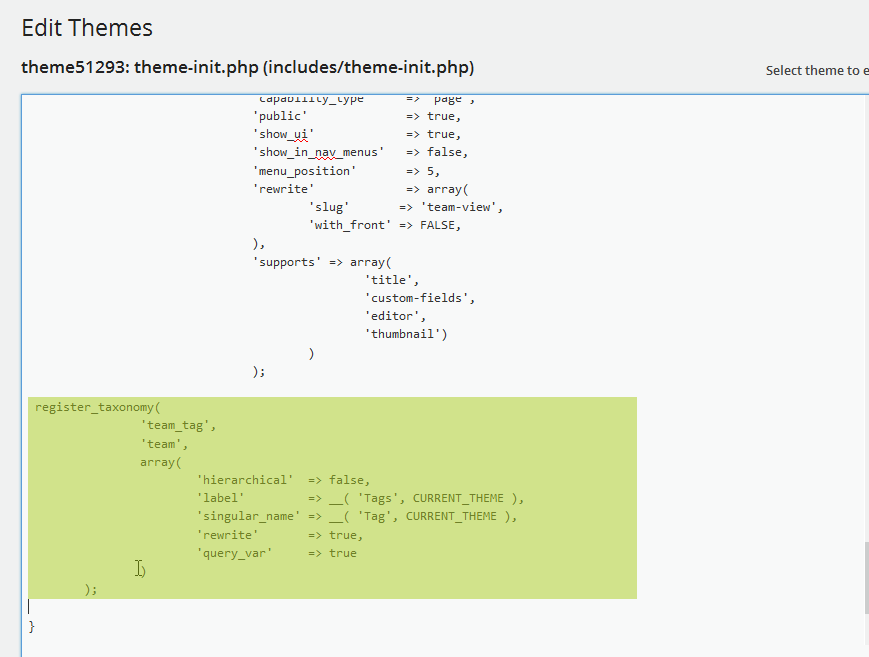
register_post_type( ‘team’, array( … )); add this code:
register_taxonomy(
    		'team_tag',
    		'team',
    		array(
    			'hierarchical'  => false,
    			'label'         => __( 'Tags', CURRENT_THEME ),
    			'singular_name' => __( 'Tag', CURRENT_THEME ),
    			'rewrite'       => true,
    			'query_var'     => true
    		)
    	);
Click to ‘Update File‘ button.
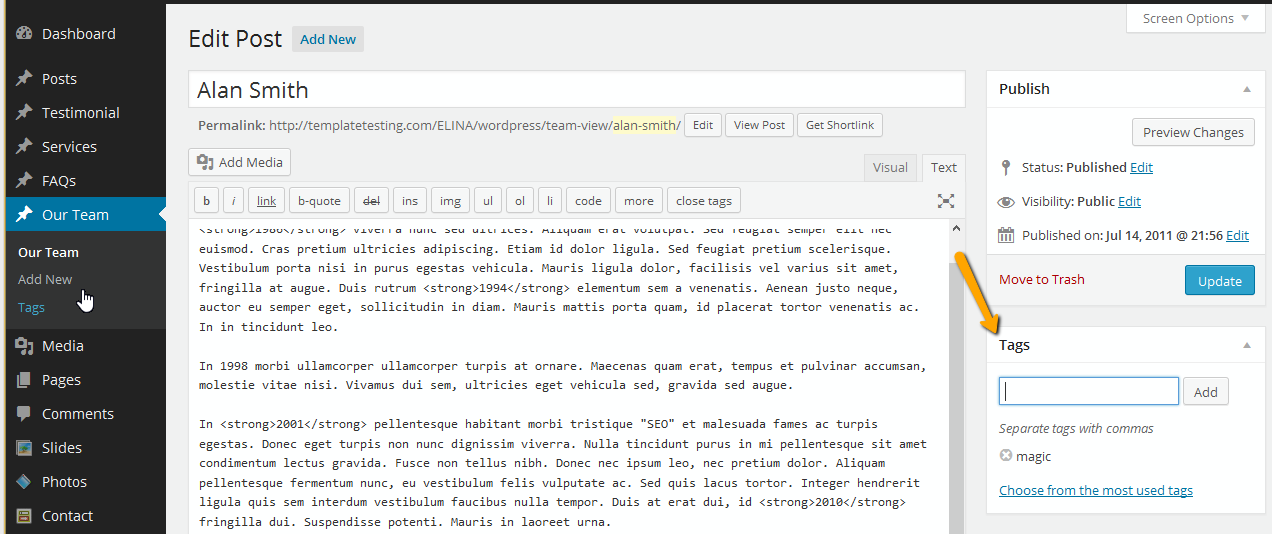
Go to ‘Our Team‘ page, and check the posts there. You will see the Tags section:
Feel free to check the detailed video tutorial below:
