- Web templates
- E-commerce Templates
- CMS & Blog Templates
- Facebook Templates
- Website Builders
WordPress. How to install Cherry framework 3.x template
January 29, 2013
In this tutorial we will learn how to install Cherry Framework and the template on WordPress.
There are two ways to install the theme: via the admin panel of WordPress or via FTP.
Upload via WordPress admin:
Installation process includes two steps: framework installation and child theme installation. Both steps are basically identical and very easy.
Login to your WordPress admin panel (add /wp-admin after your domain name in the browser address bar).
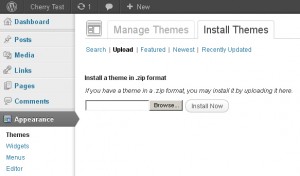
Now go to Appearance > Themes > Install Themes.
Click the Upload link
And upload your CherryFramework.zip file
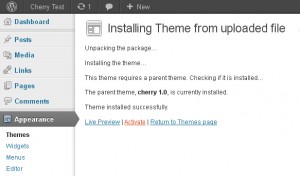
When the upload is complete you need to Activate the theme. Click the Activate theme link.
Congratulations, you have installed the framework. After this you need to perform the same steps for the child theme: themeXXXX.zip
Go to Appearance > Themes > Install Themes
Click the Upload link
And upload your themeXXXX.zip file
When the upload is complete you need to Activate the theme. Click the Activate theme link.
Congratulations, framework and theme have been installed, and now are ready for usage.
For more detailed information, please visit WordPress official documentation, “Installing WordPress” section: http://codex.wordpress.org/Installing_WordPress
Upload via ftp:
Let’s consider alternative framework/theme upload and installation option: using website FTP-access and FTP-client.
Unzip the CherryFramework.zip and themeXXXX.zip file to any folder on your hard drive.
Upload the CherryFramework and themeXXXX folder to the server (to the /wp-content/themes/ directory).
Login to your WordPress admin panel (add /wp-admin after your domain name in the browser address bar).
Now go to Appearance > Themes.
In Available Themes section find theme1934 and activate it by clicking Activate button.
Sample Data Install
To make your WordPress website look like our live demo, please follow the instructions below.
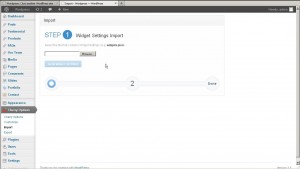
Go to Cherry Options > Import to initiate Sample Data installation process
On the first step installation wizard will suggest you to upload widget_data.json – file that contains theme settings. Once you selected the file click Upload File and Import
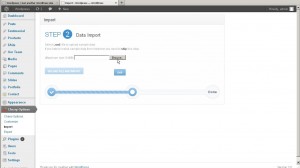
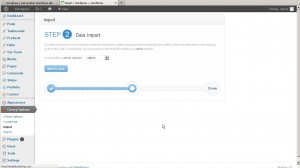
On the second step you will be prompted to upload the file with .xml extension, which contains all template sample data (posts, pages, categories etc.). Once you selected the file click Upload File and Import button
After this you will need to select the author for the posts and pages you are importing. Click Import Data button to run the process.
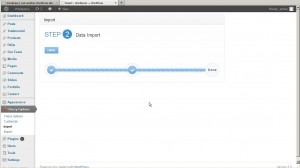
Sample data import process usually takes approximately 2 minutes so be patient and wait a bit. Please, don’t terminate this process.
After completion of import process you will get success notification. Click Finish button.
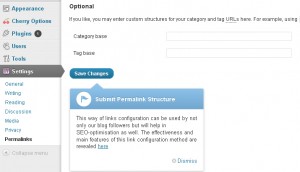
And the last step is to click Save Changes button, to activate SEO-optimized permalinks structure.
Feel free to check the detailed video tutorial below:
WordPress. How to install Cherry framework template
Don’t forget to check out one of our beautiful WordPress theme to build a perfect website.


