


- Web templates
- E-commerce Templates
- CMS & Blog Templates
- Facebook Templates
- Website Builders
FAQs
General Tutorials
Featured templates
MonsterONE Subscrioption


This tutorial is going to show you how to install Cherry Framework theme sample data via Cherry plugin on your WordPress site.
WordPress. How to install Cherry Framework theme sample data via Cherry plugin

To make your WordPress website look like our live demo, please follow the next steps. We also suggest you always have a backup .sql file exported from your database.
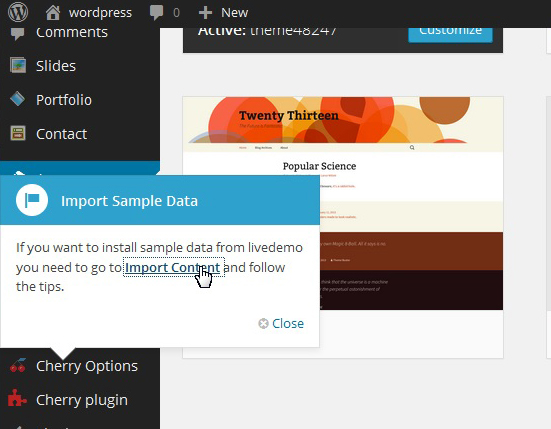
If you have just installed the Cherry Framework template, you may see a pop-up window on the left suggesting that you import the sample data. You can go ahead and click the Import Content button in this window.
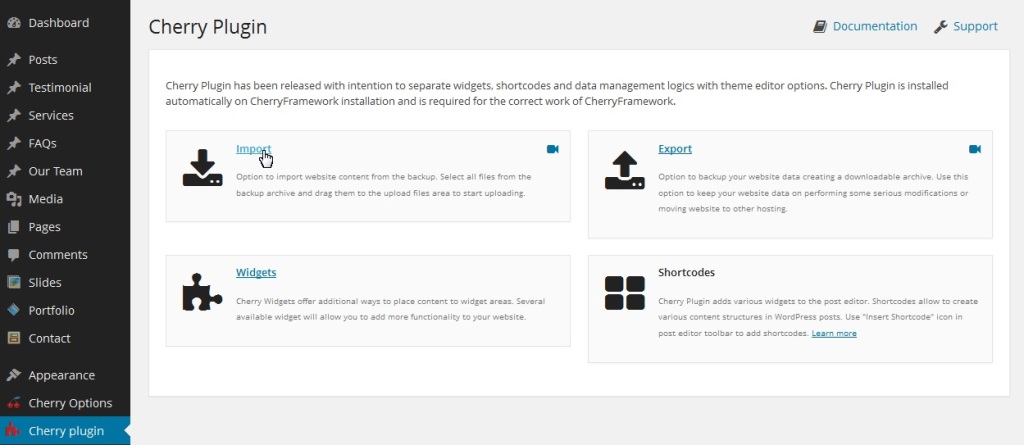
Alternatively, you can go to the Cherry Plugin menu and click Import.
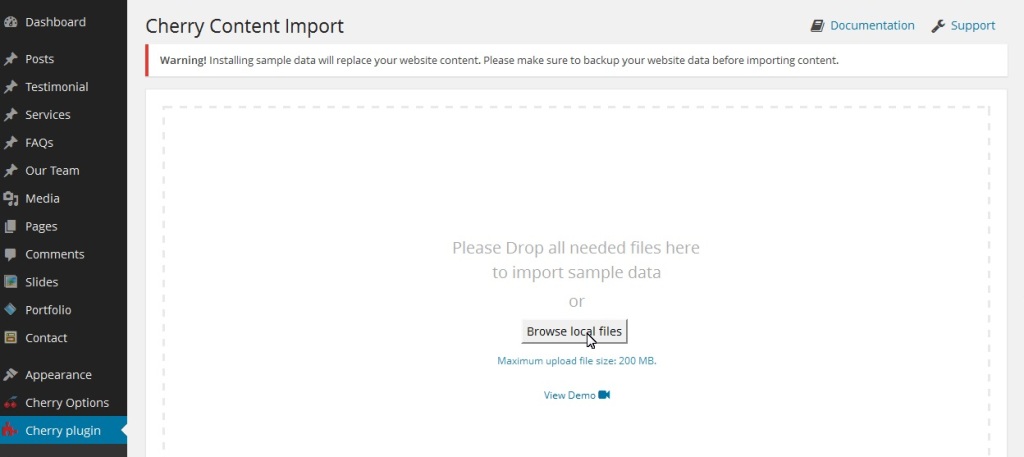
You may see the requirements table that shows if your hosting server meets the Cherry Plugin requirements. Please contact your hosting provider if there are any warnings. If all server settings are OK, you’ll see the uploading screen. Click the Browse local files button on this screen.
Navigate to the "theme/sample_data" directory from the template package and upload all files you see there to WordPress. Just hit CTRL+A or Command+A to select all of them and click Open.

You can also upload all these files by selecting them in the "theme/sample_data" directory (CTRL+A or Command+A) and dragging them to the uploading area.
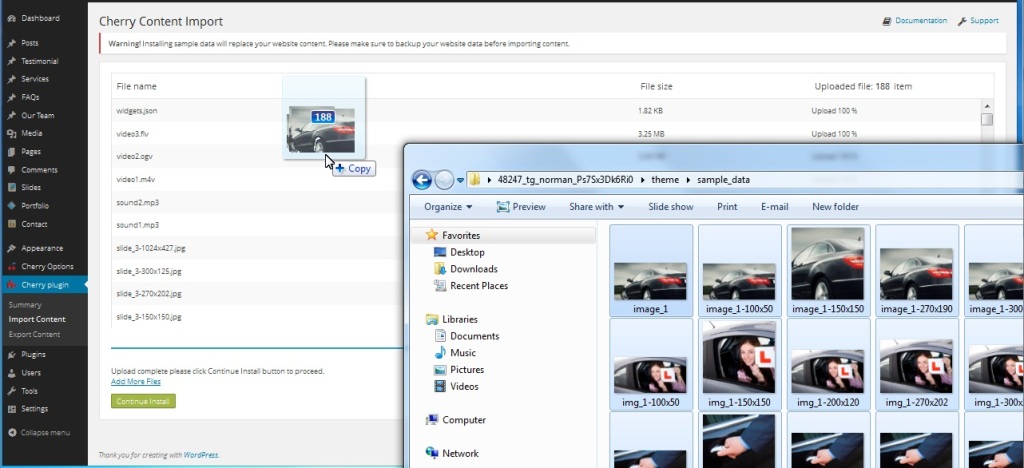
Make sure to upload all files from the sample_data directory including .JSON and .XML files. When the upload is done, click the "Continue Install" button to proceed.

Clicking the "Continue Install" button will activate the sample data installation process. The installation steps may take some time depending on your server settings. Please be patient.
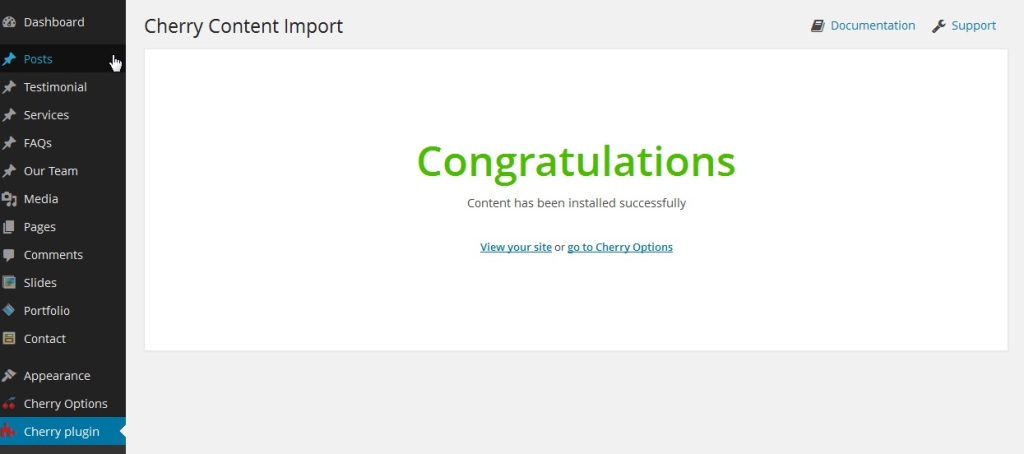
Congratulations! You have successfully installed your Cherry WordPress Theme. You can look at your website and the installed theme now.
Feel free to check the detailed video tutorial below:
WordPress. How to install Cherry Framework theme sample data via Cherry plugin
