


- Web templates
- E-commerce Templates
- CMS & Blog Templates
- Facebook Templates
- Website Builders
FAQs
General Tutorials
Featured templates
MonsterONE Subscrioption


This tutorial shows how to manage agents (users) info in WPL and add a new user in WordPress.
WordPress. How to manage agents (users) info in WPL and add new user
In order to add a new user, you should perform the following:
Step 1. Add a new WordPress User.
Navigate to Users – Add New.
Fill in the User data and the login and password for this user account, you can also define the User role permissions.
Click ‘Add New User’:

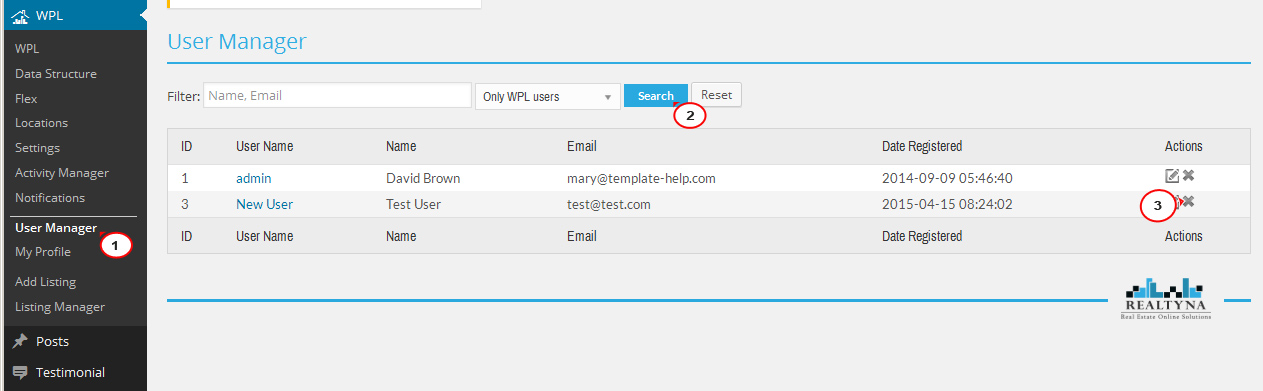
Step 2: Add User to WPL.
Navigate to WPL – User Manager.
In the Search field please select ‘All WordPress Users’. Click ‘Search’.
Click the ‘+’ button in order to add the user to WPL:
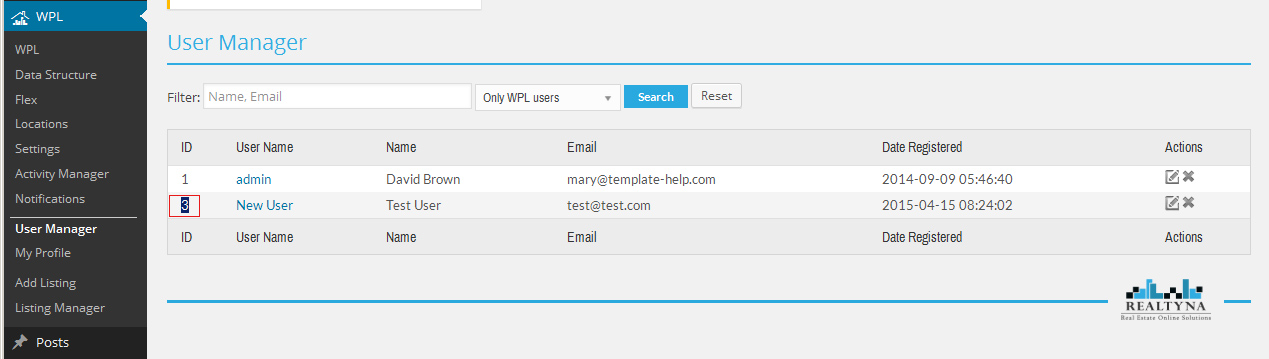
Step 3: Add the user to the Agents page.
Go to ‘Pages’ – ‘All Pages’ – ‘Agents’ in WordPress dashboard.
You will see the shortcode used for implementing the user into the page:

Note: you can add only 1 user to the Agents page.
Replace the default user ID with the ID of the user you are adding to the Agents page in the shortcode. You can check the user ID in WPL-User Manager:
Click ‘Update’.
Step 6: You can add the gravatar image and more info to the User Profile.
It can be done in WPL- My Profile section.
Note: You should log into WordPress with the New User account login data (login username and password which were set earlier in the process of creating the new user in Users – Add New User).
In WPL- My Profile section you can change the User First and Last Name, fill in the address, phone number fields.
In order to add the Profile picture, please click the ‘Select your File’ button. Select the image from your PC and upload it:
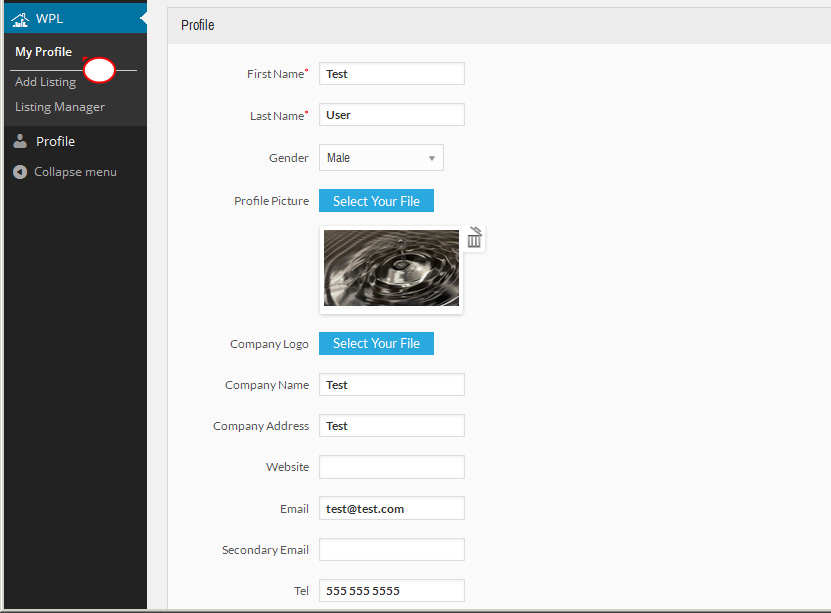
With all the necessary info filled in click the ‘Finalize’ button and refresh the Agents page to see the new user profile updated.
Feel free to check the detailed video tutorial below:
WordPress. How to manage agents (users) info in WPL and add new user
