


- Web templates
- E-commerce Templates
- CMS & Blog Templates
- Facebook Templates
- Website Builders
FAQs
General Tutorials
Featured templates
MonsterONE Subscrioption


Our Support team is ready to present a new tutorial that will show you how to move your WordPress website from localhost to live server.
WordPress. How to move site from localhost to the live server
Log into your WordPress admin panel. Go to Settings->General. Change the website URL to new location and Save. Do not open the site:

Enter the phpmyadmin tool on your local server, export the existing database for your site. You can check the following instruction on how to export the database
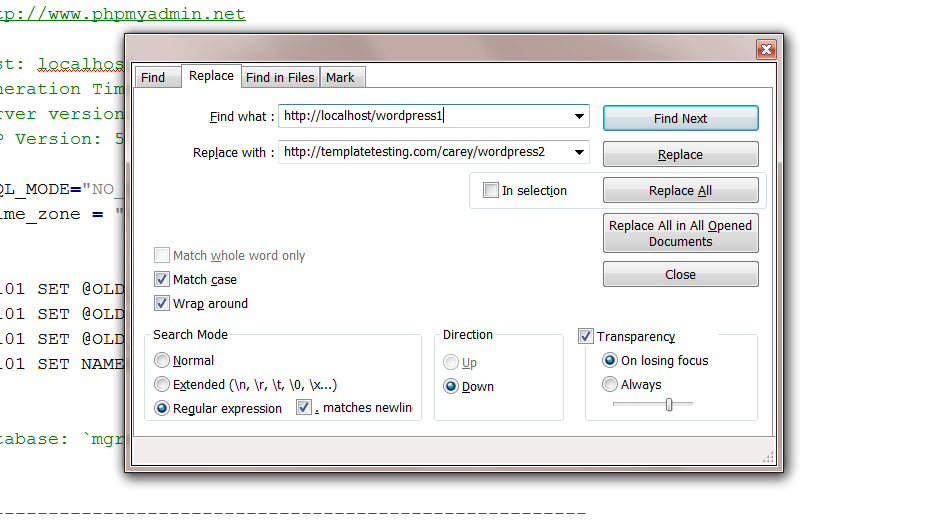
Open the downloaded file in php editor. We will use Notepad++. Press Ctrl+F to open Find&Replace tool. Click on Replace All button. Type in the current and new URLs to corresponding fields and click on Replace All. Save changes:
Once the file is edited, you can move the site files and folders to new location. You can check this instruction on how to upload files to server via FTP.
Log into phpmyadmin tool on the live server, import the edited .sql file to the new database. You can check this instruction on how to import the .sql file to database.
Once the files are uploaded to your server, you will need to edit the wp-congig.php file on your server. The file has the Database information: database name, username, password. Since the database changed, you will need to update this information in the file:

Check your new website URL. You have successfully moved the website from localhost to live server.
Feel free to check the detailed video tutorial below:
WordPress. How to move site from localhost to the live server
