


- Web templates
- E-commerce Templates
- CMS & Blog Templates
- Facebook Templates
- Website Builders
FAQs
General Tutorials
Featured templates
MonsterONE Subscrioption


This tutorial shows how to set up MailChimp for WordPress Lite plugin.
WordPress. How to set up MailChimp for WordPress Lite plugin
The plugin helps to add a subscription checkbox to the comment and/or registration forms which would allow visitors to subscribe to your list during the commenting or registering process and to build a signup form that can be added to any page(s) of your website.
In order to configure the plugin, you should first of all make sure it is installed.
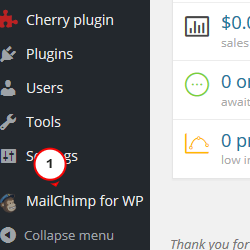
Please go to Plugins -> Installed Plugins in your WordPress dashboard and check if the MailChimp for WordPress Lite plugin is activated.
Once the plugin is activated you will get a new menu tab called MailChimp for WP in your WordPress dashboard:
To connect your MailChimp account, you will need to enter your API key into the necessary field.
The plugin provides a convenient link below the field which will direct you to the API key in your MailChimp account.
You must be logged into your MailChimp account for the link to work as expected.
If you do not have MailChimp account, please use the following link to create one:
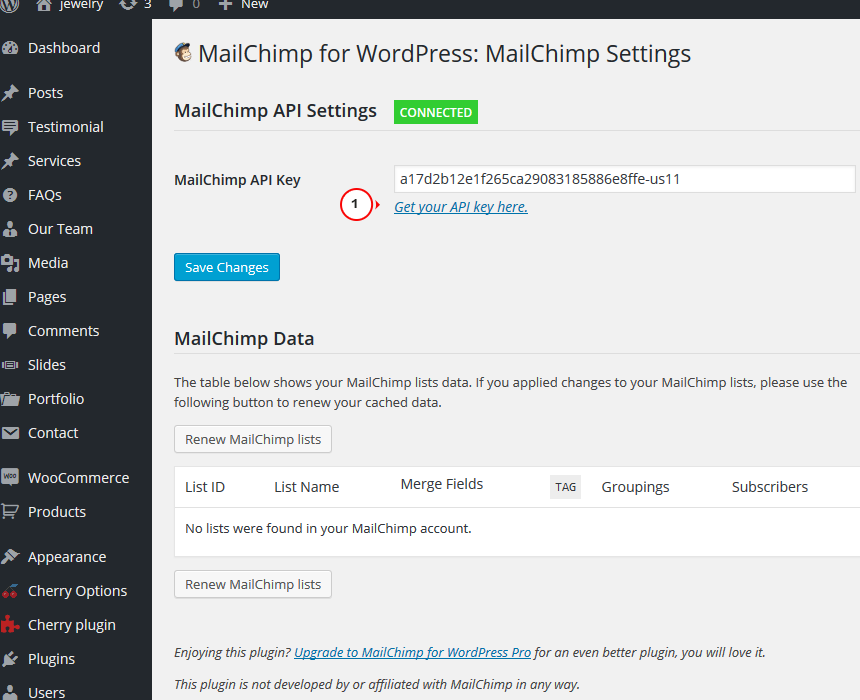
Once the API key is added and the changes are saved, your list information will populate in the “MailChimp Data” area.
Configuring the Plugin:
Checkboxes tab allows to configure the checkboxes used for signups. In this area, you can choose which lists subscribers are added to, double opt-in settings, and additional styling elements.
Forms tab allows to create and customize the HTML for the signup form to place within your WordPress site. By default, the form will be set up for an email field. To add additional fields to the form, use the “Select MailChimp field” drop-down under the “Add a new field” area.
Before adding the additional fields, you have the ability to edit the fields properties. For example, you can add a default value for a form field and mark a field as required.
Under MailChimp Settings section you can customize the signup options for the form.
In the Form Settings and Messages area you can adjust messages shown when a form submission is complete as well as any error messaging.
Publish the Form
Once you’ve finished customizing your form, you can publish it on your WordPress site.
To add the form to one of your WordPress pages, copy the shortcode provided below the code:
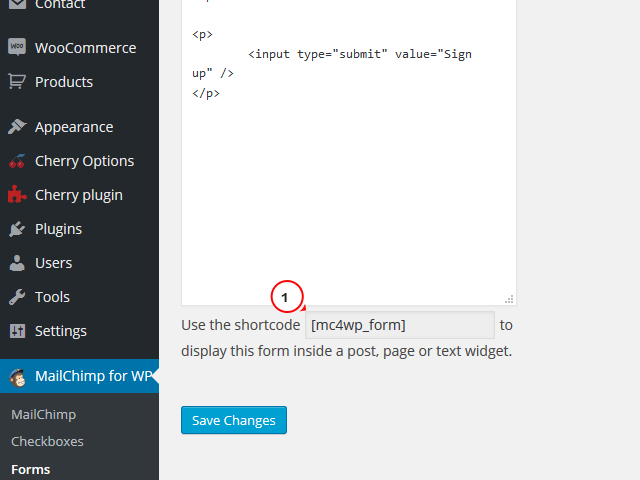
Open any page you want and paste the code into the desired location.
Feel free to check the detailed video tutorial below:
WordPress. How to set up MailChimp for WordPress Lite plugin
