


- Web templates
- E-commerce Templates
- CMS & Blog Templates
- Facebook Templates
- Website Builders
FAQs
General Tutorials
Featured templates
MonsterONE Subscrioption


In this tutorial we will show you how to use SMTP server to send WordPress emails.
WordPress. How to Use SMTP Server to Send WordPress Emails
WordPress uses mail function in PHP to send emails. Many shared hosting providers do not have this function configured properly, or they have disabled it entirely to avoid abuse. In either case, your WordPress emails will not be delivered.
In this case you can use Email Accounts by Your Host (contact your hosting provider asking if they provide such an option).
Most hosting providers offer email service for each domain you host with them. This means you can create email accounts with your own domain name like yourname@yourdomain.com:
Let’s see how it works:
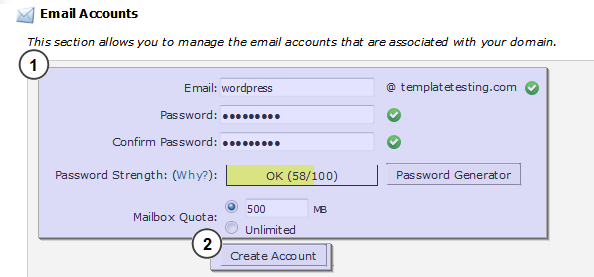
First, you will need to create an email account. We will show you how to create an email account in cPanel. Your hosting provider may use some other account management system, but the basic process is the same on most hosting services.
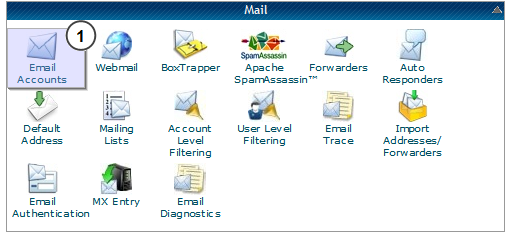
Log into your hosting account, and click on email accounts under the mail section. This will show you a simple form where you need to fill out information required to create your email account:
After creating your email account, you are now ready to use it in WordPress. But before you do that, you will need to get the following information from your hosting provider:
SMTP Host for your email address;
SMTP Port for secure login.
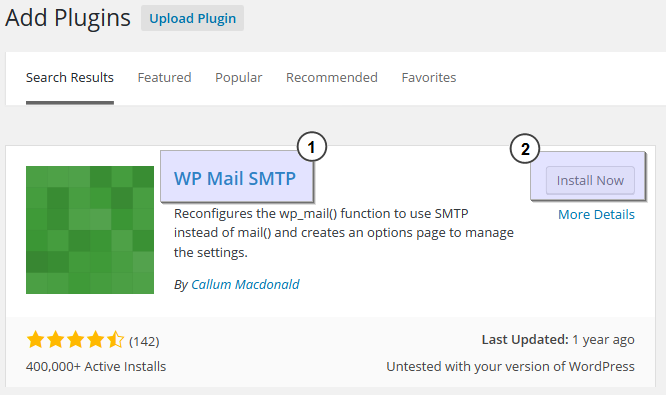
You will now need to install and activate the WP Mail SMTP plugin:
Upon activation, you need to visit Settings > Email menu to configure the plugin settings:

First, you need to enter the email address you just created. After that you can add a "from name". If you do not add a from name, then the plugin will use the default WordPress.
Make sure that the “Send all WordPress emails via SMTP” option is checked.
Under the SMTP options section, fill out your SMTP host and port information you obtained from your hosting provider. For encryption method, you need to select SSL for encryption.
Since you are using an SMTP server, the plugin will need your login credentials to send out emails. Under the authentication section, check “Yes: Use SMTP authentication” option and provide your SMTP login details:
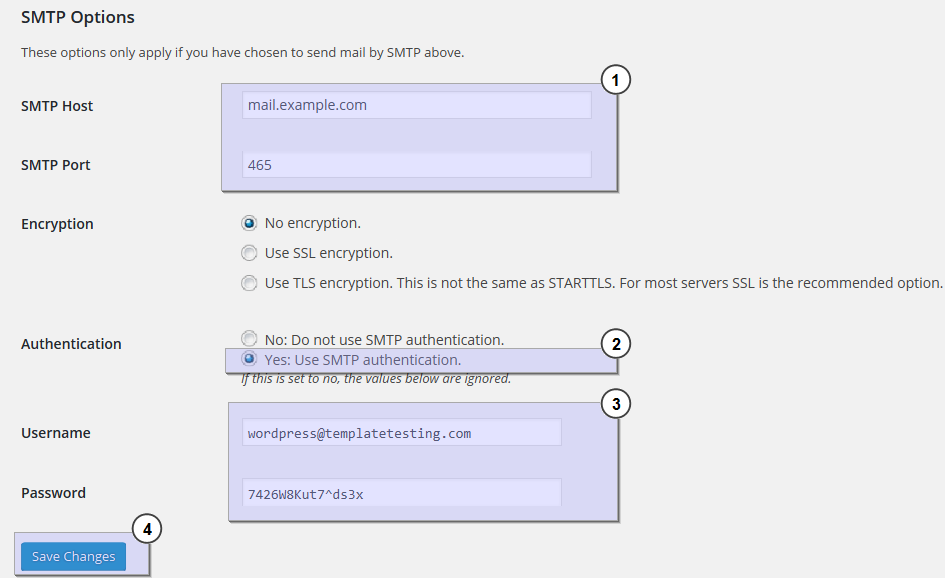
Next, click on the "Save Changes" button to store your settings.
Do not forget to test your SMTP Settings. WP Mail SMTP comes with an email testing tool. After saving your settings, scroll down to the bottom of the page and enter your email address. WP Mail SMTP will send a test message to the email address you provided. If you do not receive the test message, this means that WP Mail SMTP is not configured properly:

.jpg)
Feel free to check the detailed video tutorial below:
