


- Web templates
- E-commerce Templates
- CMS & Blog Templates
- Facebook Templates
- Website Builders
FAQs
General Tutorials
Featured templates
MonsterONE Subscrioption


This tutorial will show you how to work with appointments (based on Booked plugin).
WordPress. How to work with appointments (based on Booked plugin)Booked plugin allows you to customize the appointment system to fit your needs.
The first thing you need to check is whether you have Booked plugin installed. Log into your WordPress admin panel, open Plugins > Installed Plugins page to see if you have Booked plugin installed and activated.
If the plugin is installed and activated, you will see Appointments menu item in your WordPress dashboard:

To add a calendar with your appointments to your site, please follow the steps below:
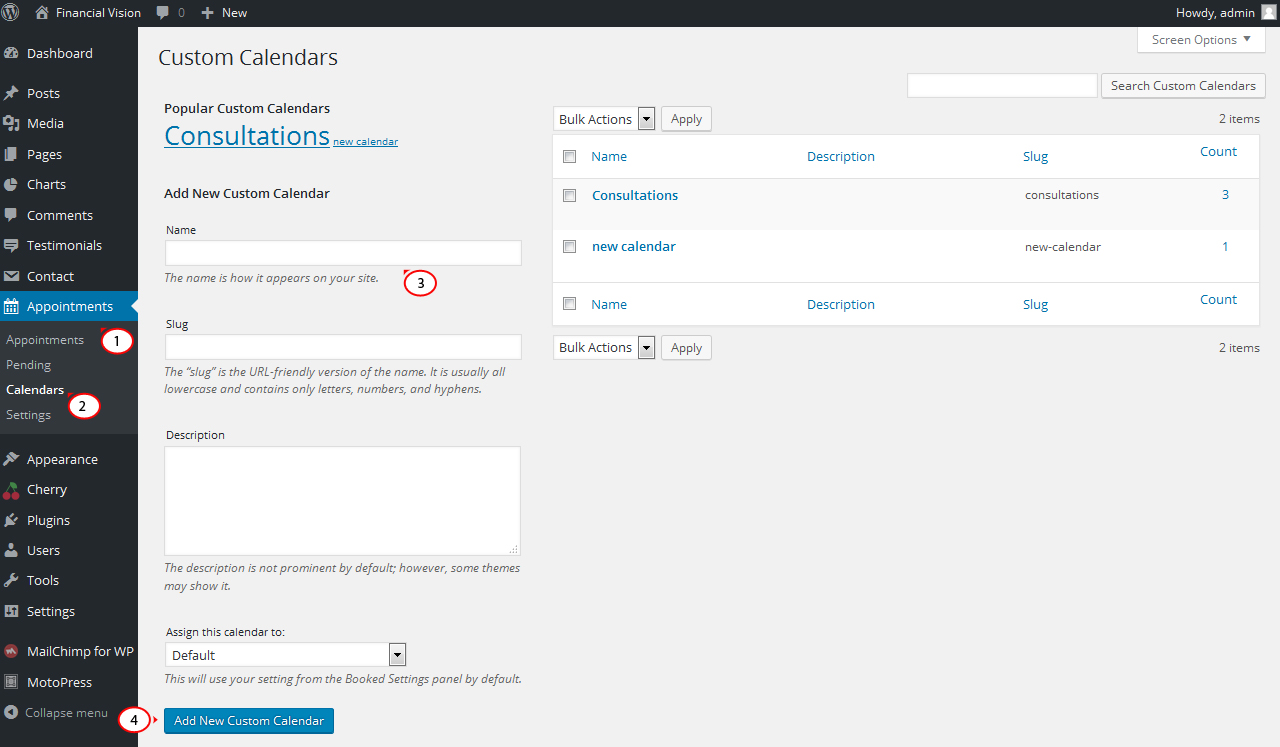
Navigate to Appointments > Calendar section in your WordPress admin panel.
Enter your calendar details on the next screen.
Click Add New Custom Calendar button:
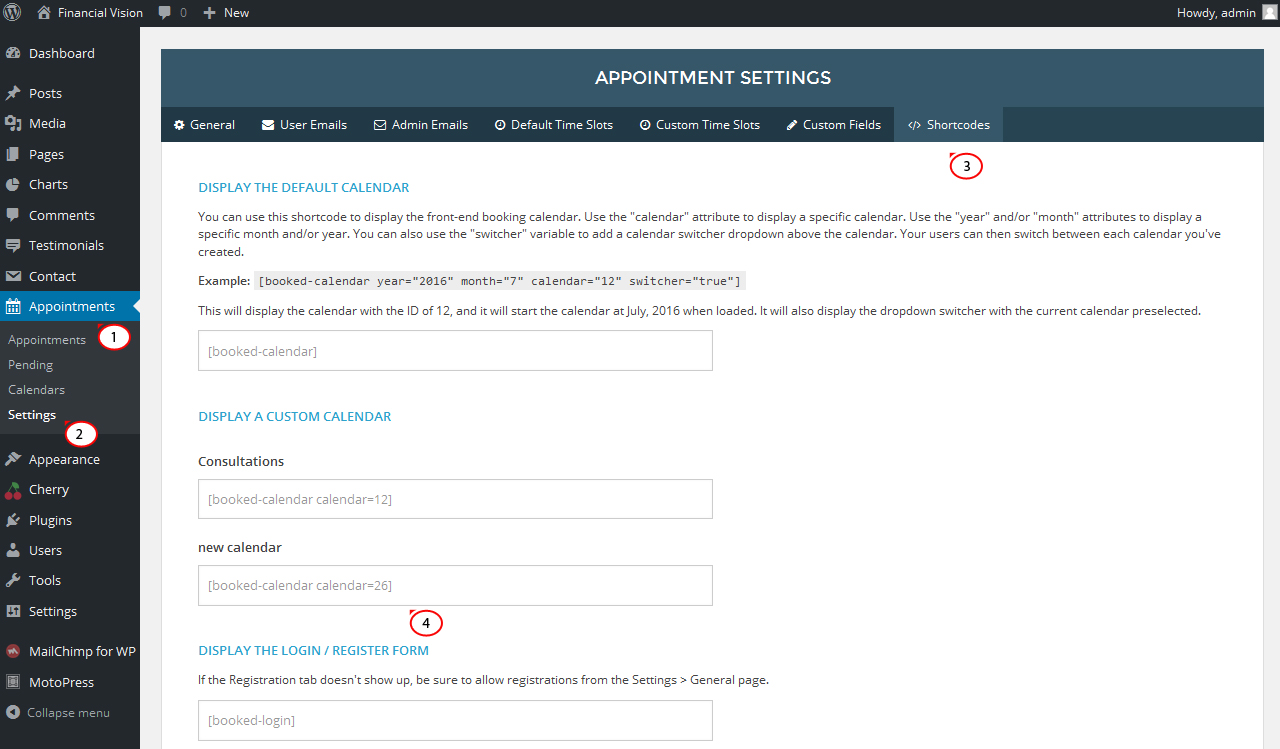
Visit Appointments > Settings > Shortcodes page in your backend. You will see Display a custom calendar field there. Copy your calendar shortcode:
Open your booking page under the Pages section. Paste your shortcode to the page content field. Save page and check your site.
To approve or reject an appointment:
Visit Appointments > Pending page in your backend.
You will see all appointments available there. Click Approve or Reject to change appointment status:

Upon approval, the customer will receive a message stating that their appointment is approved. It will also appear in the Appointments > Appointments menu inside the dashboard.
You can manage all plugin settings under the Appointments > Settings section in your admin panel. You will see several tabs available there:
General Settings tab has several options available:
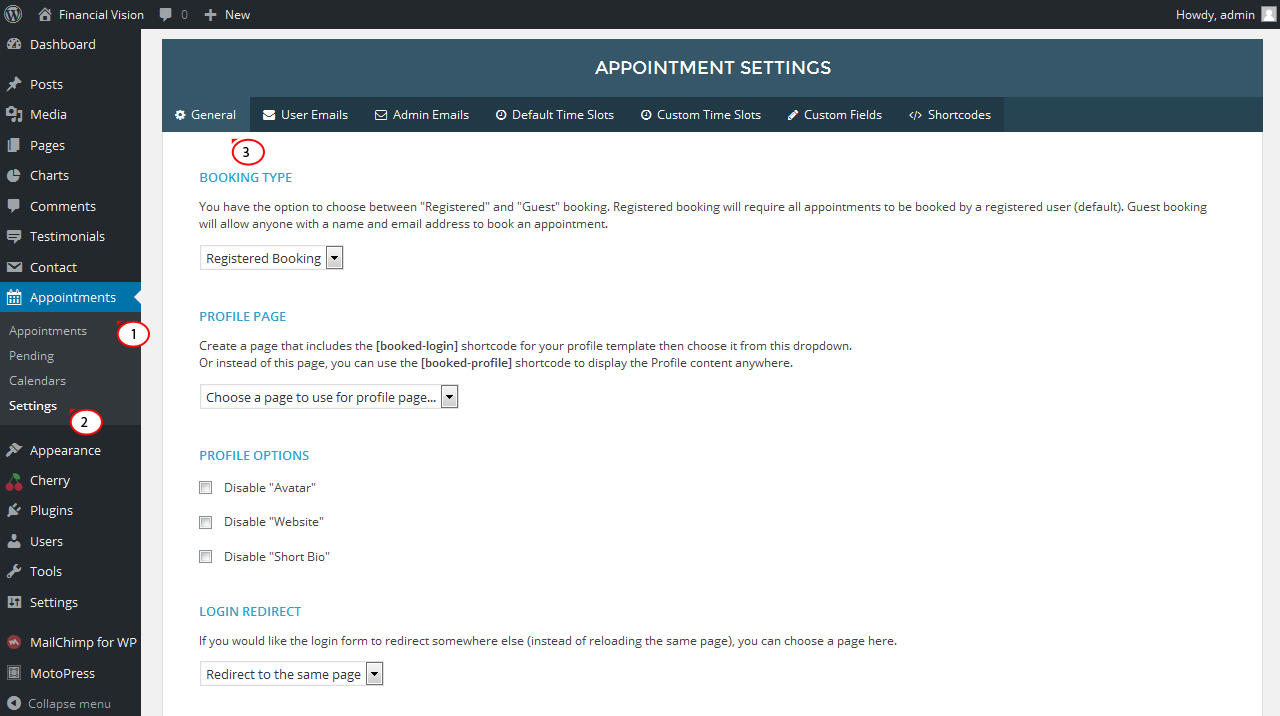
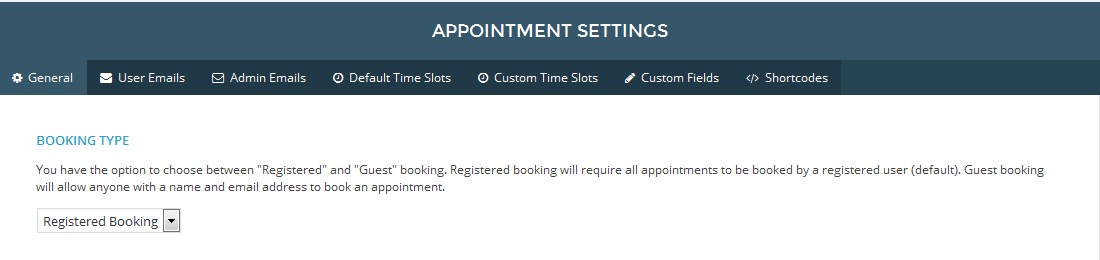
Booking Type. You have the choice between “Registered” and “Guest” booking. Registered booking will require all appointments to be booked by registered users (default). Guest booking will allow anyone with a  name and email address to book an appointment:
Profile Page. Create a page that includes the [booked-login] shortcode for your profile template, then choose it from this dropdown. Or instead of this page, you can use the [booked-profile] shortcode to display the Profile content anywhere:
Profile Options section allows you to enable/disable Avatar, Website and Short Bio information on the profile pages:
Login and Appointment booking redirect.If you would like the login/appointment form to redirect somewhere else (instead of reloading the same page), you can choose the page here:

Time Slot Interval. Choose the intervals you need for your appointment time slots. This will only affect the way default time slots are entered:
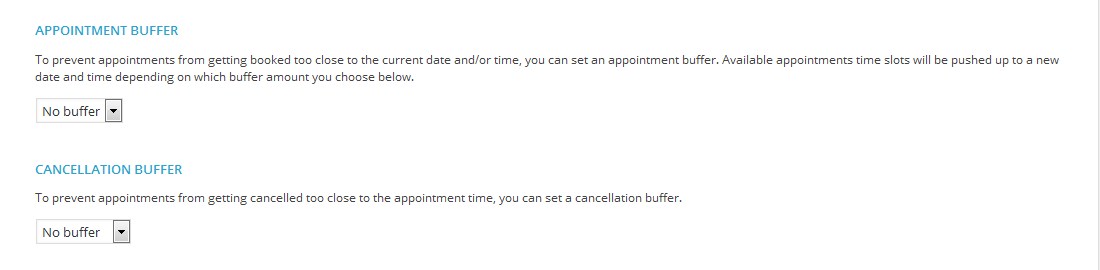
Appointment Buffer and Cancellation Buffer:
To prevent users from booking too many appointments, you can set an appointment limit:
New Appointment Default. Would you like your appointment requests to go into a pending list or should they be approved immediately?
You can enable/disable appointments fields under the “Other options” section.
You can also change colors under the “Front-End Color Settings”:

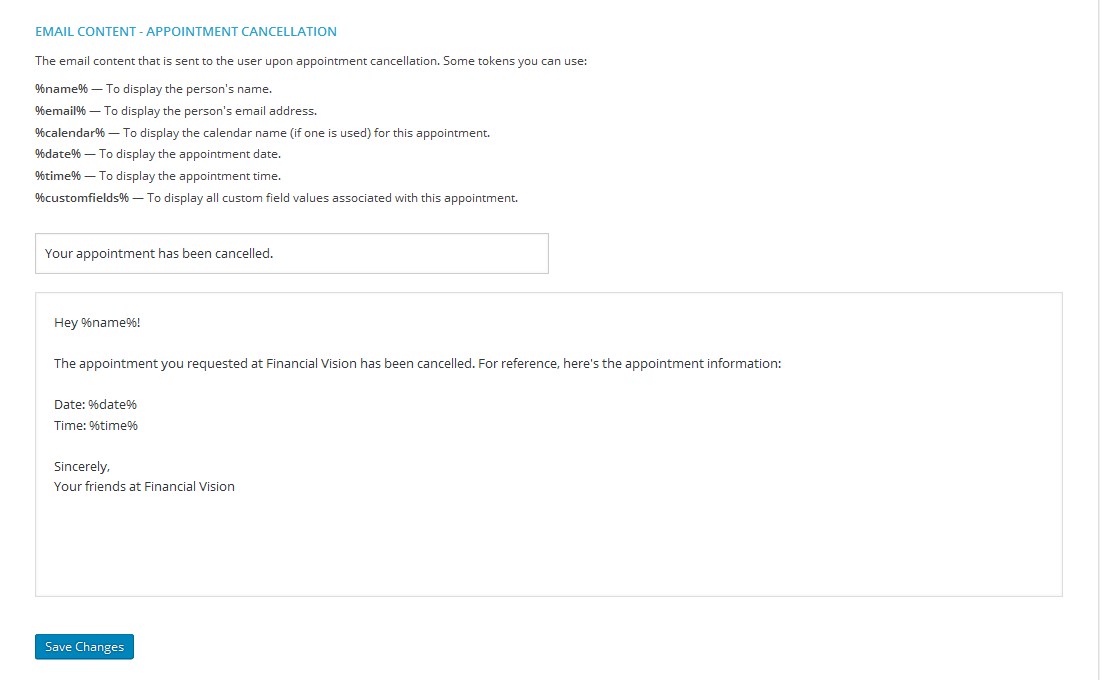
Email Notifications. Booked plugin gives you an ability to customize the emails that users receive when registering for the site, upon appointment confirmation and approval:
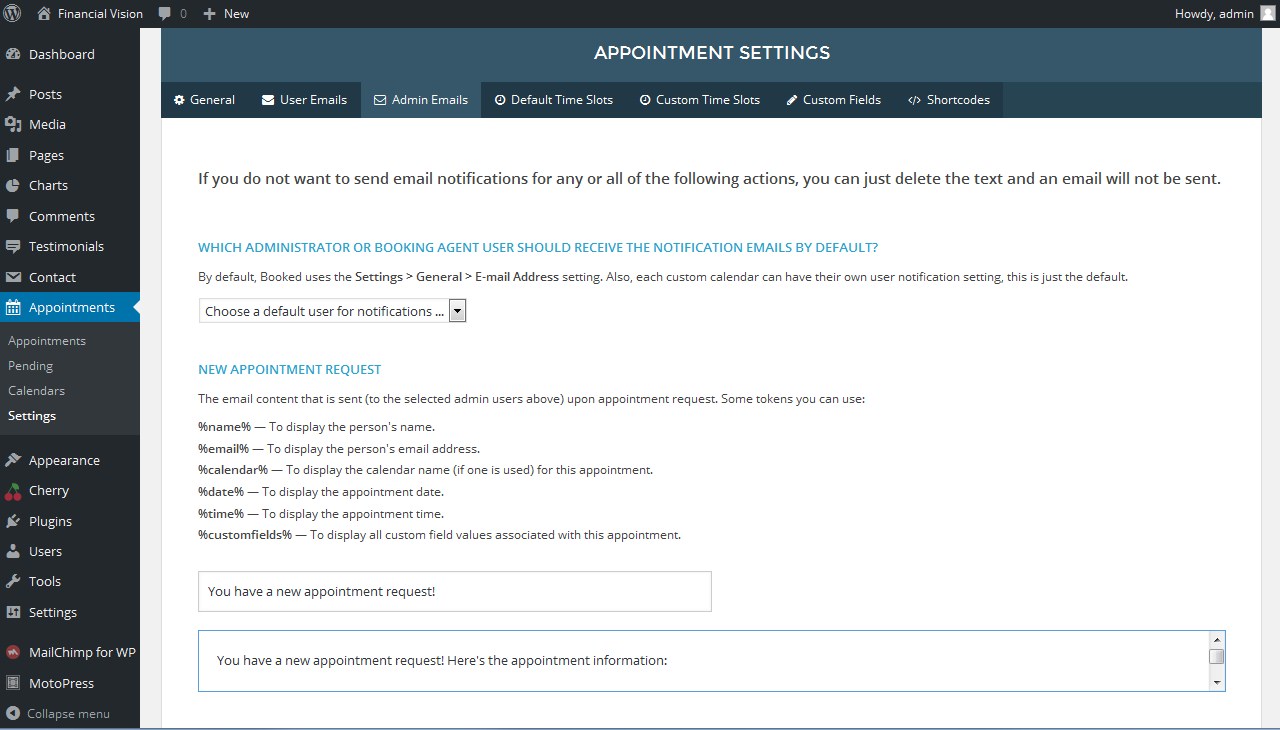
Admin Emails. You can select, which WordPress user will receive notification messages and further customize those emails:
Custom Fields section allows you to receive all the customers’ information you requires. You can input Single Line Text, Paragraph Text, Checkboxes, Radio Buttons and Drop Down fields and make the field required if you need:

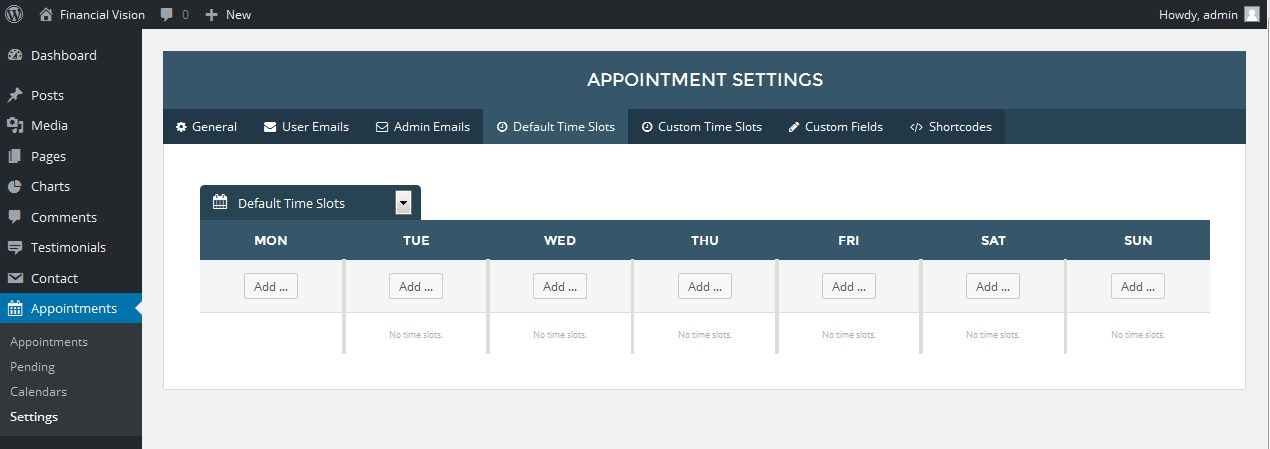
Default Time Slots:
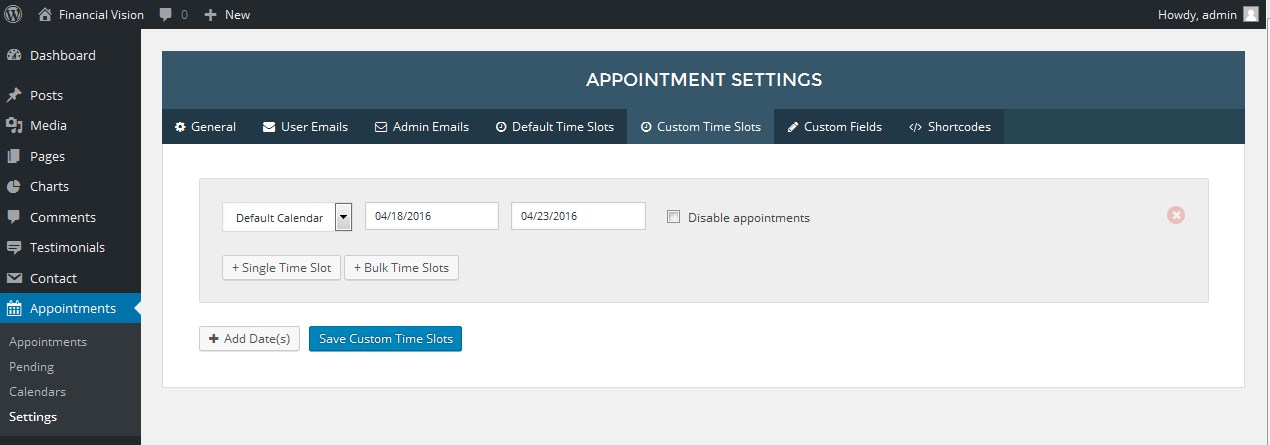
Custom Time Slots settig is used for displaying days or date ranges that coincide with holidays, vacations or other special days:
Shortcodes section displays your forms and calendar shortcodes. You can use one of these shortcodes to display the front-end booking calendar. Use the “calendar” attribute to display a specific calendar. Use the “year” and/or “month” attributes to display a specific month and/or year. You can also use the “switcher” variable to add a calendar switcher dropdown above the calendar. Your users can then switch between each calendar you’ve created:

Feel free to check the detailed video tutorial below:
WordPress. How to work with appointments (based on Booked plugin)