


- Web templates
- E-commerce Templates
- CMS & Blog Templates
- Facebook Templates
- Website Builders
FAQs
General Tutorials
Featured templates
MonsterONE Subscrioption


Our support team is glad to present a WordPress Troubleshooter on site images missing after installation that shows how to deal with this issue.
WordPress Troubleshooter. Missing images after installation
If you have installed your site and it looks like on the screenshot below:
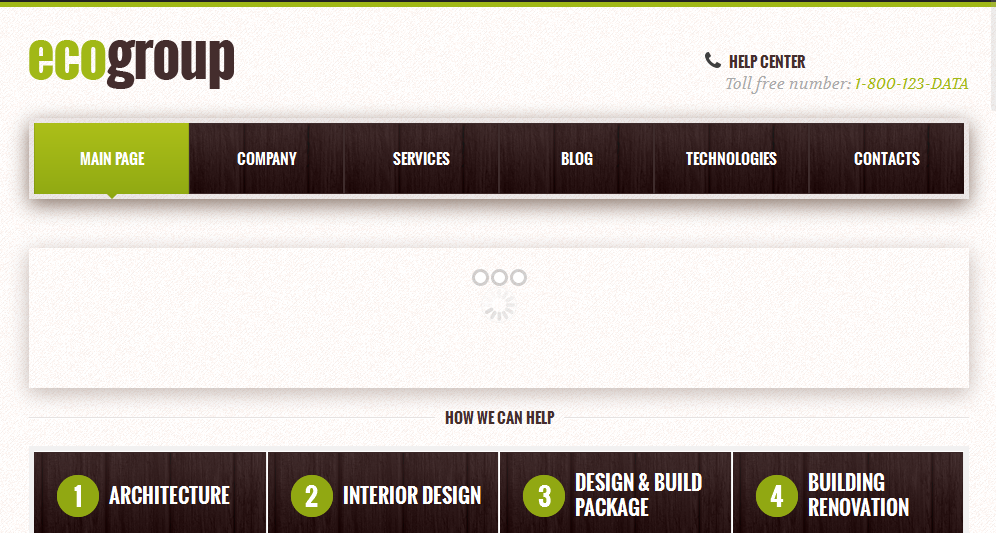
please follow these steps:
Check permissions on your files and folders. All files should be set to 644 and all folders to 755. This can be done via FTP or with your hosting Cpanel Filemanager tool:
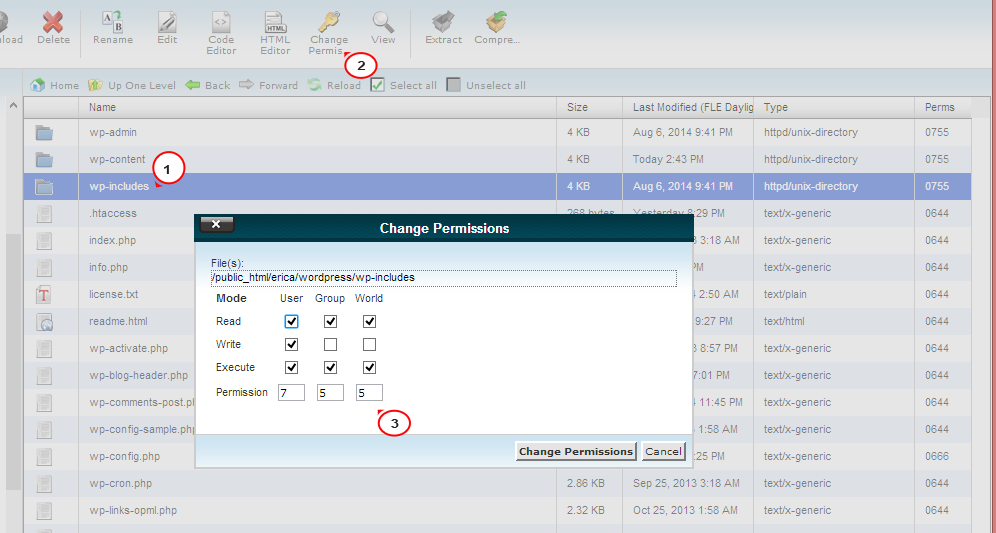
Click here to see a detailed tutorial on changing permissions. You may also contact your hosting provider and ask them to do this for you.
Download info.php file here.
Upload it to the root of your wordpress installation directory (via FTP or hosting Filemanager).
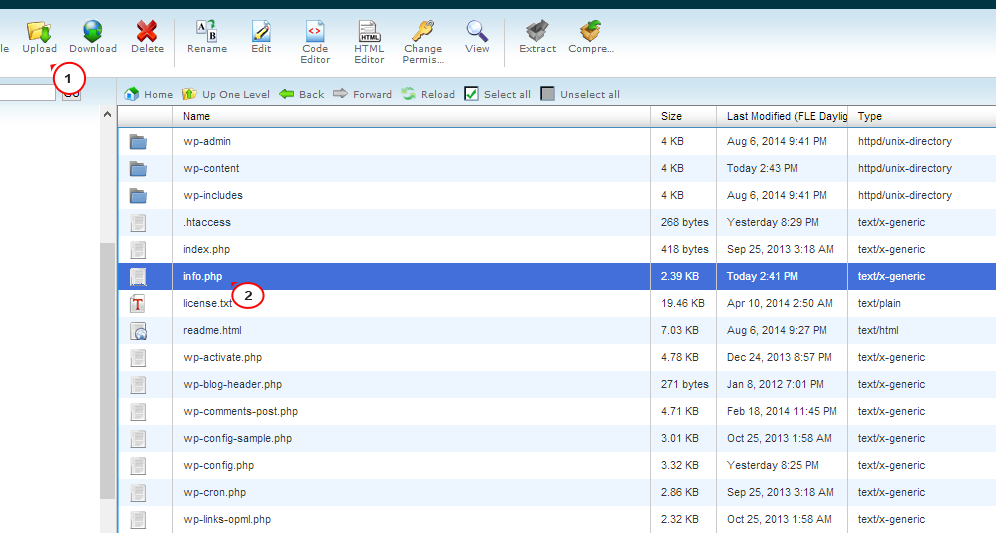
In your browser address bar type in your website URL with /info.php at the end. Like http://www.example.com/info.php.
Check if GD library is installed.

Please contact your hosting provider in case it is missing on server and ask them to install it for you.
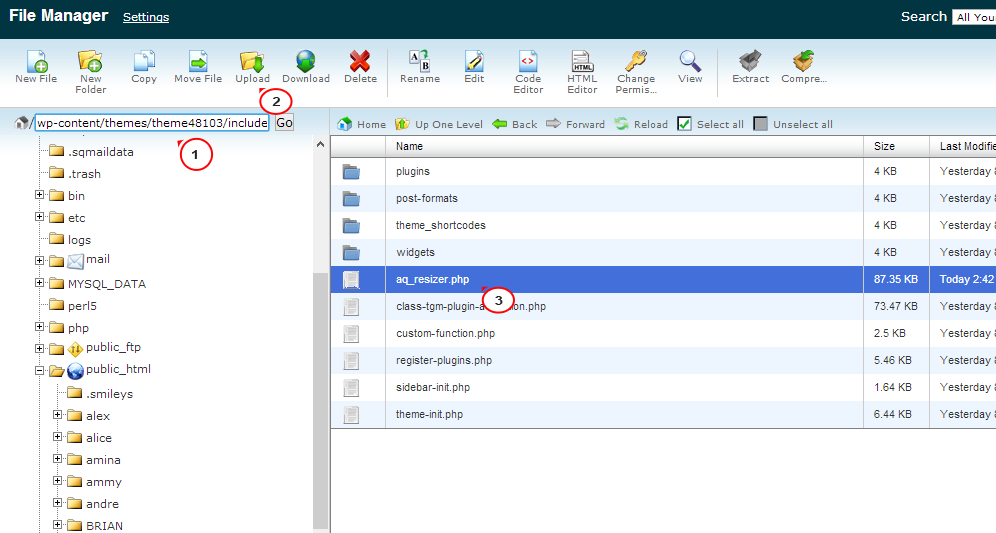
If GD library is installed, update Auqua Resizer script at your site. You can use the following steps to do this:
Download Aqua Resizer ( aq_resizer.php file) from GitHub.
Upload this file to the wp-content/themes/theme#####/includes directory on server.
Refresh your site to see the changes applied.
If all steps are performed, but images do not appear, please re-import site sample data:.
ATTENTION: Importing the SQL file to your database will overwrite your existing content and website settings. DO NOT import the SQL file if you want to keep the existing content.
Open the theme#####.sql file that is located in theme/manual install folder with any text editor and replace all instances of “your_website_url_here” to your website URL in the entire document using Find and Replace tool (usually Ctrl+H hot key). E.g.: http://www.mywebsite.com Please make sure that you do not have the forward slash “/” sign at the end of the address. Save and close the file
Import it to your database via PHP My Admin tool on your hosting place: click on your database name on the left side and then on Import button at the top.
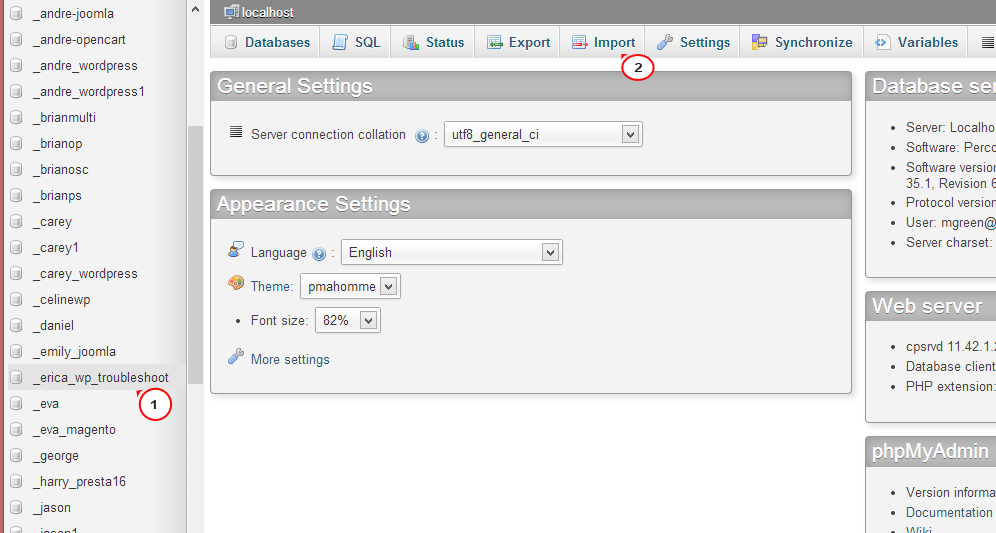
Choose your SQL file that was previously edited and click GO button at the bottom.

Refresh your site, go to Dashboard and click Update Database button. After that click Continue.

Check your site front page. It should look properly now.

Thank you for reading this guide. Now you know how to fix the missing images issue. Also, feel free to check detailed video tutorial below:
