This tutorial is going to show you how to add product attributes in Zen Cart. There are 3 steps to follow:
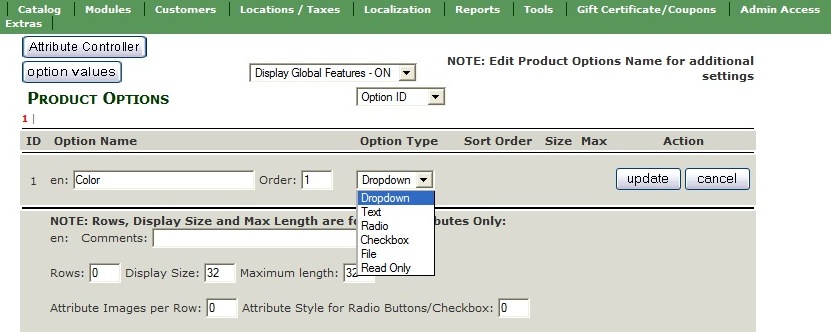
To define the Option Names:
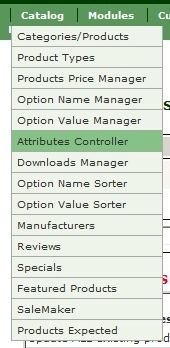
- In your Zen Cart admin go to -> Catalog -> Option Name Manager
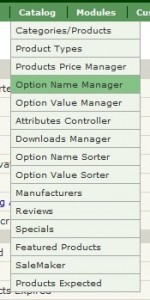
- Under the Option Name specify a name, e.g. Color or Size
- Specify the sort order the Option Name displays on the screen in the Order field
- Select an Option Type:
Dropdown
Radio Button
Checkbox
Text (no Option Value)
File (no Option Value)
Read Only (used for the Display Purposes only)
- Click Insert

To define the Option Values
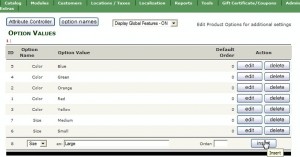
- Go to the Catalog -> Option Value Manager
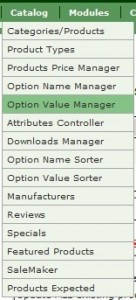
- Specify the Option Name e.g. Red, Red, Orange, Yellow, Green, Blue etc or Small, Medium, Large etc
- Specify the default Sort Order (used if you want to globably sort your Option Values to match).
- Click insert
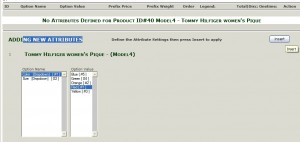
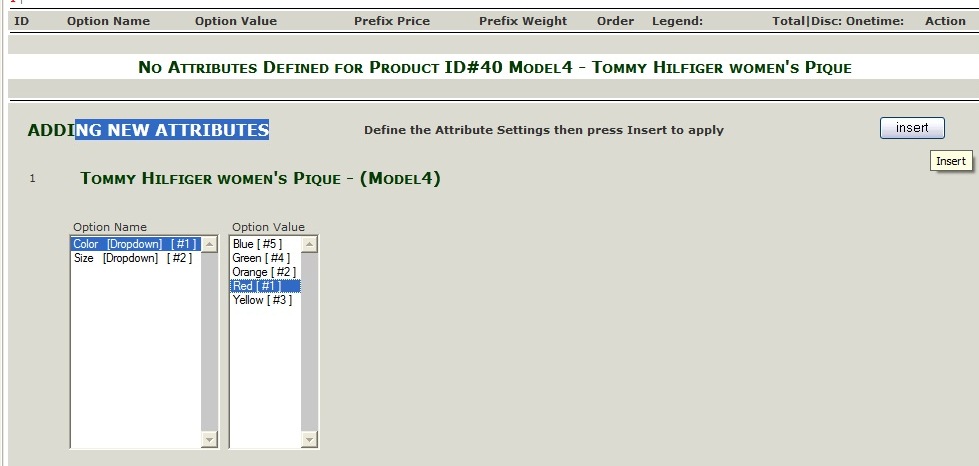
Go to Catalog ->Attributes Controller to add the attributes to the products

- Pick up a category, select a product and click display
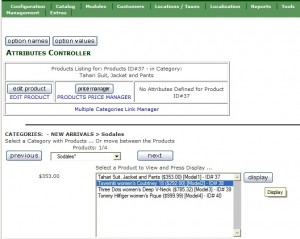
- Scroll down to see the Add Attributes box where the product name should already be selected.
- Select the Option Name e.g.Color
- Select a matching Option Value, e.g Red
- Click Insert
You can always edit or delete them after adding.
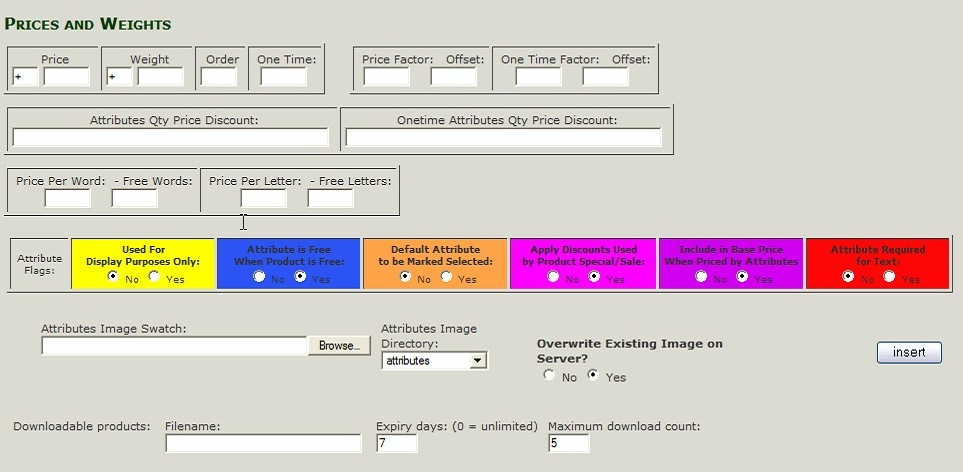
There are also several methods to price, add weight, sort order, and mark the type of attribute this is.
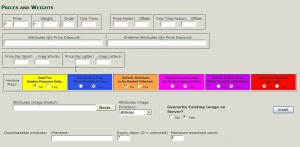 Price can be entered with a prefix of + or – or blank:
+ and blank will add the attribute price
– will subtract the attribute price
Weight can be entered optionally if it effects the product weight with a prefix of + or – or blank:
+ and blank will add the attribute weight
– will subtract the attribute weight
Price can be entered with a prefix of + or – or blank:
+ and blank will add the attribute price
– will subtract the attribute price
Weight can be entered optionally if it effects the product weight with a prefix of + or – or blank:
+ and blank will add the attribute weight
– will subtract the attribute weight
There are also other pricing options available besides the standard prices:
- One Time Charge
- Price Factor
- One Time Charge Price Factor
- Attribute Qty Price
- One Time Attribute Qty Price
- For text
- Price per word and free words
- Price per letter and free letters
Besides, there are the Attribute Flags in the colored boxes used to distinguish such features of the attribute as:
- Use for display only (attribute cannot be selected and added to cart. Good for things like "Select from Below").
- Attribute is Free when product is Free
– Default Attribute (used mostly on Radio buttons)
- Apply Discounts used by Product Sale/Special (used to add the same type of discount that the product is getting from the products_price vs the special or sale price)
- Include in Base Price (when products are priced by attributes mark the attributes include in base price then the lowest price in each Option Name group are added together to make up the product price)
- Attribute Required for text (Some text is required text and cannot be left blank by the customer)
If your particular attribute is a downloadable file, enter the filename for it.
When you are done click insert, go to the product page on your site to preview the changes.
Feel free to check the detailed video tutorial below:
ZenCart. How to add product attributes


 Price can be entered with a prefix of + or – or blank:
+ and blank will add the attribute price
– will subtract the attribute price
Weight can be entered optionally if it effects the product weight with a prefix of + or – or blank:
+ and blank will add the attribute weight
– will subtract the attribute weight
Price can be entered with a prefix of + or – or blank:
+ and blank will add the attribute price
– will subtract the attribute price
Weight can be entered optionally if it effects the product weight with a prefix of + or – or blank:
+ and blank will add the attribute weight
– will subtract the attribute weight 