


- Web templates
- E-commerce Templates
- CMS & Blog Templates
- Facebook Templates
- Website Builders
FAQs
General Tutorials
Featured templates
MonsterONE Subscrioption


This tutorial shows how to install Zencart template over the existing store.
ZenCart. How to install template over the existing storeFirst of all, you need to be sure that your engine version is compatible with the theme you want to install. You can check it in Technical Details section on the live demo page.
If the versions do not fit each other, please install the right engine version. For more detailed information about Zencart engine installation, please refer to the zencart engine installation tutorial.
In order to install a template over the existing store, perform the following steps:
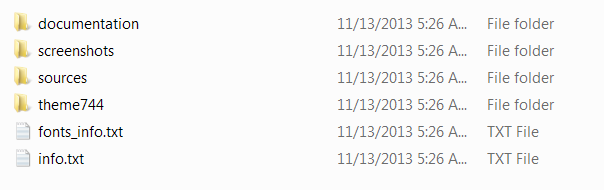
Upload the includes and admin123 folders from the themeXXX folder to your server.
Check your ‘admin’ folder on server, this folder is called ‘admin123’ in our template, the folder names should match. If the folder has different name, rename it:
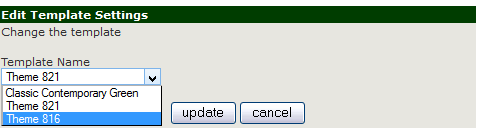
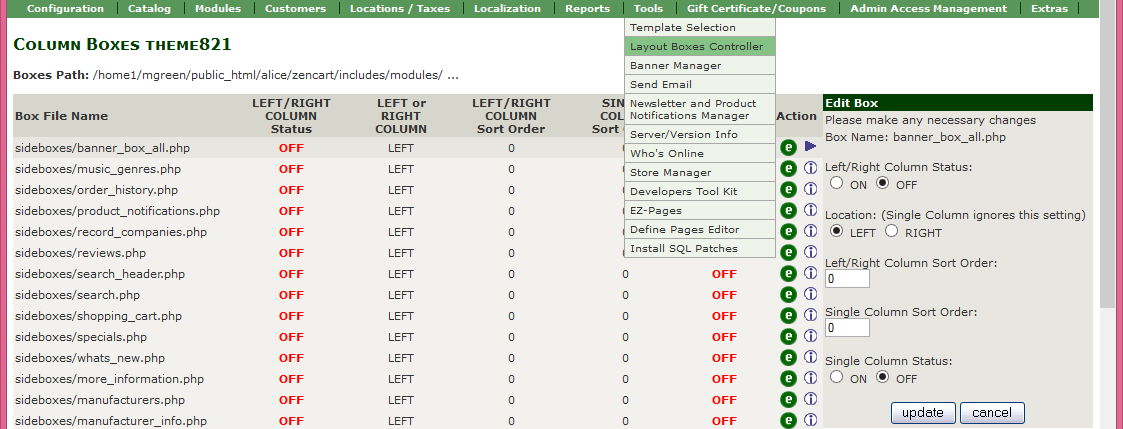
In your admin go to Tools > Template Selection->Edit and in the select box choose the new template (theme###):
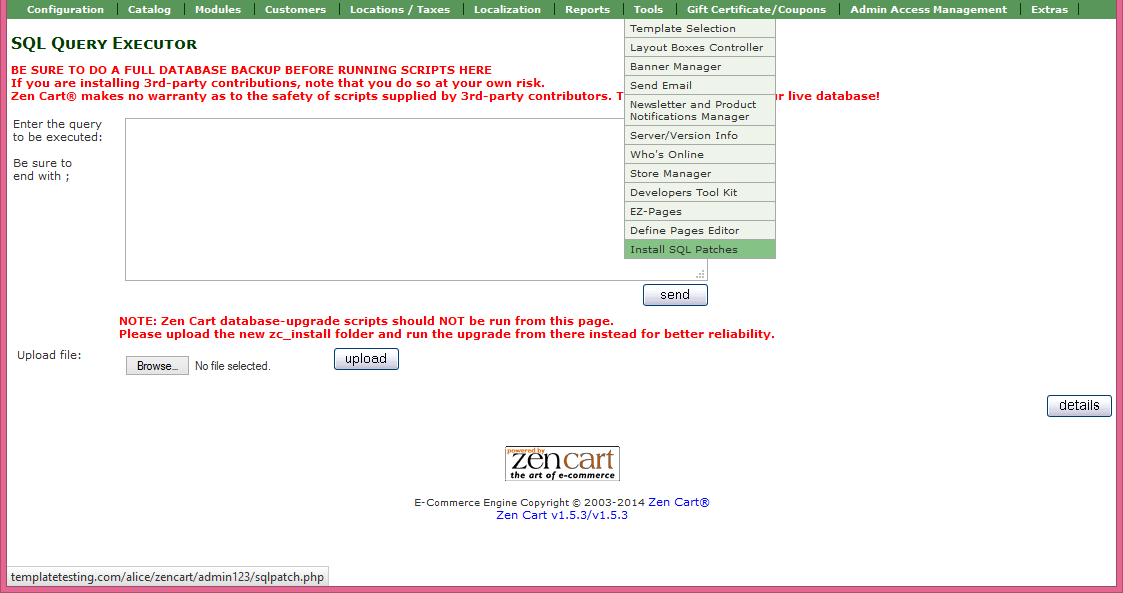
Navigate to Tools > Install SQL Patches and upload the dump files in this order:
NOTE: do not upload ZENCART_FULL.SQL:
Upload the images from sources/images/lightbox folder and slider images to your server.
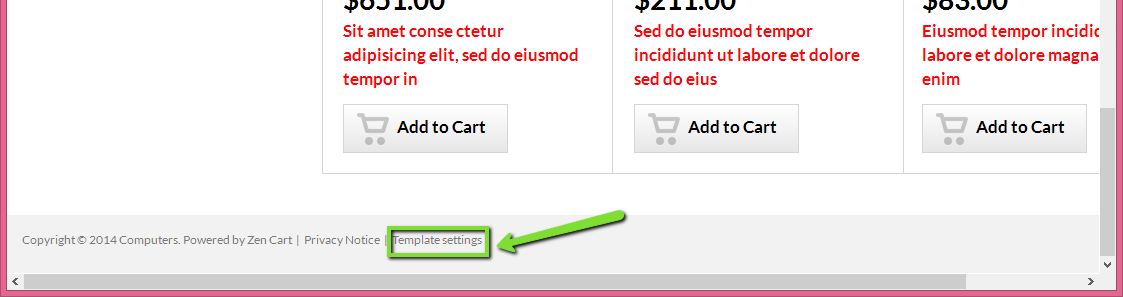
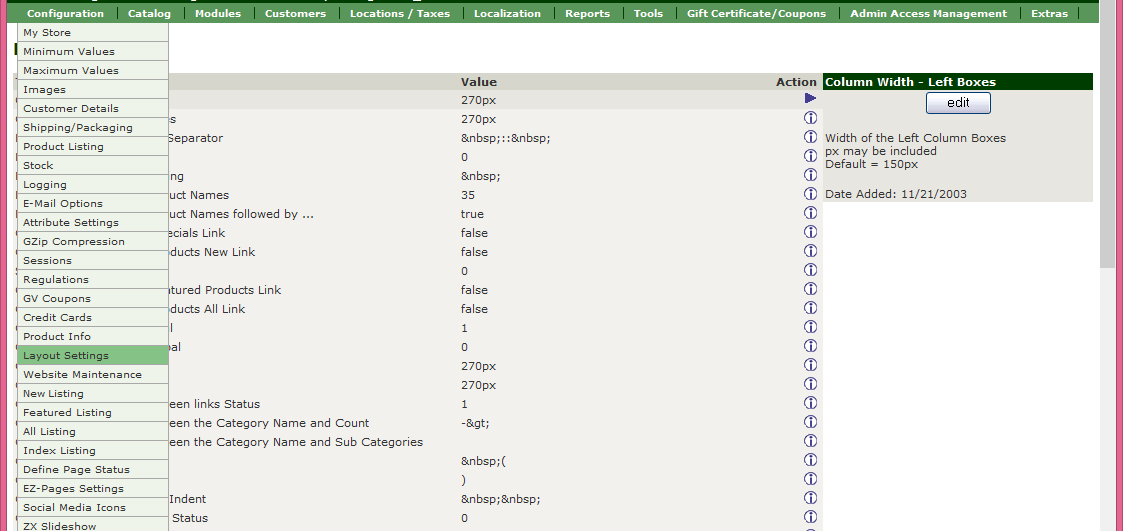
Configure the modules position according to the live demo, the link to the settings is at the bottom of the template, near the Copyright notification:
Feel free to check the detailed video tutorial below:
ZenCart. How to install template over the existing store