


- Web templates
- E-commerce Templates
- CMS & Blog Templates
- Facebook Templates
- Website Builders
FAQs
General Tutorials
Featured templates
MonsterONE Subscrioption


This tutorial will show you how to set up/remove Olark chat in ZenCart template.
ZenCart. How to set up/remove Olark chatOlark is the most beautiful and effective way to talk to your customers for sales and support.
Now, let’s learn how to activate Olark live chat feature in your store.
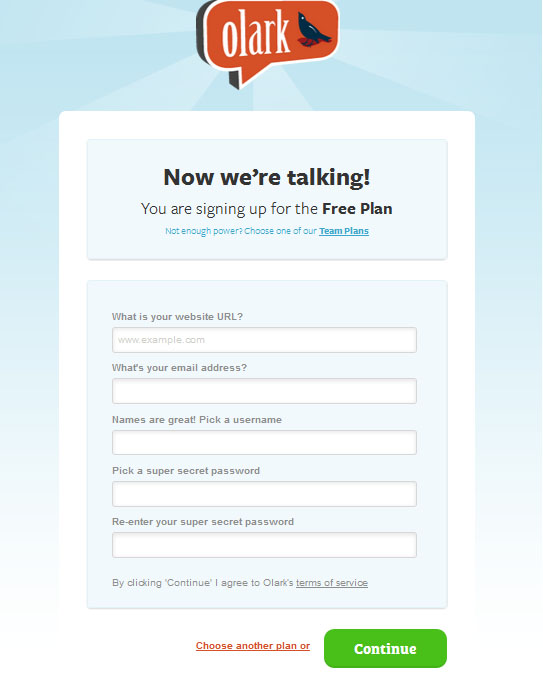
Go to Olark official website at: https://www.olark.com/ and register your own account following a few easy registration steps offered:
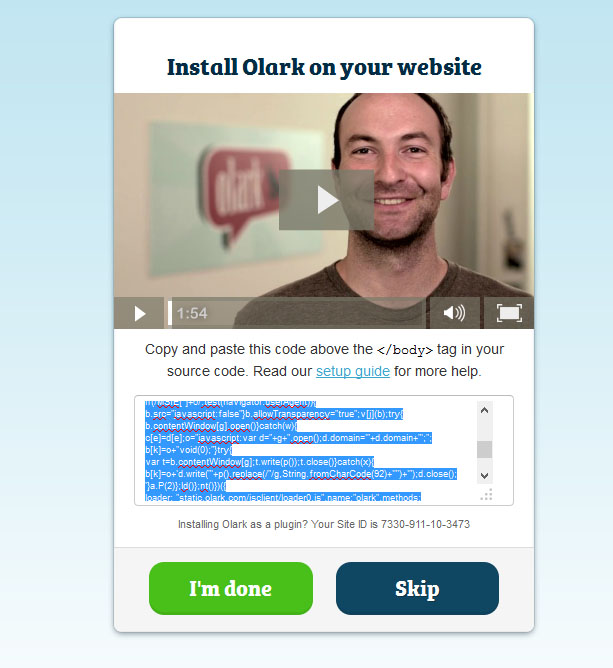
Once it is done, you will get successful registration screen with the Olark live chat code generated specially for you:
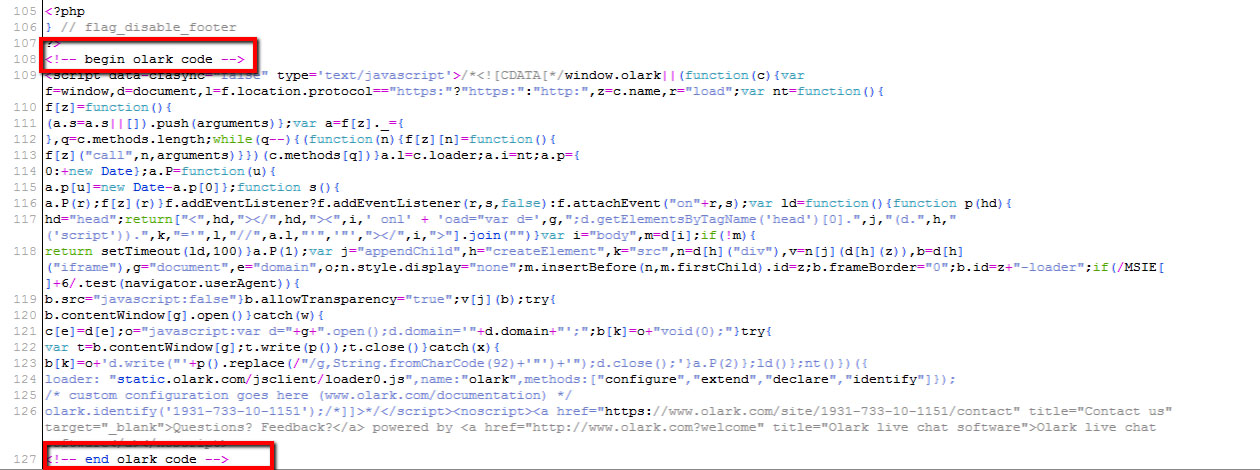
Connect to your FTP or hosting control panel File Manager and locate the tpl_footer.php file in the /includes/templates/themeXXX/common/ directory, where XXX is your theme number.
Now, open the tpl_footer.php file and paste previously generated chat code at the very bottom of this file, be sure to save it before closing:
Save the file and open your website to see the changes. The live chat is successfully added to your store now.
This is the end of the tutorial, you have learnt how to activate Olark live chat feature in ZenCart templates.
Feel free to check the detailed video tutorial below:
ZenCart. How to set up/remove Olark chat