


- Web templates
- E-commerce Templates
- CMS & Blog Templates
- Facebook Templates
- Website Builders
FAQs
General Tutorials
Featured templates
MonsterONE Subscrioption


This tutorial will show you how to change thumbnail image dimensions on posts single pages of custom post type in CherryFramework 3.
CherryFramework 3. How to change thumbnail image dimensions for custom post type post single page
.jpg)
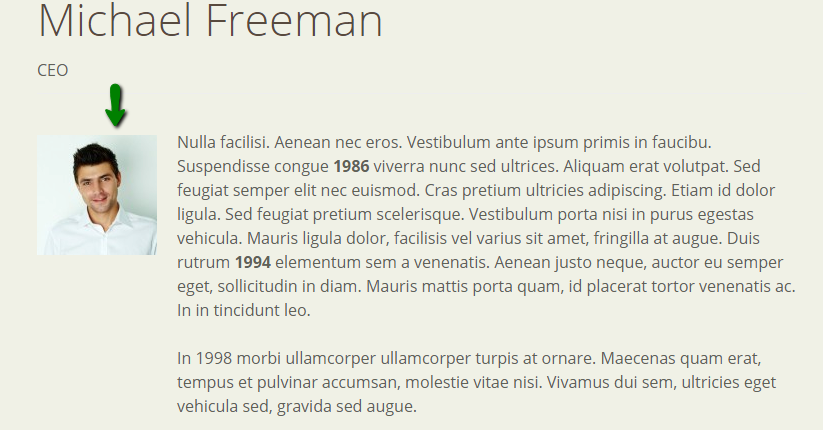
In this case, we will change the thumbnail for Team single post page. If you see the thumbnail doesn’t have the size you need, for example it’s very small, you can change its size:
You can follow these steps to change the dimension of the thumbnail.
Change the thumbnail dimensions in php file.
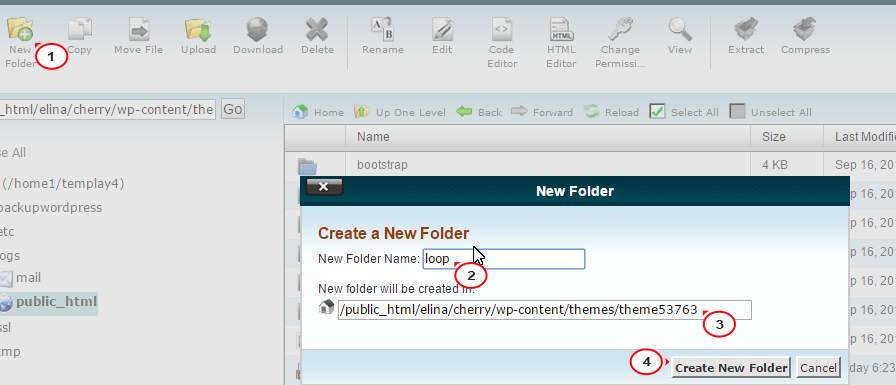
Log into File Manager (or FTP), go to wp-content/themes/themexxxxx directory to check if there is loop folder. If there is no such loop folder, we will create it:
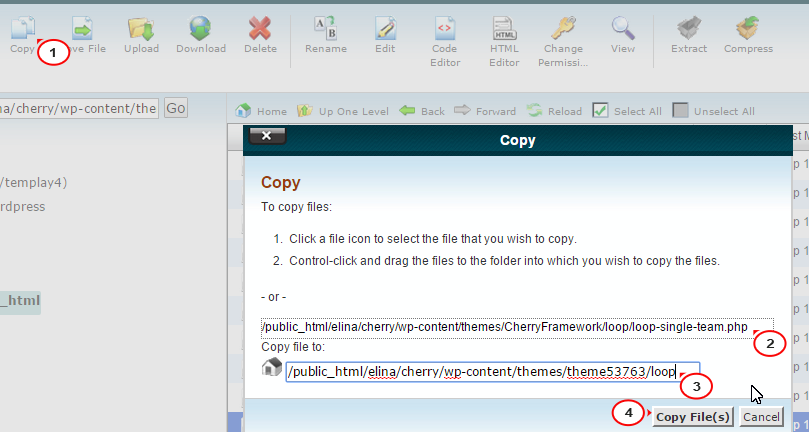
Go to wp-content/themes/CherryFramework/loop directory and look for loop-single-team.php file, copy this file to wp-content/themes/themexxxxx/loop folder that we have just created earlier:
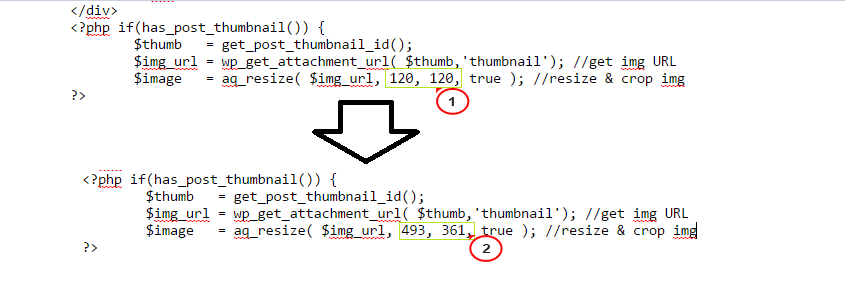
Open loop-single-team.php (now it’s located in wp-content/themes/themexxxxx/loop) to edit. Look for the codes as follows (approximately line 18):
$image = aq_resize( $img_url, 120, 120, true ); //resize & crop img
change the value of 120, 120 to the desired value:
Re-upload/upload the images with the correct dimension from Post editor.
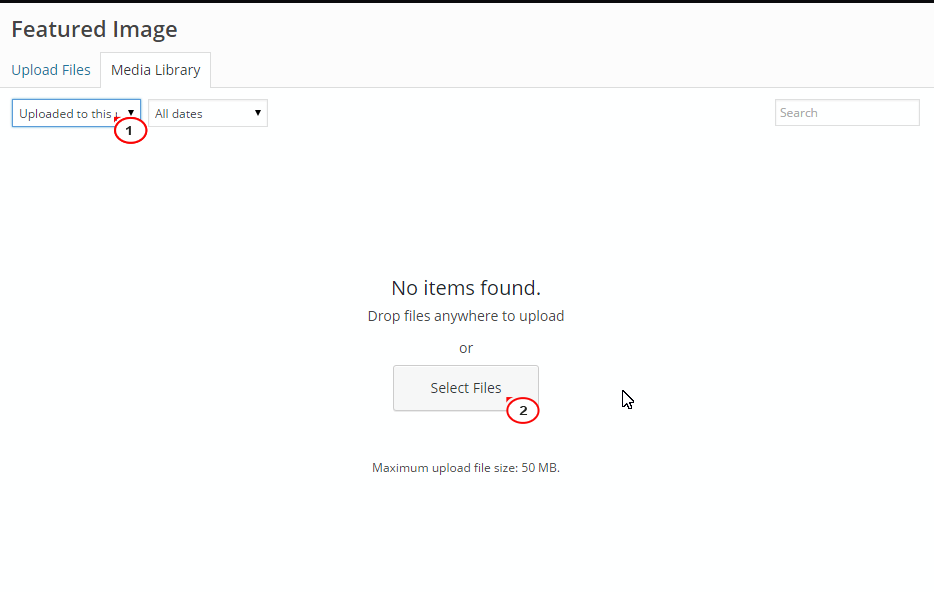
Go to this post editor from WordPress admin panel, click on Featured image to start uploading the image with new dimensions:

New window is opened, from the drop down menu, select Uploaded to this post – Select Files to upload the image directly from your computer:
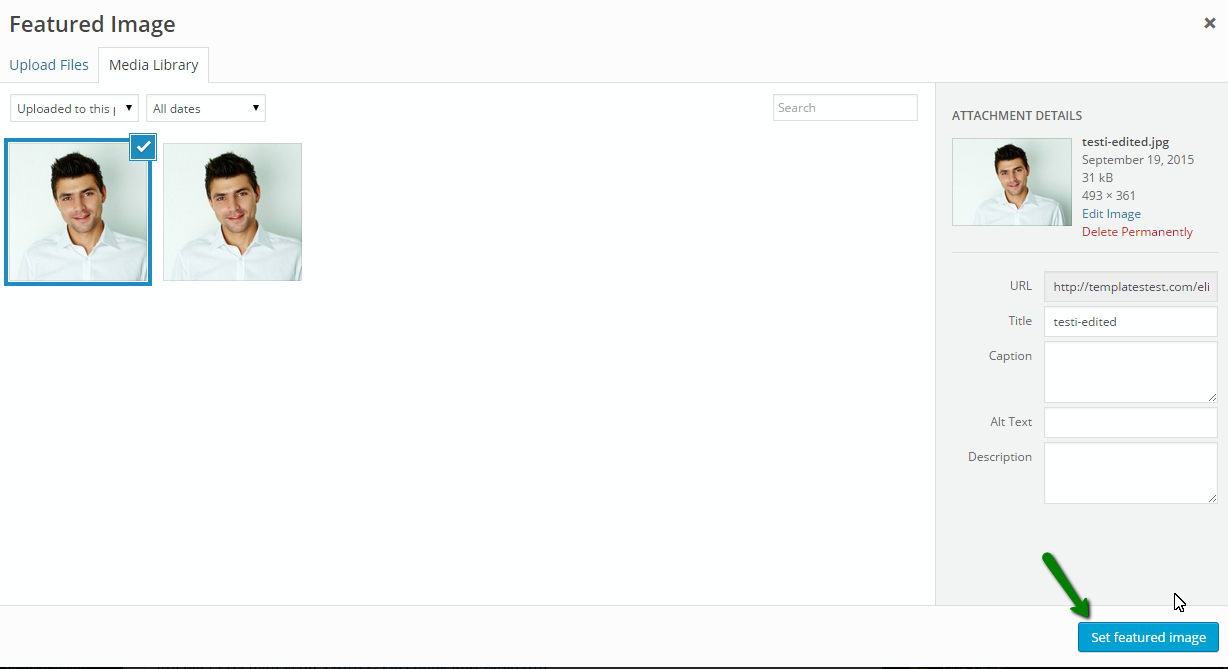
Click Set Featured image:
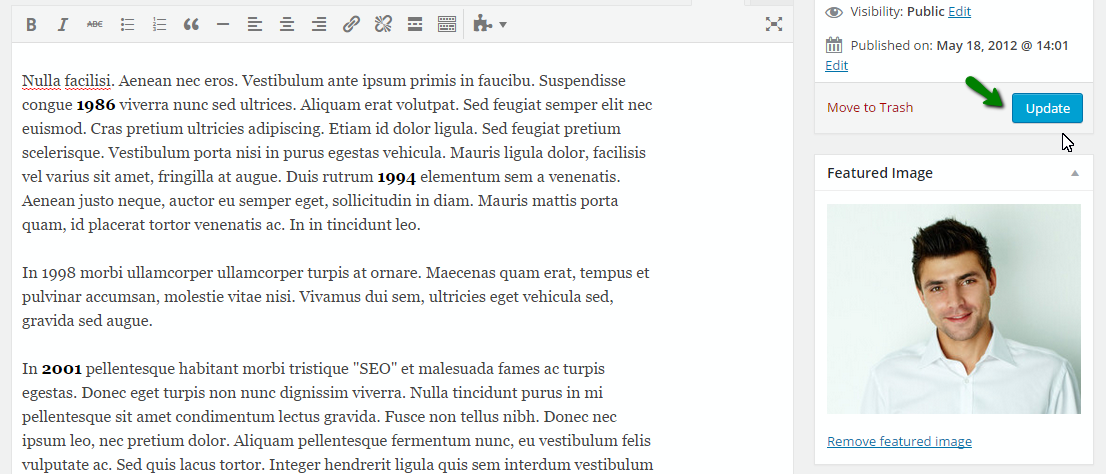
Update the post:
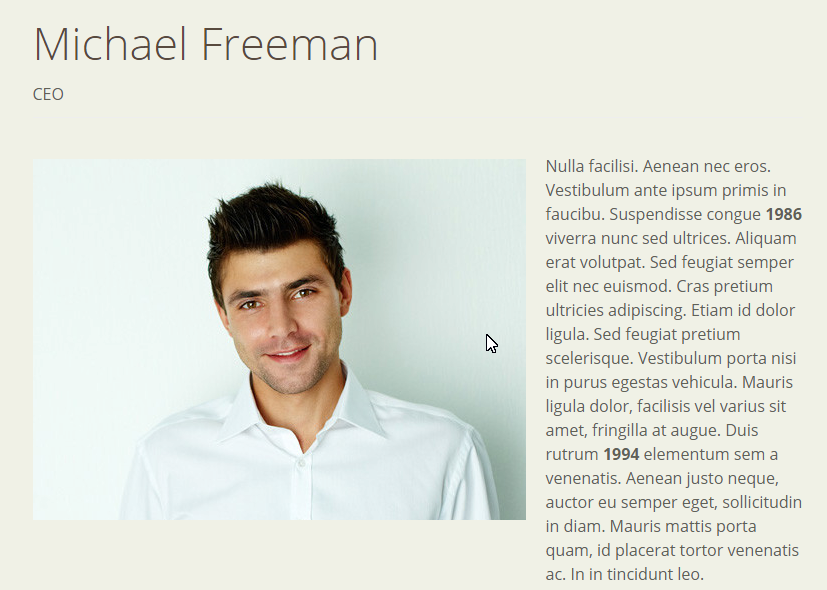
Refresh the post page to check the result:
Feel free to check the detailed video tutorial below:
CherryFramework 3. How to change thumbnail image dimensions for custom post type post single page
