


- Web templates
- E-commerce Templates
- CMS & Blog Templates
- Facebook Templates
- Website Builders
FAQs
General Tutorials
Featured templates
MonsterONE Subscrioption


This tutorial shows how to edit content with MotoPress editor in CherryFramework 4 templates.
CherryFramework 4. How to edit content with MotoPress editor
.jpg)
By using MotoPress you can create new items and edit them visually.
To edit the post content using the MotoPress editor, please follow the steps listed below:
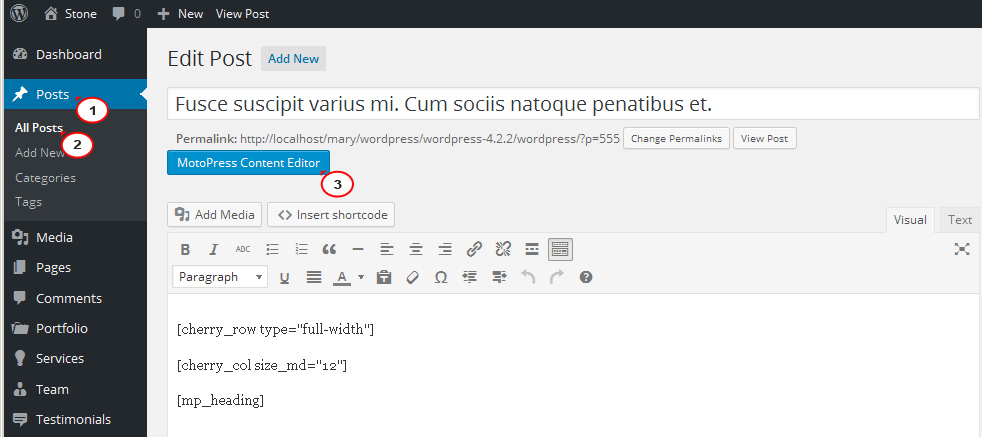
Navigate to ‘Posts’ -> ‘All posts’ – select a post and click ‘Edit’.
Click ‘MotoPress Content Editor‘ to load the MotoPress:
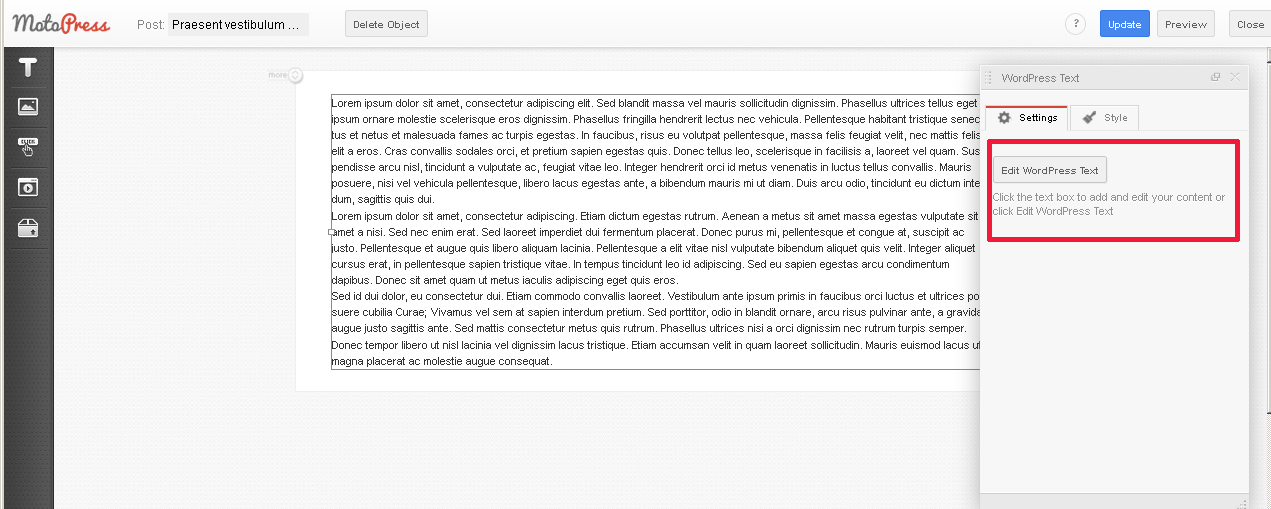
Click the text box to edit the default text or click ‘Edit WordPress Text’ button on the right:
Click the ‘T’ icon at the top left for the text settings.
You can add an Icon, Dropcap, WordPress text, the Title, the Title box, the Quote, the Paragraph, etc. by drag-and-dropping these items into the main-content box:

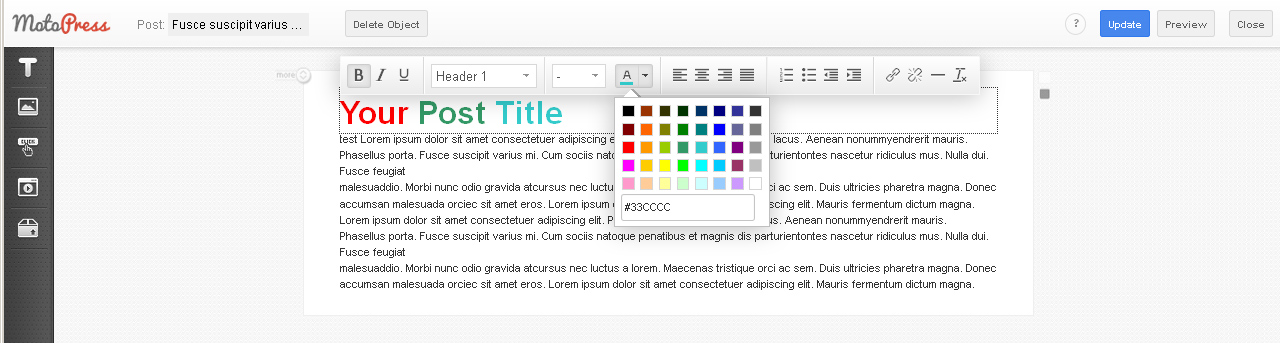
To add a Title into the post follow these steps:
– drag and drop the item ‘Title’ from the left side Editor options to any location in the content area, type in the title text.
– there are options for changing the title/text font, size, color, font style, etc. in the Editor:
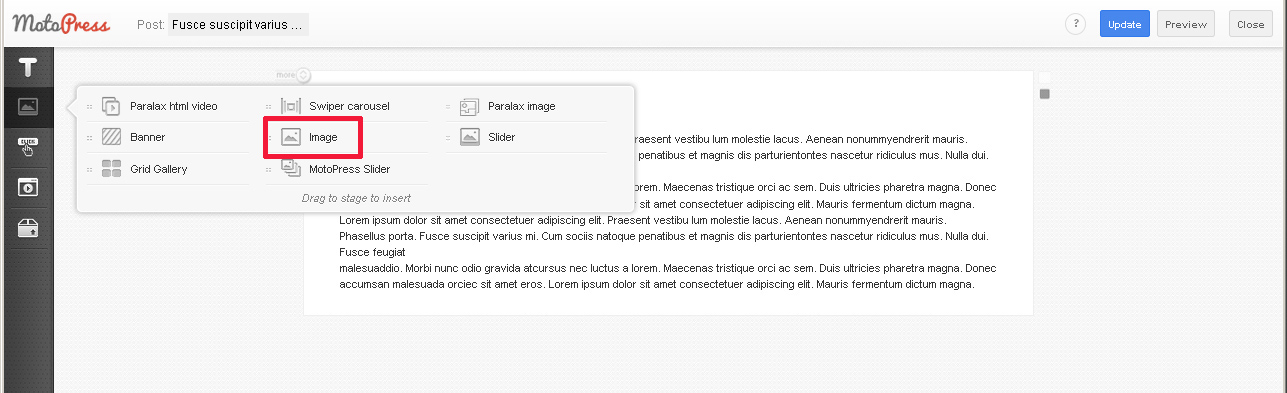
To add an image into the post:
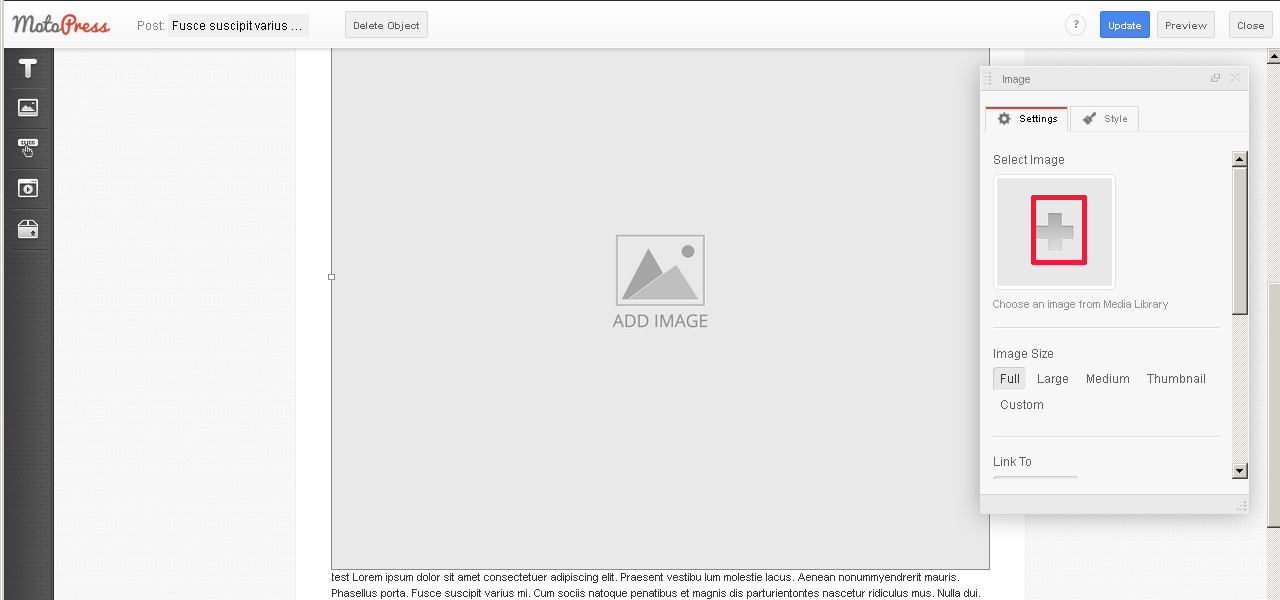
– drag and drop the item ‘Image’ from the left side Editor options to any location in the content area:
– click the ‘+’ icon on the right:
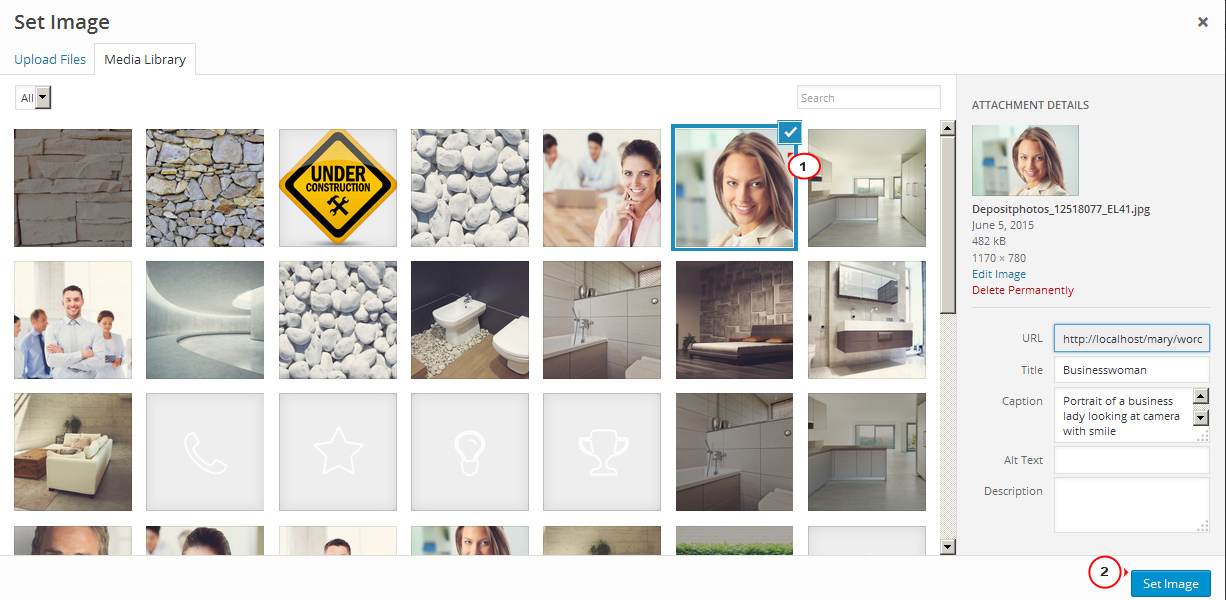
– select the slider image from the Media Library or your PC and click ‘Set Image’:
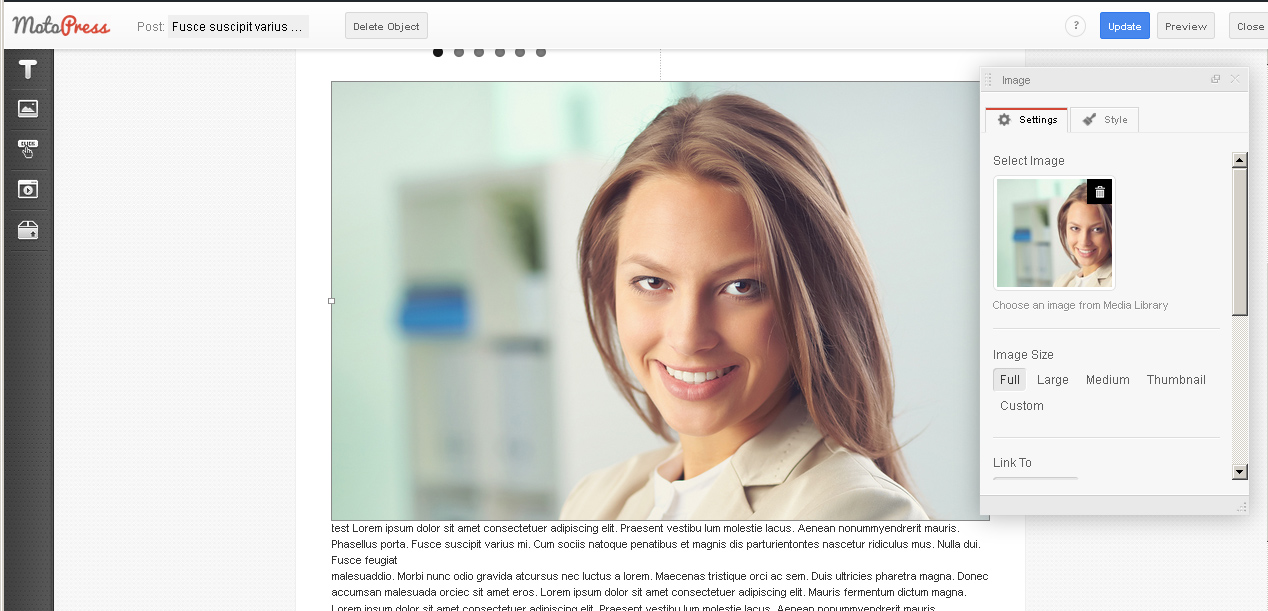
– edit the image options in the Settings box on the right:
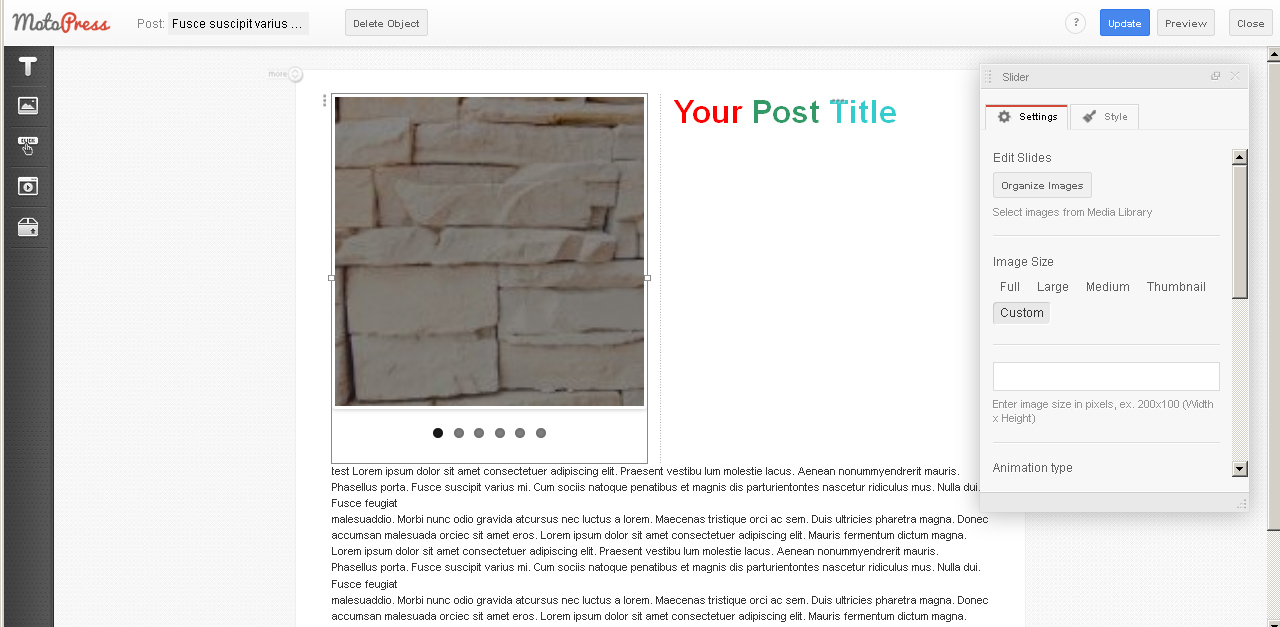
To add a Slider into post, follow these steps:
– drag and drop the item ‘Slider’ from the left side Editor options to any location in the content area:

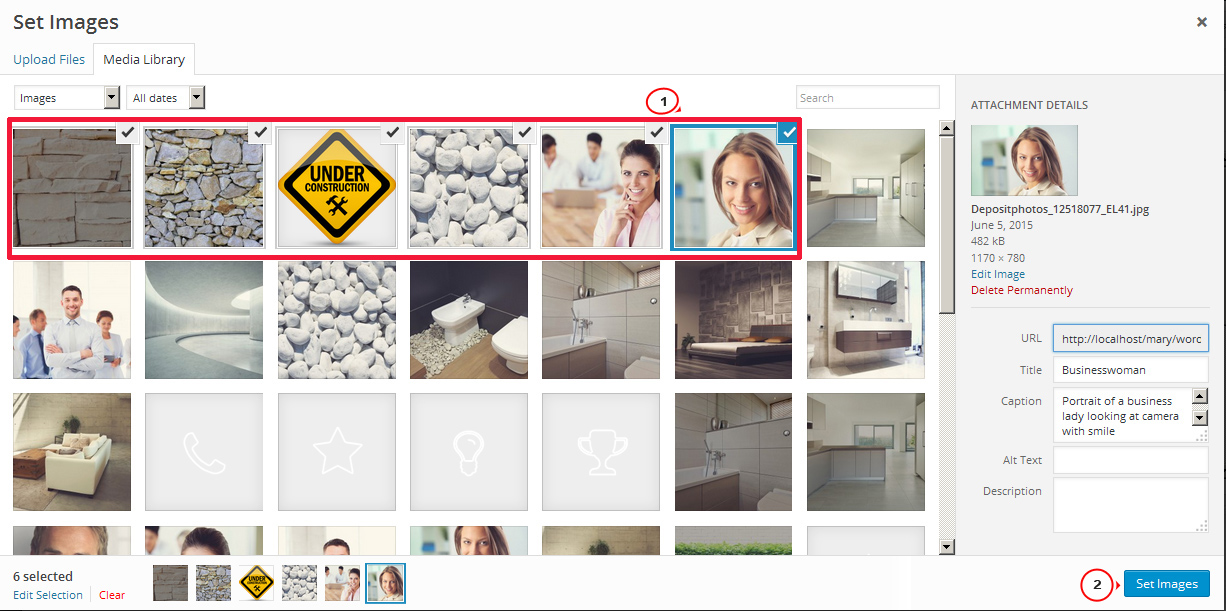
– select the slider images from the Media Library or your PC and click ‘Set Images’:
– edit the slider options in the Settings box on the right:
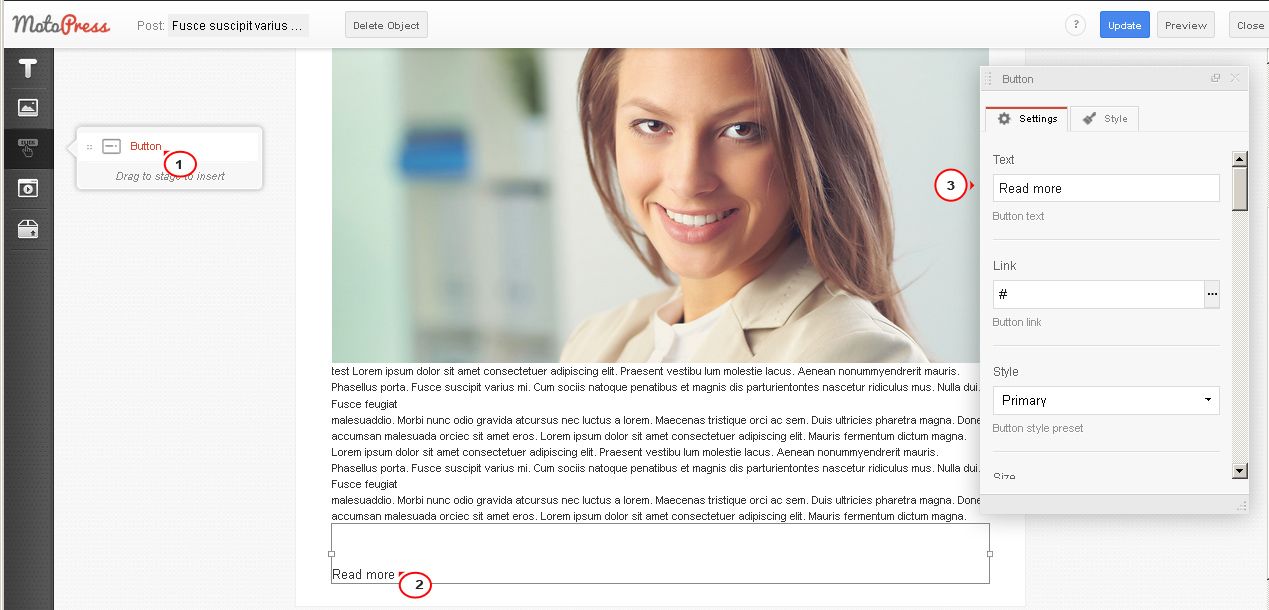
To add the ‘Read More’ button into the post, perform the following steps:
– drag and drop the item ‘Button’ from the left side Editor options to any location in the content area.
– edit the ‘Read More’ button text, link and style options in the Settings box on the right:
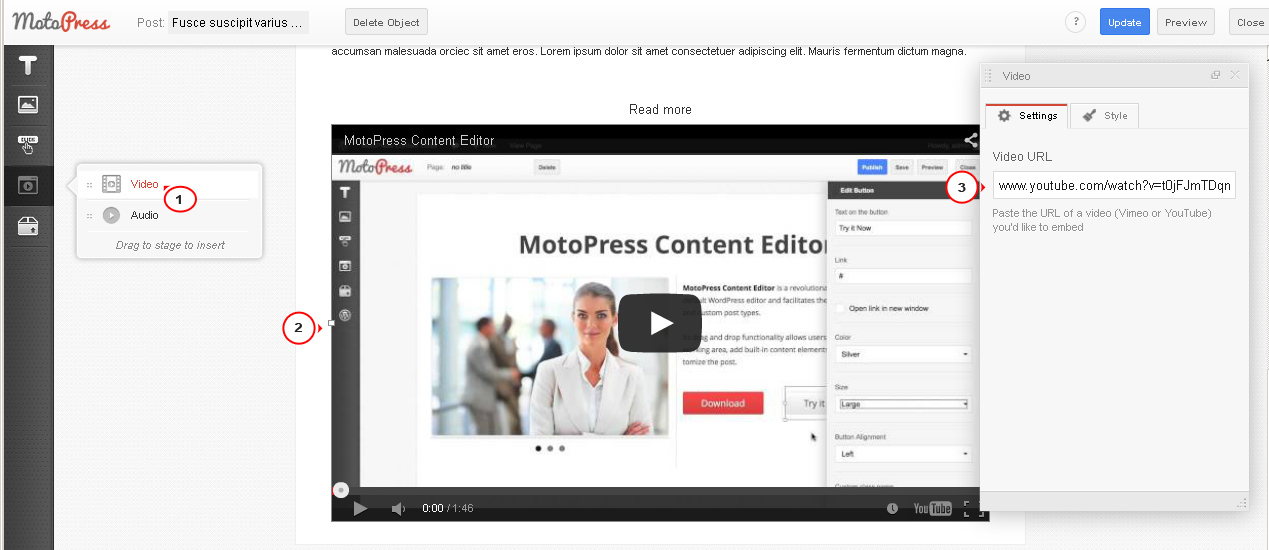
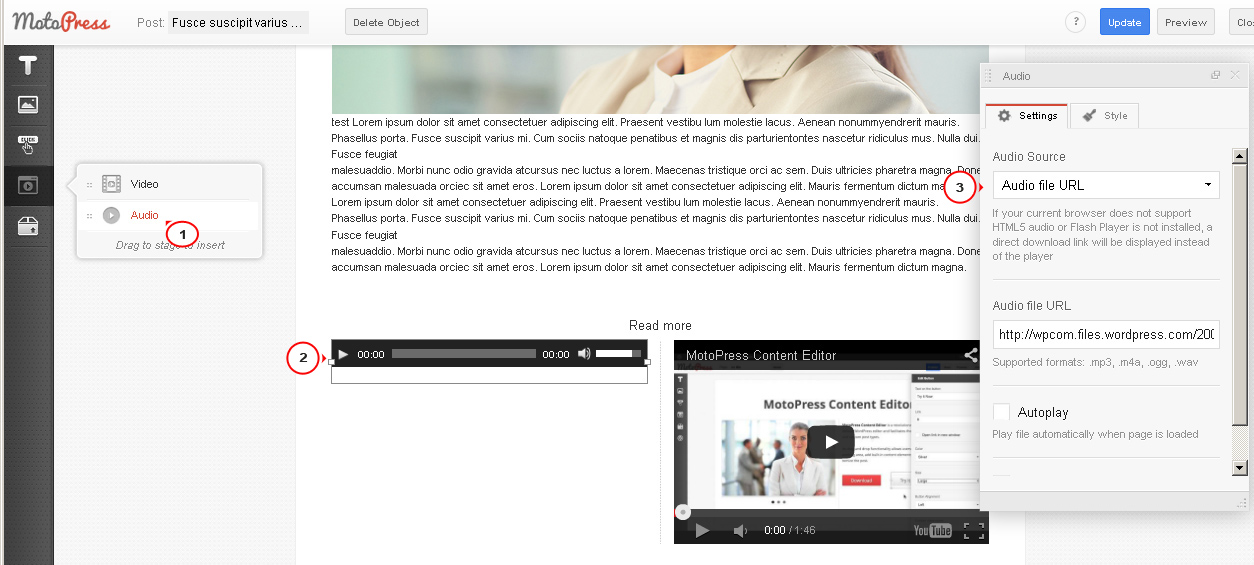
You can add the Video and Audio files to the post by:
– drag-and-dropping the items ‘Video’/ ‘Audio’ from the leftside Editor options to any location in the content area.
– you can change the Video file URL, Audio File URL and other options in the Settings box on the right:
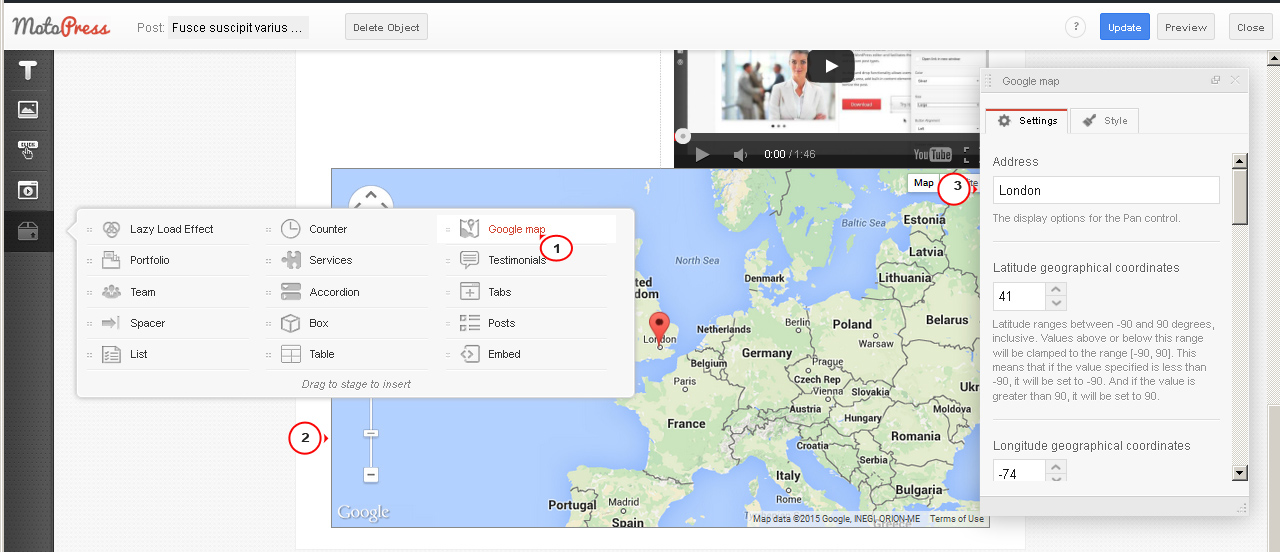
You can also add the Lazy Load Effect, Portfolio, Accordion, Counter, Team and Testimonials posts, etc. using the MotoPress Editor:

To implement the Google Map into the post, perform these steps:
– drag and drop the item ‘Google Map’ from the left side Editor options to any location in the content area.
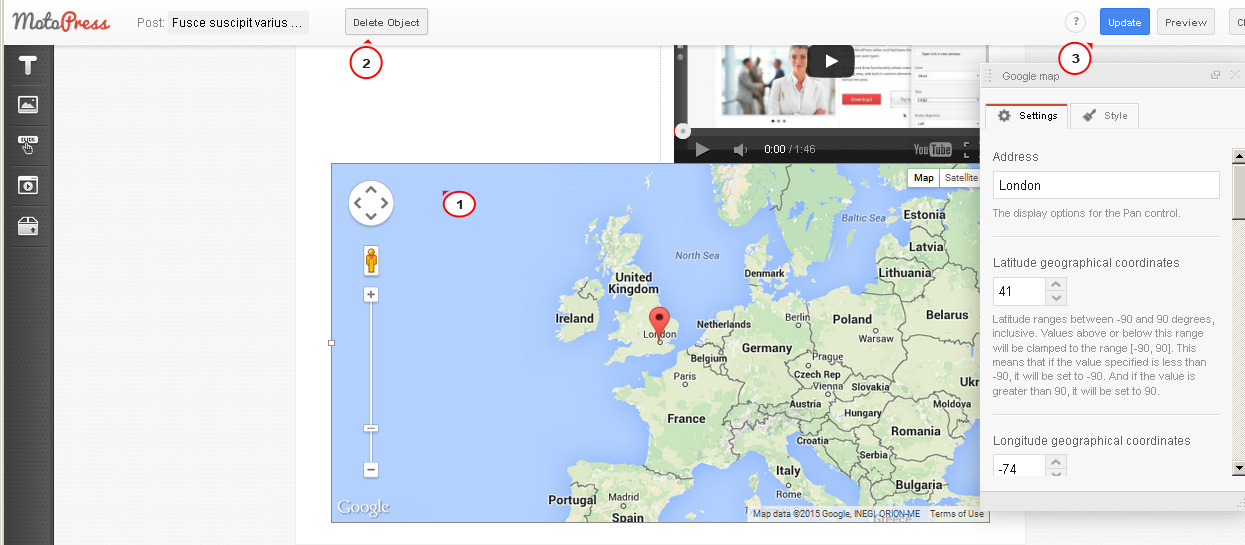
– adjust the Google map credentials to your location in the Settings box on the right:
To delete any item from the post using the MotoPress editor, select this item in the content area by clicking it and then click ‘Delete Object’ at the top:
Do not forget to click the ‘Update’ button at the top to save the changes to the post as soon as you finish editing.
You can use the ‘Preview’ button in the editor to preview the changes applied to the post with the help of MotoPress editor.
Feel free to check the detailed video tutorial below:
CherryFramework 4. How to edit content with MotoPress editor
