


- Web templates
- E-commerce Templates
- CMS & Blog Templates
- Facebook Templates
- Website Builders
FAQs
General Tutorials
Featured templates
MonsterONE Subscrioption


Hello! This video tutorial shows how to manage Blog Meta and Post settings in Cherry Framework 4 templates.
CherryFramework 4. How to manage Blog meta and posts settings
Blog is a powerful tool to share some important information with your site visitors and no surprise you would like to make it look as nice as possible.
Fortunately, Cherry Framework 4 allows you to edit the Blog Meta and Posts appearance to match your desire.
Let’s learn how to manage these options.
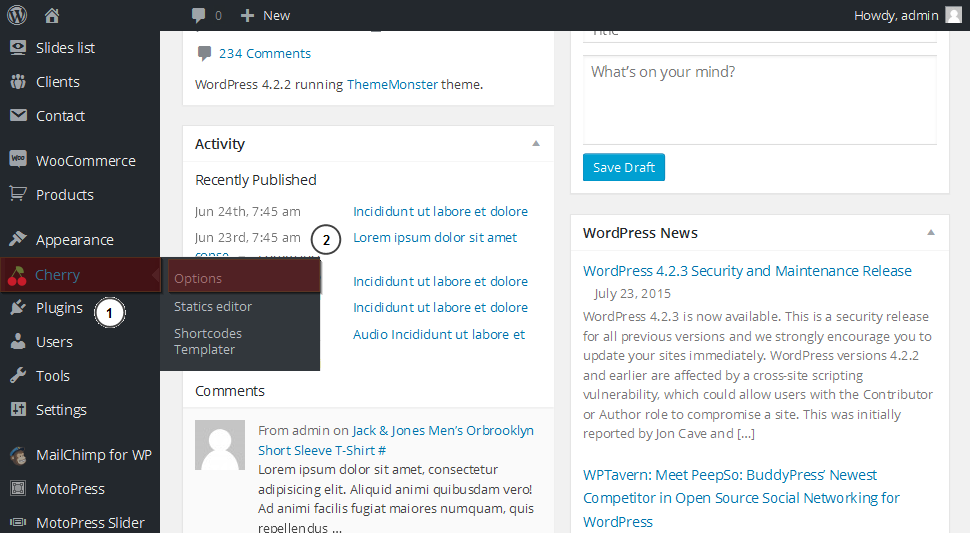
Once you are in your WordPress admin panel, navigate to Cherry -> Options tab:
On the appeared screen click the Meta tab under the Blog tab to open the blog meta editing interface:
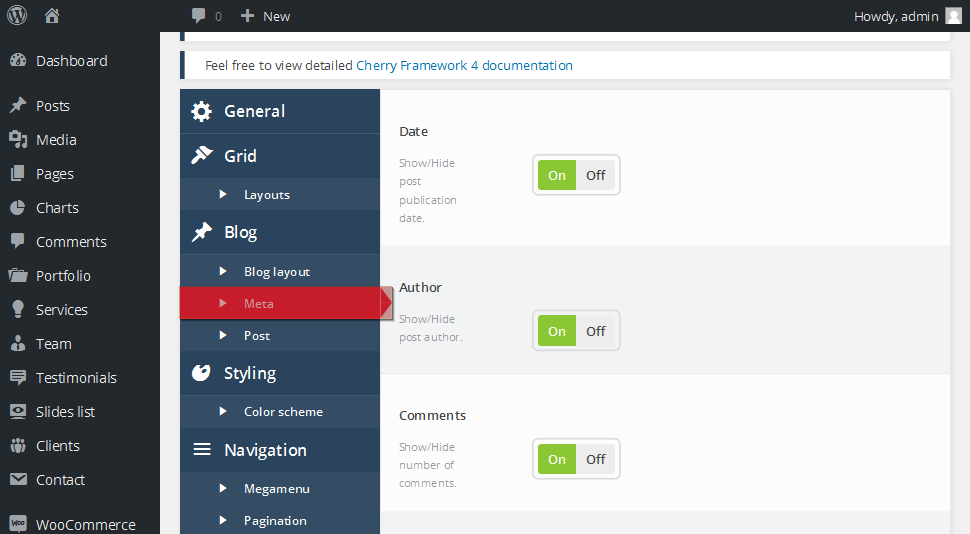
You can see such options as Date, Author, Comments, etc.
As you already noticed there is a short description below each option title – it allows you to understand what each option actually does:

Edit each option to make the meta look the way you want.
Once you finished editing, make sure to click the “Save options” button at the bottom right of the screen to apply your changes:

Now, let’s alter the way the blog posts look like on your Blog page.
Click the Post tab below the Meta tab to open an interface with a wide range of various options:
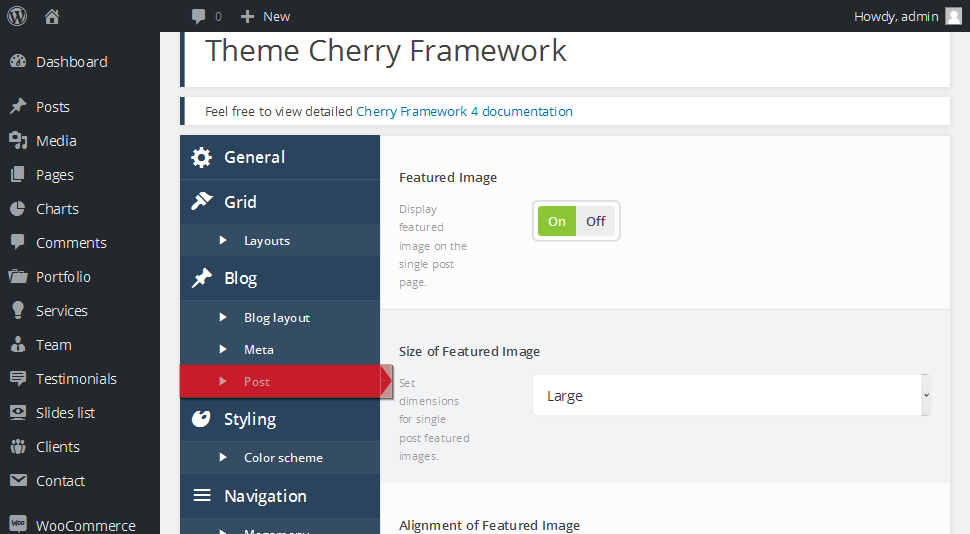
Once you are there, you may turn on/off Featured Image, set the Featured Image Size and Alignment, enable/disable Author bio, etc.
Again, feel free to check the description under each option title to learn what each option allows you to edit.
Set the Blog posts the way you want them to appear on your Blog page.
Do not forget to click the “Save options” button at the bottom right.
Navigate to your site front-end and refresh the page to see how Blog meta and posts look like now – we bet you like it!
This is the end of the tutorial, you have learnt how to manage Blog Meta and Post settings in your Cherry Framework 4 template.
Feel free to check the detailed video tutorial below:
CherryFramework 4. How to manage Blog meta and posts settings
