- Web templates
- E-commerce Templates
- CMS & Blog Templates
- Facebook Templates
- Website Builders
SWiSH Max2. How to extend a slideshow in
November 15, 2010
In this tutorial you will learn how to extend slideshow in Swish template, using a SwishMax2 program.
1) Open your .SWi file in SwishMax2 program.
2) In the timeline, we can see frames with a script for slideshow images.
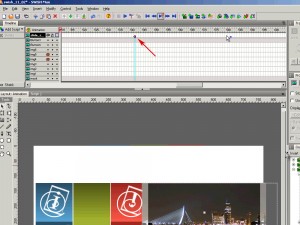
3) There is a separate script for each image.
4) Copy the Script object on the timeline, we’ll use it for our new image.
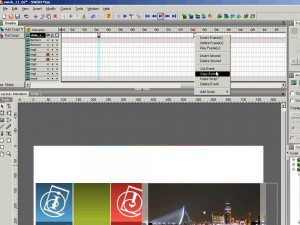
5) Find the frame on the timeline, where the last image begin to play.
6) We need to insert the script for a new image there and move a frame to the right.
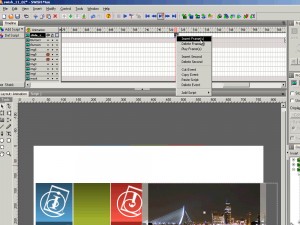
7) Press F5 key to insert more frames.
8) Press CTRL+F5 key three times to insert 150 more new frames.
9) Paste copied script
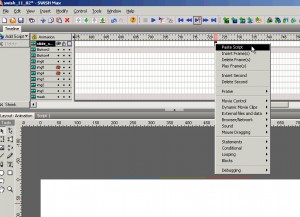
10) Choose Slide_Show movie clip in the Outline.
11) Click to select the frame on which we have just inserted the new script and open the Action Script panel.
12) Change the number of the new image to 7 in this example.
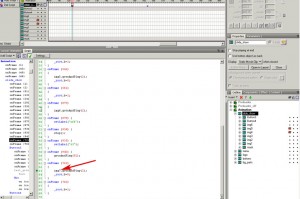
13) Import new image(s) to the library.
14) Insert->Import Image
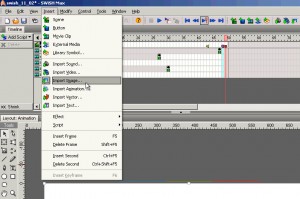
15) We should group our new item.
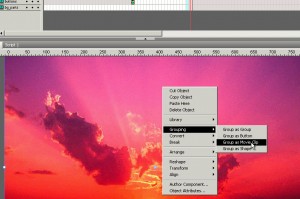
16) Then Add to Library.
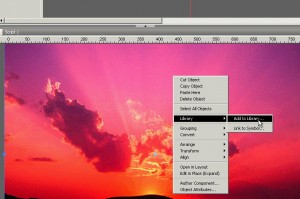
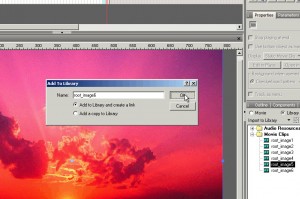
17) Copy the movie clip with existing image to insert a new one into this movie clip.
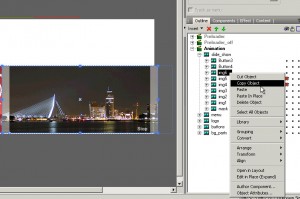
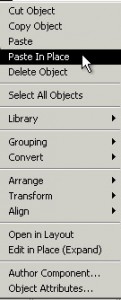
18) NOTE: Use Paste in place to keep the original object’s coordinates.
19) Now we need to change all the instances of the image in the group img7.
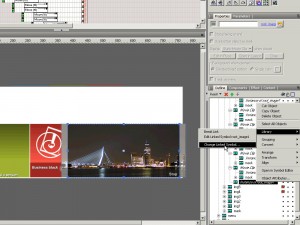
20) Link it with a root_image6. Which is a new movie clip with new image.
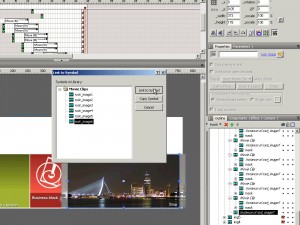
21) NOTE: we should repeat this process for all the instances.
22) Publish your .SWI file to see the preview.
Feel free to check the detailed video tutorial below:


