


- Web templates
- E-commerce Templates
- CMS & Blog Templates
- Facebook Templates
- Website Builders
FAQs
General Tutorials
Featured templates
MonsterONE Subscrioption


We are glad to present you a step by step guide how to install WordPress plugins through a WordPress admin panel.
WordPress. How to install a plugin (through admin panel)
Open your WordPress dashboard and go to Plugins tab – Add New:
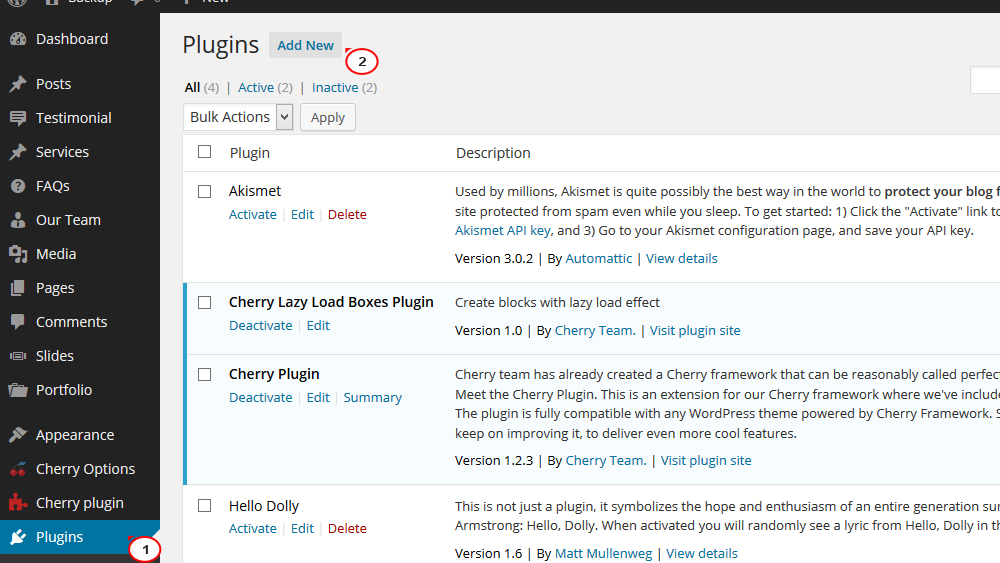
Click Upload plugin button at the top.
Click Browse and select a plugin zip package. Usually, the plugins provided with a Cherry Framework WordPress theme can be found in the template package > CherryFramework > Includes > Plugins folder and in the template package > Theme > Themexxxxx > Includes > Plugins folder. When you found the plugin package click Open, then Install Now button.
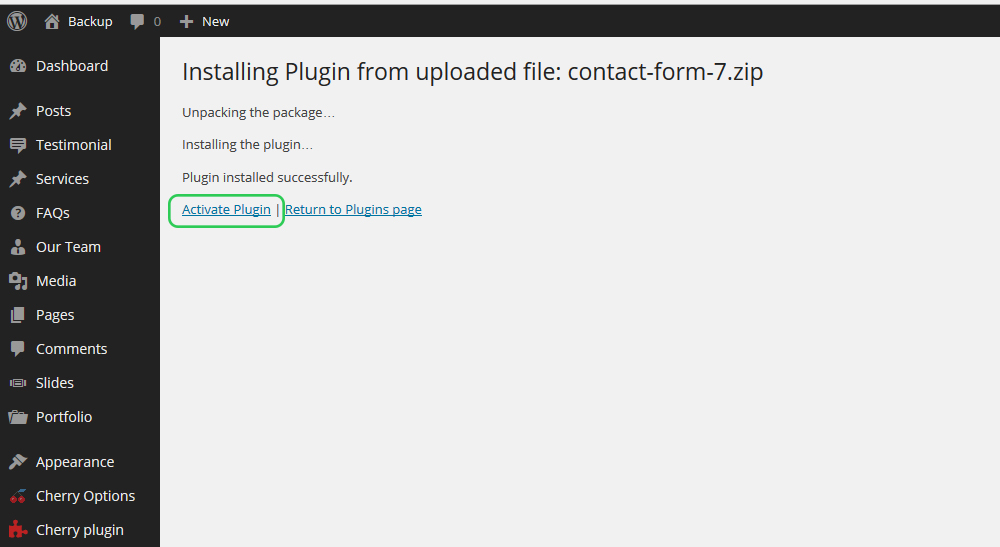
When the upload procedure is complete, you need to activate the plugin. Please click Activate Plugin link:
Also, you can install the plugin required through your dashboard plugin search form.
Go to Plugins tab, click Add New, enter a plugin name into a search field, for example Contact Form 7, and press Enter on your keyboard:
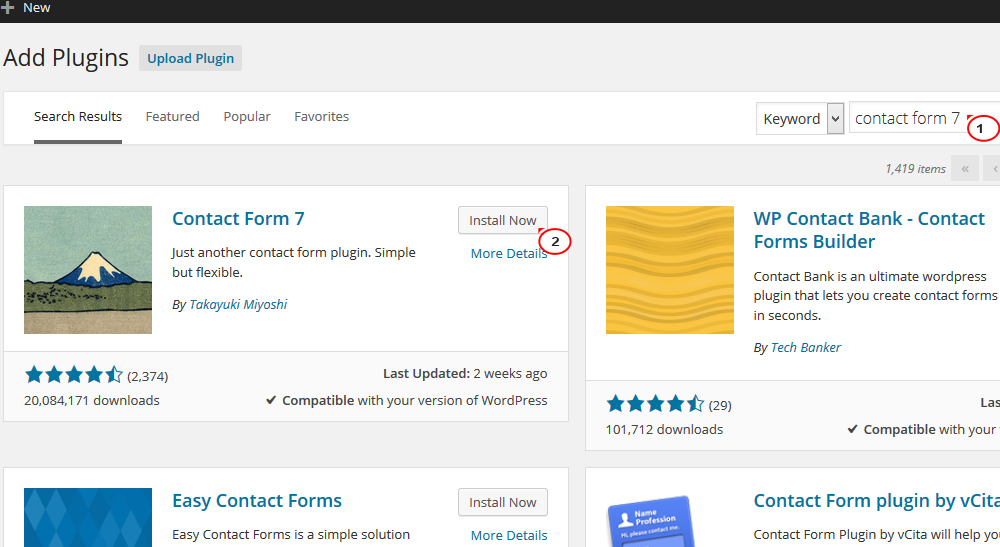
You can see the Contact Form 7 plugin in the search results list. To proceed with installation, click Install now button.
When your new plugin is installed, click Activate Plugin link to complete a procedure. A new plugin is successfully activated now.
Feel free to check the detailed video tutorial below:
