- Web templates
- E-commerce Templates
- CMS & Blog Templates
- Facebook Templates
- Website Builders
Jigoshop. How to add product images and an image gallery
October 22, 2012
This tutorial shows how to add product images and an Image Gallery.
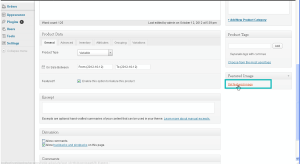
1. Let’s add product image. Open product page. Click on Set featured image link.
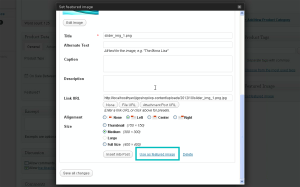
2. Click on Select files button and select product image. Click on use as featured image.
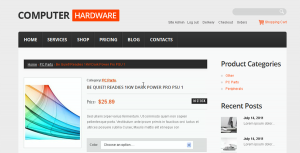
3. Refresh the product page. Image should appear.
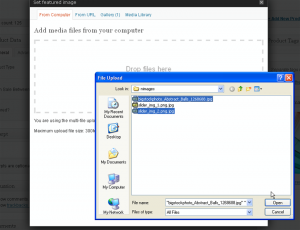
4. Let’s add image gallery. Open product page and click on featured image and select images you are going to add to the gallery. Close the window when images will be uploaded.
5. Refresh the product page. Image gallery should appear on product page.
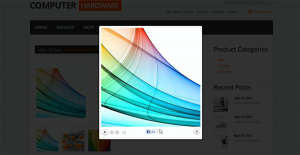
6. Let’s remove particular image from gallery.
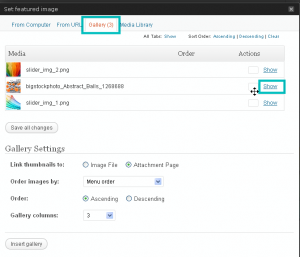
6.1. Click on Featured image and go to Gallery tab. Click on Show link of the image you are going to remove.
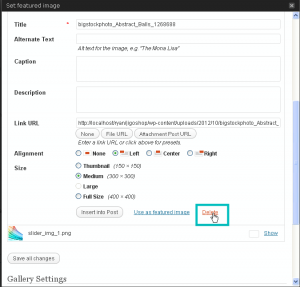
6.2. Scroll down and click on Delete link. Image will be removed.
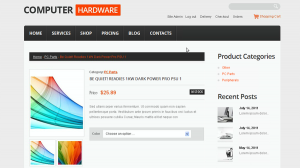
6.3. Refresh the product page. Image should be removed from gallery.
In this tutorial we have found out how to add product images, create image gallery and remove image from gallery.
Feel free to check the detailed video tutorial below:
Jigoshop. How to Import/Export shop data


