


- Web templates
- E-commerce Templates
- CMS & Blog Templates
- Facebook Templates
- Website Builders
FAQs
General Tutorials
MonsterONE Subscrioption


This tutorial shows how to set up Contact form in Muse templates.
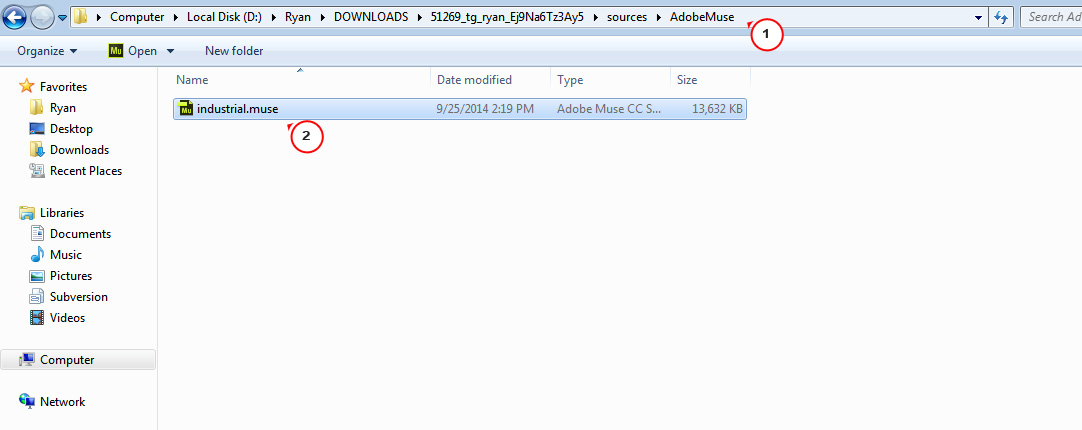
Muse templates. How to set up contact formUnzip the template and go to sources/AdobeMuse folder. Open .muse file using Adobe Muse software:
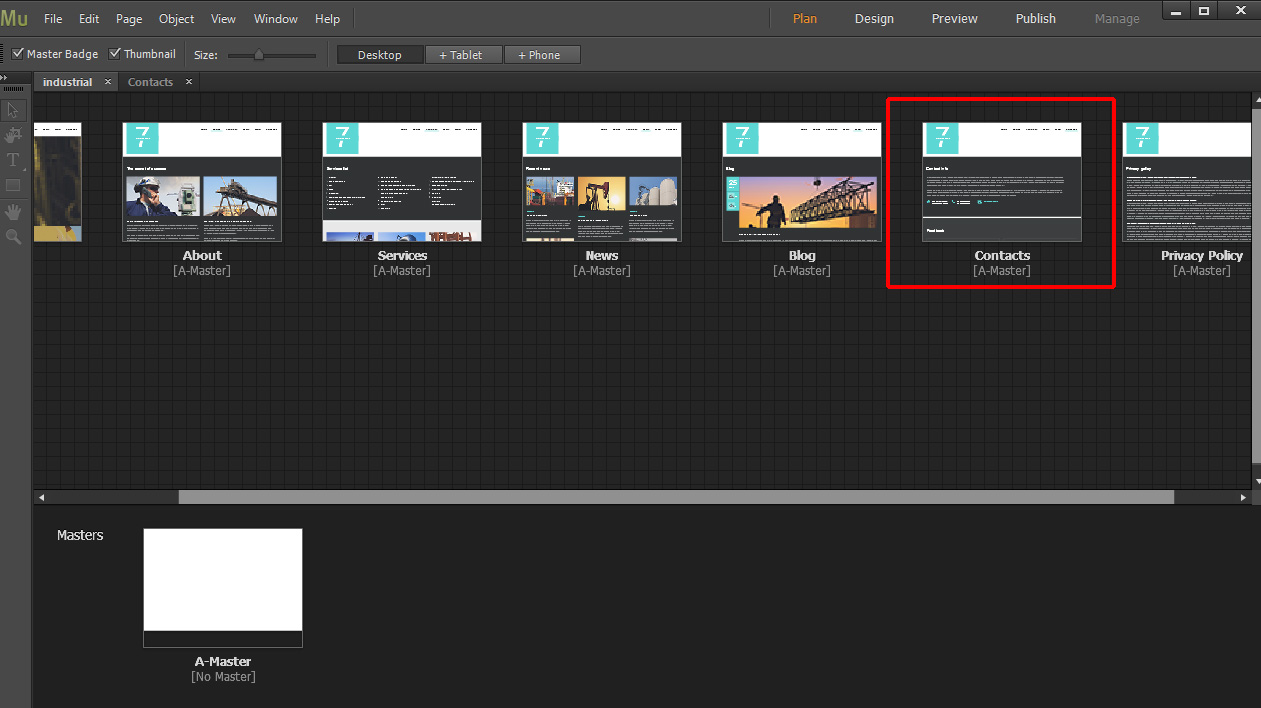
Open Contacts page:
Scroll down to the bottom of page. There you can see a contact form:

Choose Selection Tool. Click on main form frame. Click on arrow in top right side of section with form:
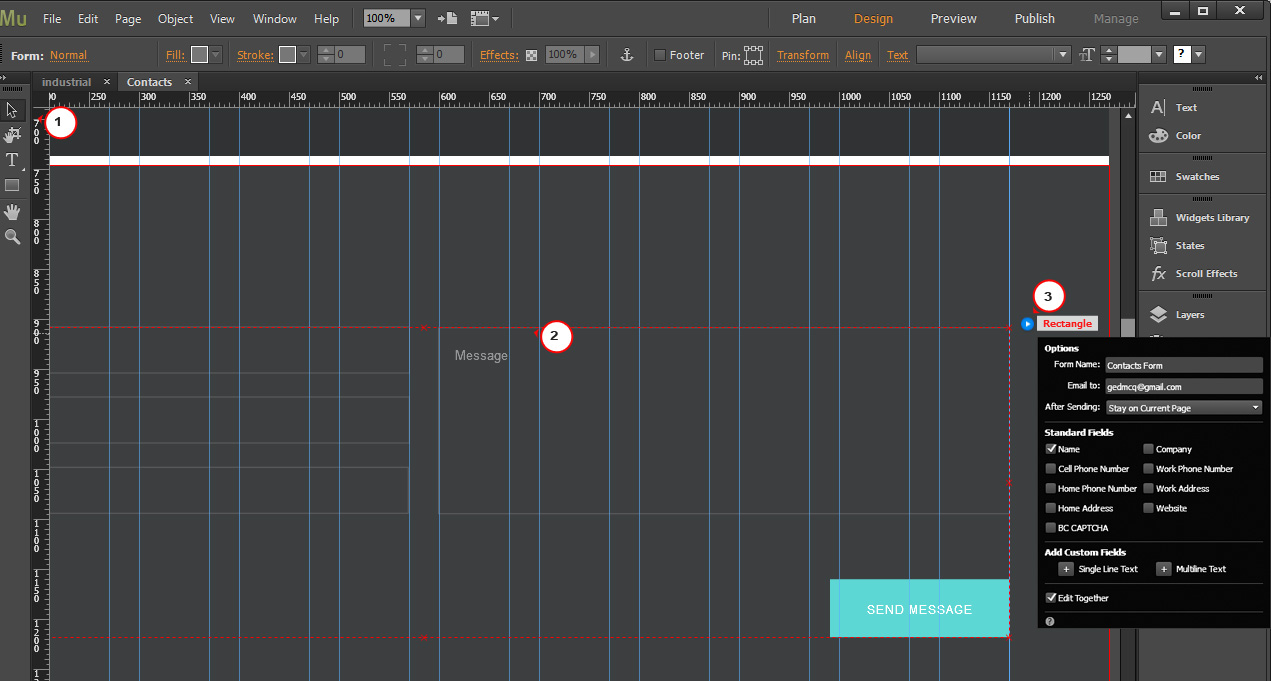
You can see contact form options. There you can specify e-mail. Messages will be submitted to the e-mail you specify in this section:

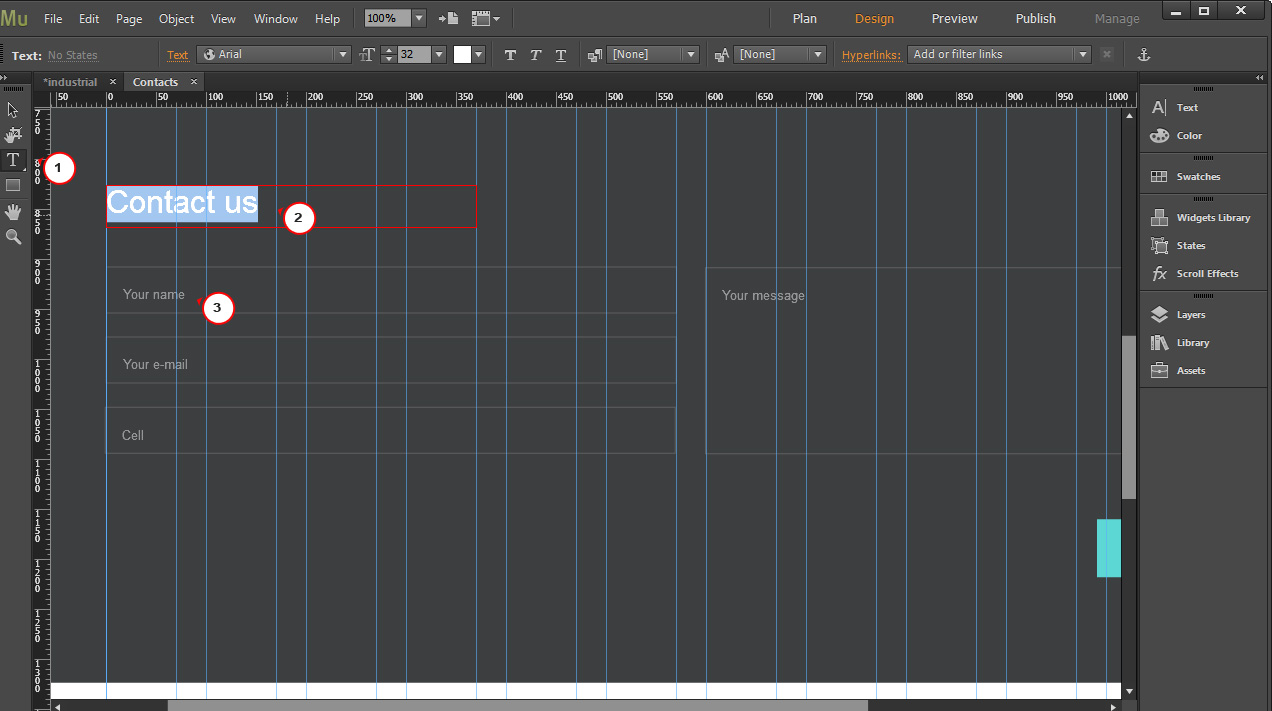
Select Text tool and change text above the contact form. You can change contact form labels using Text tool as well:
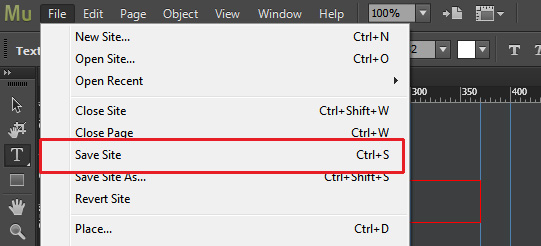
Go to File -> Save Site in order to save changes you have performed to .muse file:
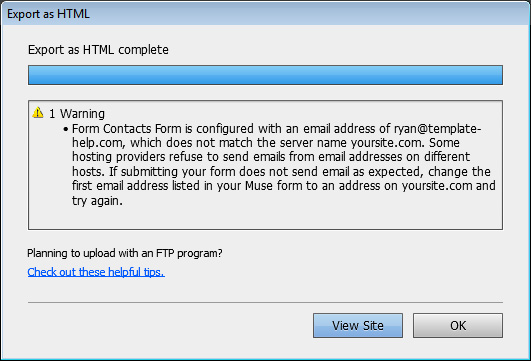
Go to File -> Export as HTML. Specify web site domain name. Select folder for web site files:

You may get a warning message. Make sure that correct e-mail is specified and click OK:
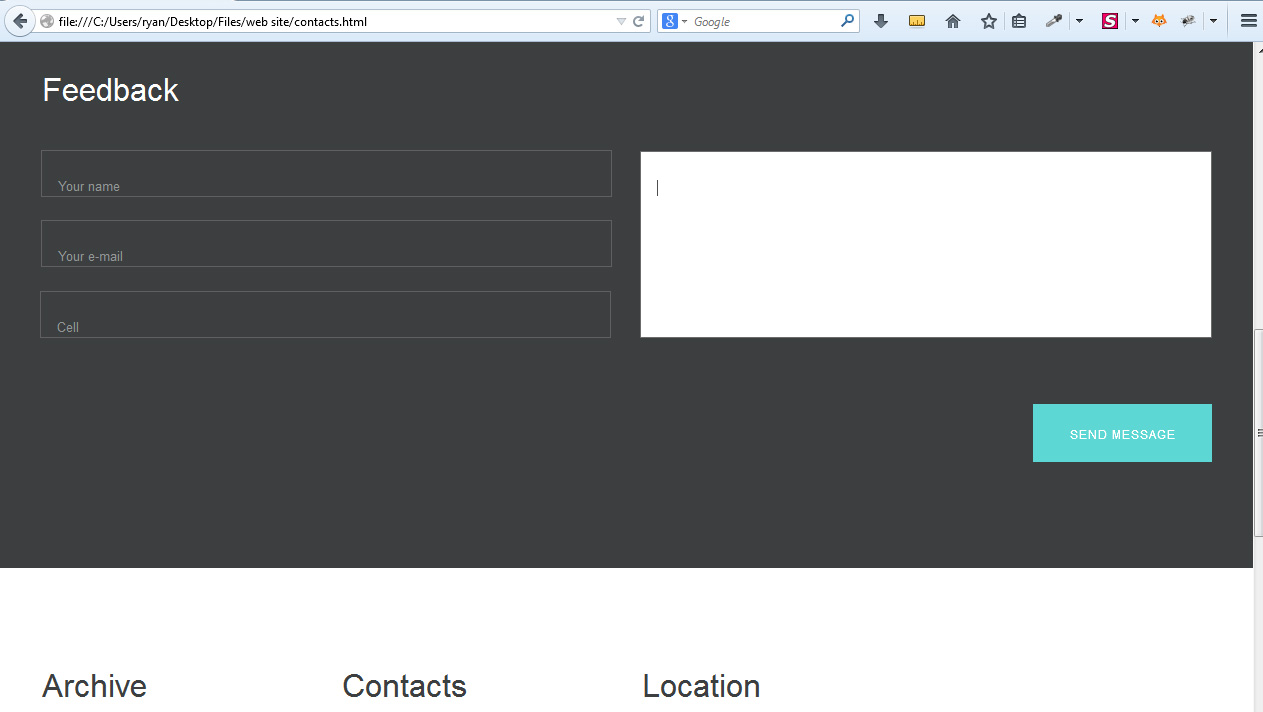
Open contact page in your browser. We have set contact form:
Feel free to check the detailed video tutorial below:
Muse templates. How to set up contact form