


- Web templates
- E-commerce Templates
- CMS & Blog Templates
- Facebook Templates
- Website Builders
FAQs
General Tutorials
Featured templates
MonsterONE Subscrioption


This tutorial provides an explanation of how to manage “TM Category Images Slider“ module in Prestashop 1.6.x.
Prestashop 1.6. How to manage “TM Category Images Slider” module
“TM Category Images Slider” module allows you to show category images as a slideshow on the category page.
In order to locate the module, navigate to Modules -> Modules -> TM Category Images Slider (or Modules and Services -> Modules and Services -> TM Category Images Slider) module and press the Configure button. Here you can see the settings of the module. Let’s overview them:
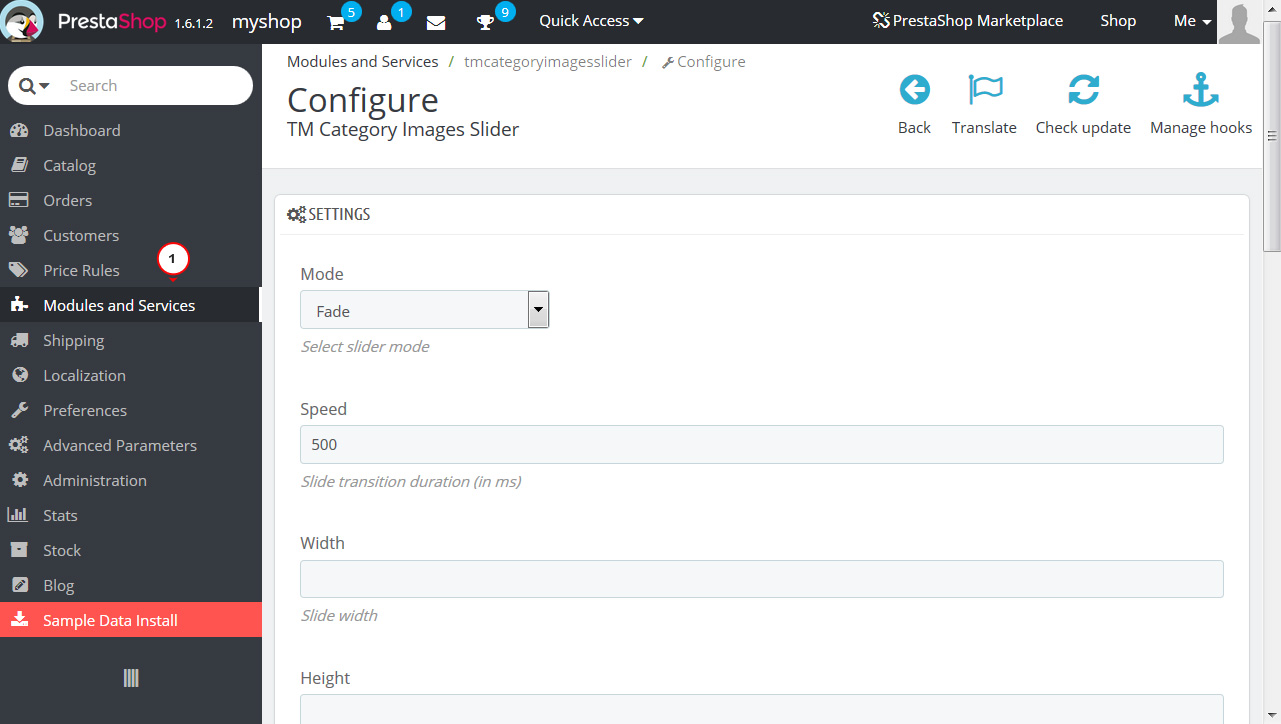
“Mode” defines the transition effect for a slideshow. It might be Horizontal, Vertical or Fade.
“Speed” allows you to change the duration of the transition between two slides in milliseconds.
“Width” defines the width of the slider at the front-end.
“Height” defines the height of the slider on the website.
“Auto” option defines whether your slides switch automatically or not.
“Pause” allows you to change the amount of time between each auto transition in milliseconds.
“Auto Hover” option defines whether the slideshow pauses when mouse hovers over slider.
“Controls” adds the Next and Previous buttons to the slider while the option is turned on.
“Next Text” option allows you to add your own text to the Next button.
“Prev Text” option allows you to add your own text to the Previous button.
“Auto Controls” option adds Start and Stop buttons to the slider.
“Pager” adds slider navigation buttons (e.g. bullets) if the option is set to “Yes”.
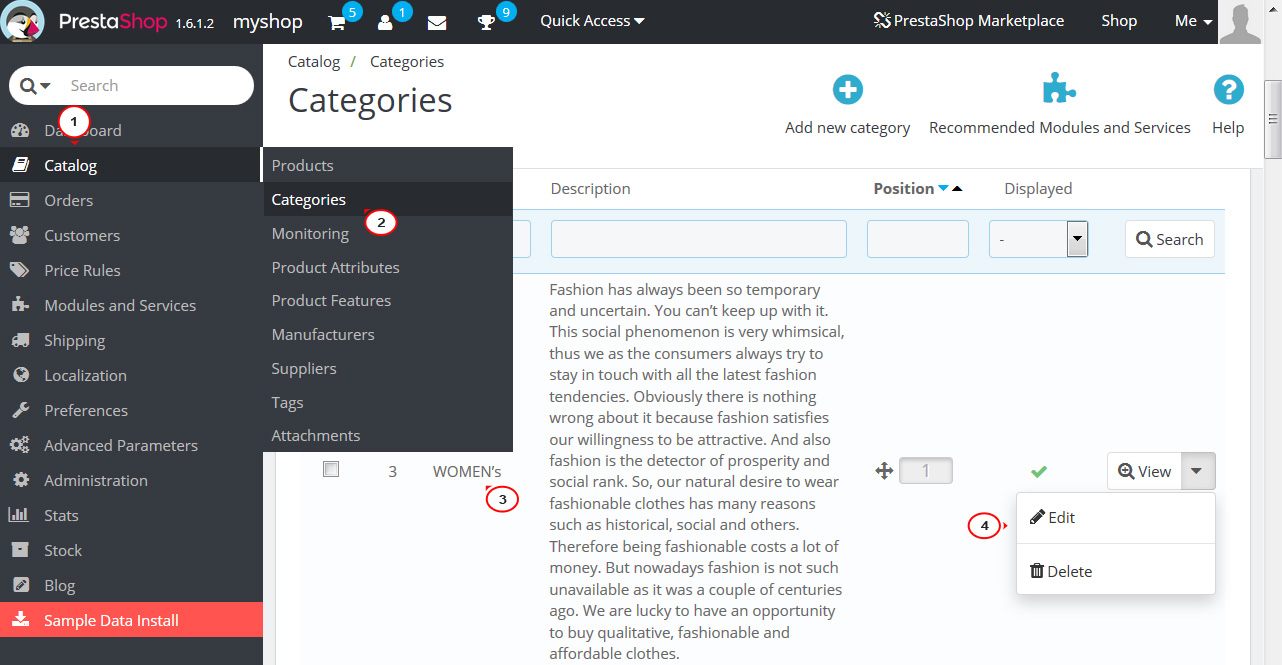
In order to locate the images the module displays in the slideshow, you need to navigate to Catalog -> Categories and open a respective category for editing:
Scroll down to the Slides section and you will see all the category images which are displayed by the “TM Category Images Slider” module. Here you can add, edit and delete the slides. Let’s add a new one and review the available options:
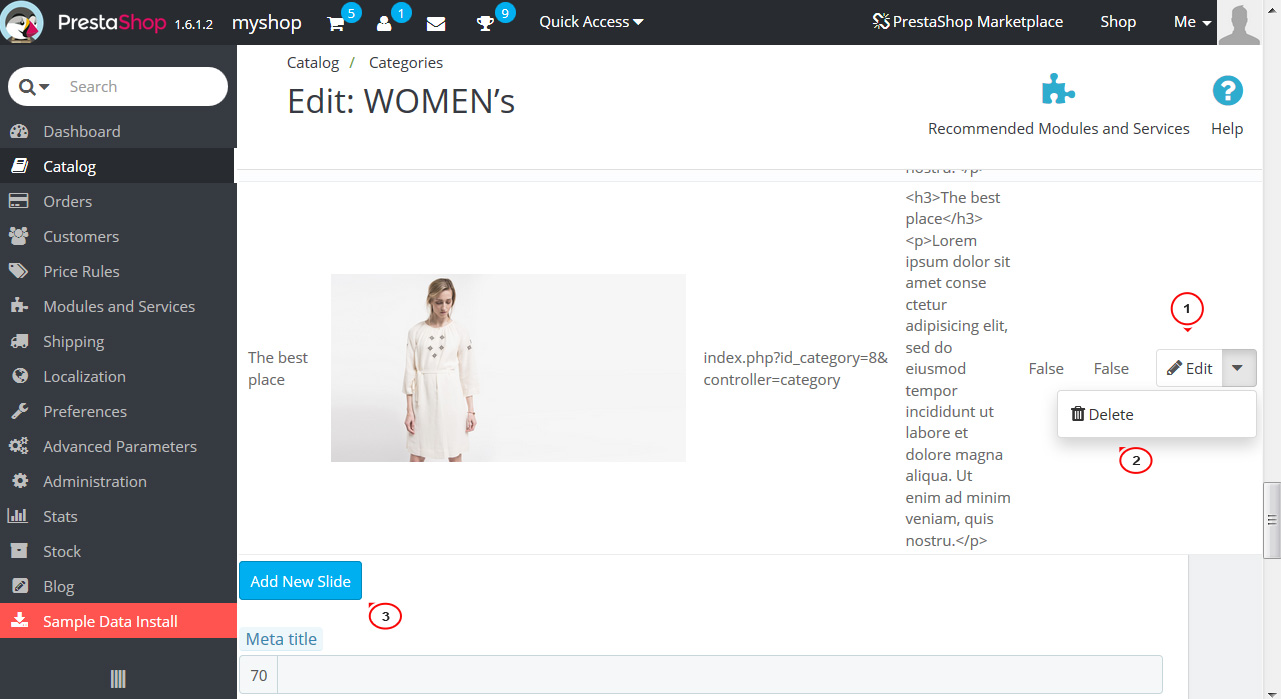
Press the Add New Slide button to add a new slide. Hit the Choose a file button to upload the image. Please note that maximum image size is 64M.
Next, you need to enter the slide title in the respective field:
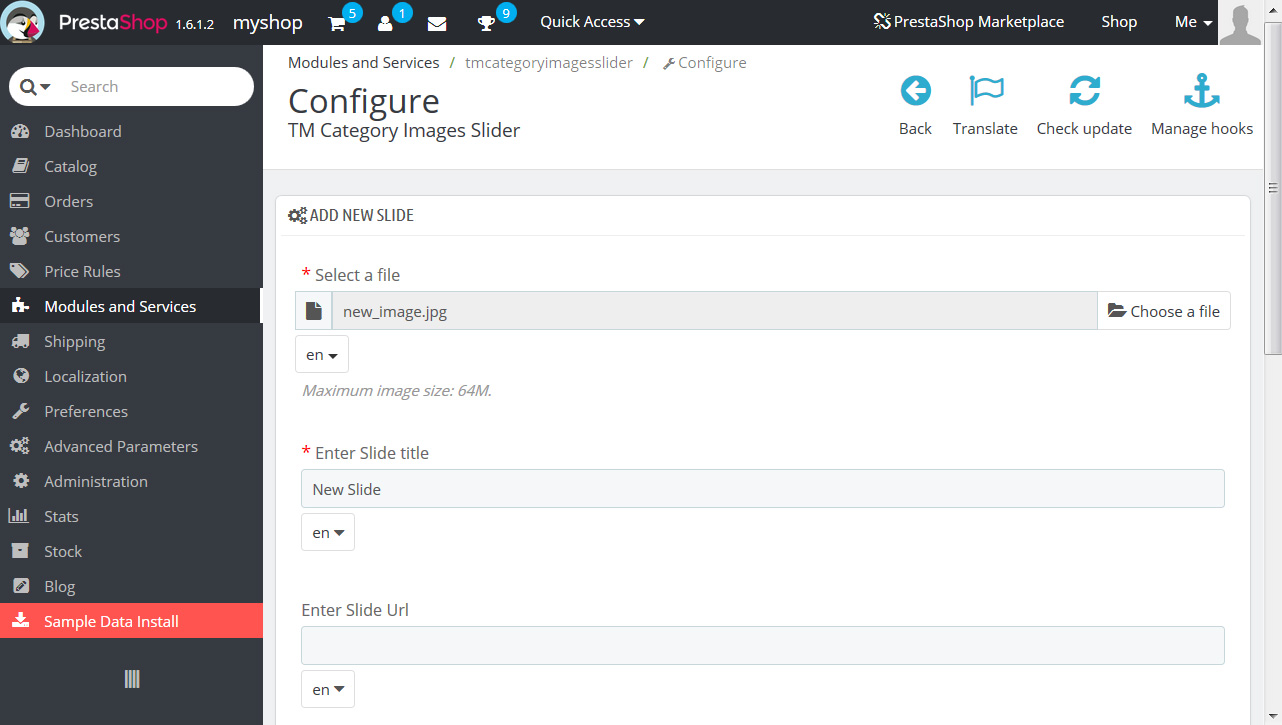
Also, you have the option to enter the slide URL where the slide image will be linked to.
Slide caption option defines the text on the slide image. You can use HTML tags to enter this text.
Open in new window option defines whether the image is opened in a new browser tab or not.
Status option defines whether the slide image is displayed in the slider if it is set to “Yes” or not displayed if it is set to “No”.
Press the Save button to save your new slide image. Once the image is saved, you can review it on the website:

Now you know how to manage “TM Category Images Slider” module in Prestashop 1.6.x.
Feel free to check the detailed video tutorial below:
Prestashop 1.6. How to manage “TM Category Images Slider” module
